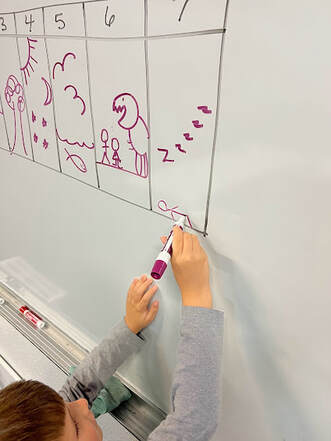
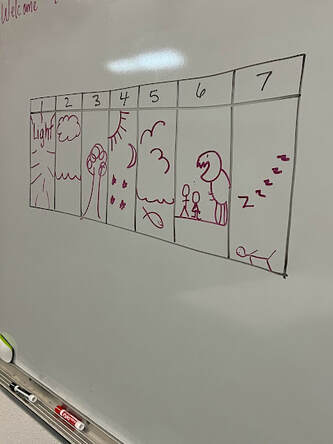
Manna Moment:After creating the Earth, space, time and everything in between, God rested, not for His sake but for ours. Rest is part of living. During class, we focused on why rest is important for animals and us alike and how even music has a note named, 'rest'. Where did the world come from? We learned the last day of this poem with the hand motions that are below. The hand motions were a great way for me to remember this delightful poem and the students were able to remember it so much better than me. Recount the Days of CreationI reviewed the days of Creation as I did last week except added the 7th day to the end. I am not a great artist but one of my students stepped in and helped me draw a person resting.
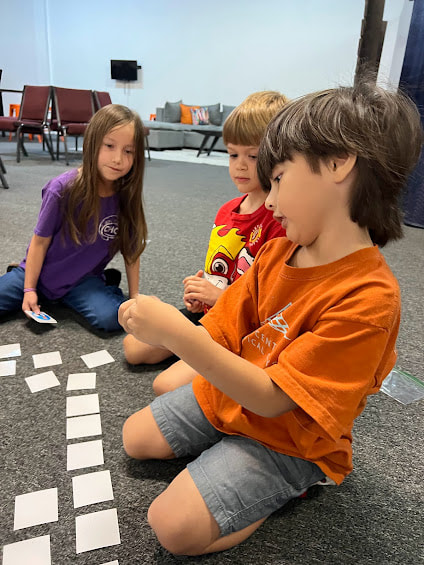
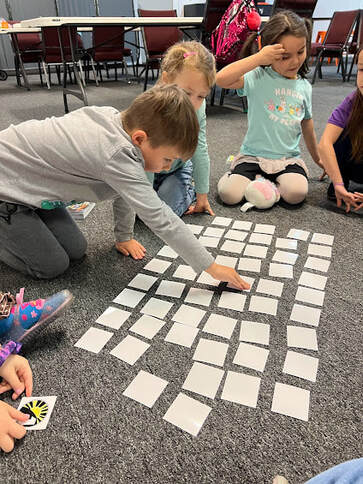
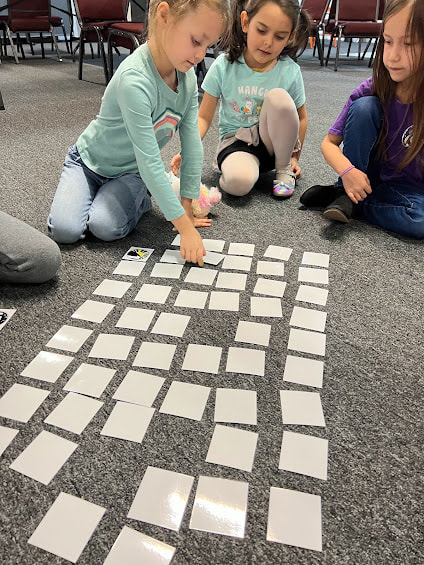
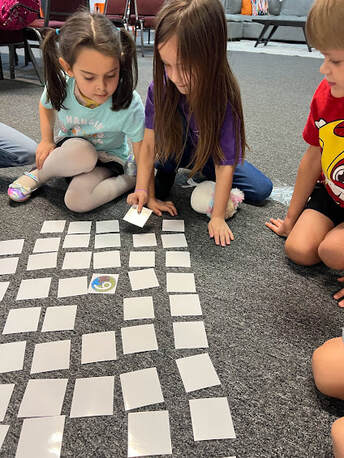
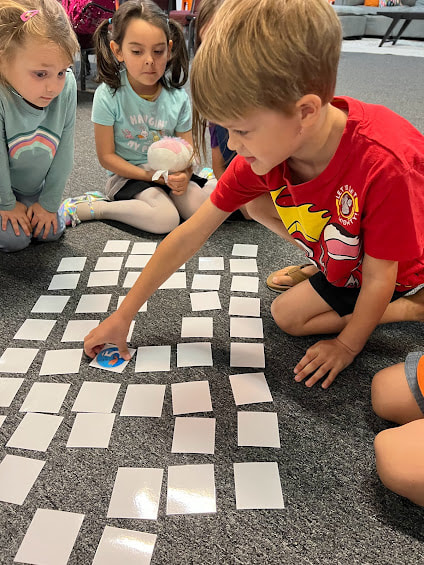
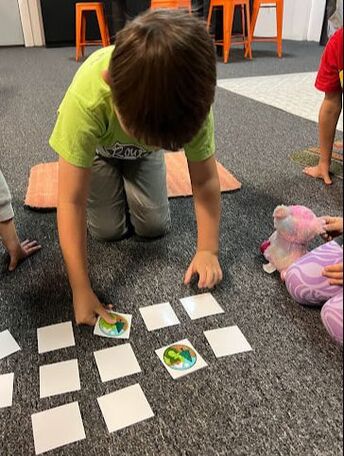
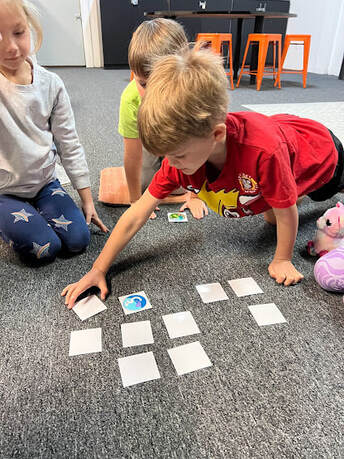
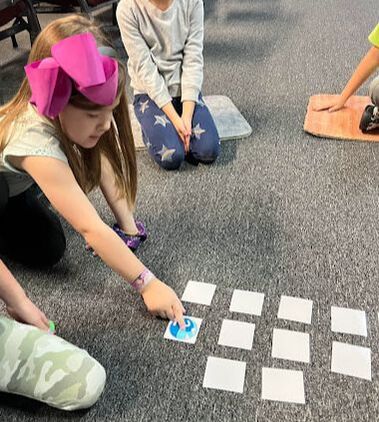
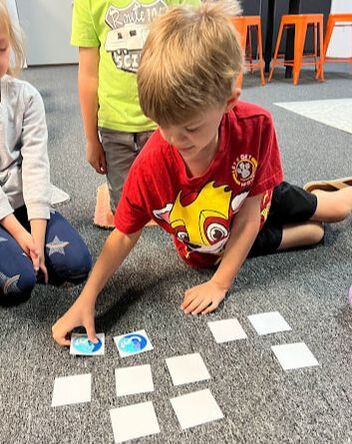
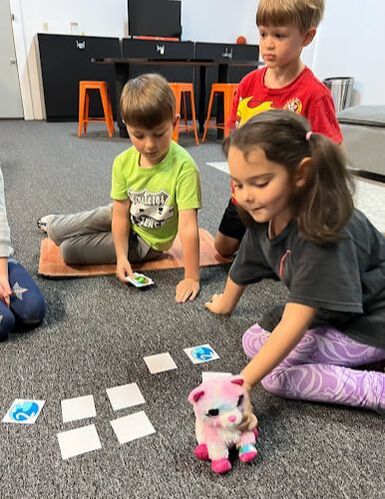
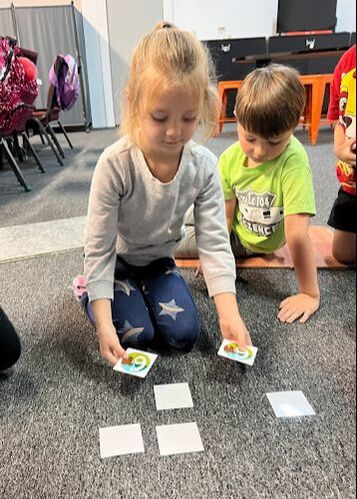
 We continued to review and I used the memory cards that I had made last week and added the 7th day to the mix. I also made a colored version because it actually took me longer than I thought to color each day of creation. I printed a few more sets and we had a large review memory game. I love observing these students and how they respond to the different activities I have planned. There were several students who were very familiar with this game and knew exactly what to do and what to pay attention to. Other students did not yet see the benefit to watching others turn over cards in order to see if they could remember where the matches might be. And then finally, there was one student who saw the blanket of white cards and felt overwhelmed, not knowing where to start because he didn't 'know' where the matches were. I made the analogy for these students that our world is very complex and often, we do not understand how things are or even what they are, similar to our blanket of white memory cards. Scientists have to turn over cards and knowledge and experience and attempt to match and make connections. Those who are paying attention, might be able to help them make their matches. (We did have some teamwork happening during the game, this was perfect!). The student that could not really choose a card was afraid of not finding the matches. I told him that he can try and it is okay to not find a match, it might help your fellow classmates find matches or you can observe the other players and glean insights from them for his next turn.
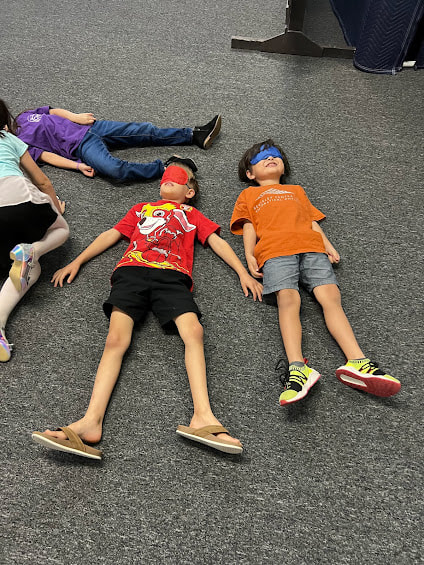
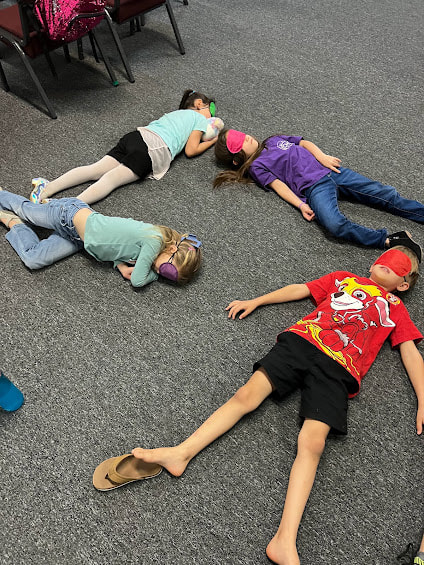
 A Rest from Memory MatchAfter playing a longer game of memory match than planned, the students were ready to move. This went into my next activity of having them jump or do jumping jacks until they were tired. When their bodies get tired from doing physical activity, they need to rest. 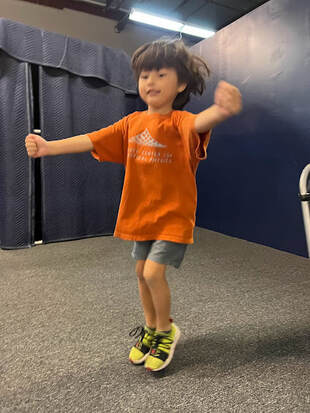 Read Aloud: Sleep is for Everyone by Paul Showers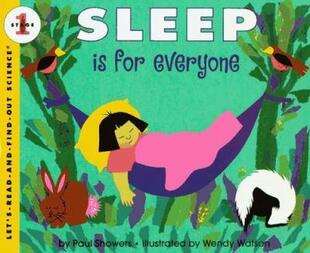 Sometimes I think that children do not see why they need to rest and sleep. This book opens with the fact that even animals need to sleep. At the beginning the book it talks about different ways that animals close their eyes, if they do, when they sleep and then goes through to showcase some scientists that tried to go without sleep for days and the effects of no sleep on the body. God created us with a need for rest. The fourth commandment says for us to Remember the Sabbath and keep it holy acknowledging God's good creation. Practicing RestI handed out blindfolds to all the students and had them pick a place on the floor to lay down. While they were laying down, I sang to them the Twinkle Twinkle Little Star song from Day 4 of creation.
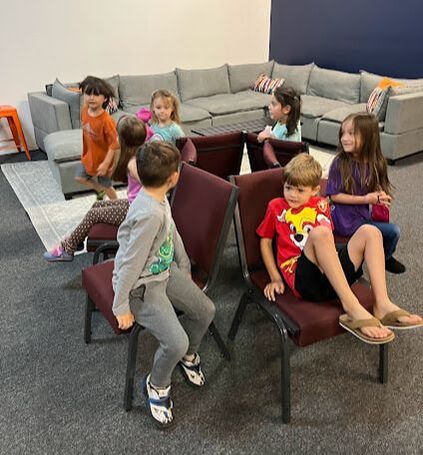
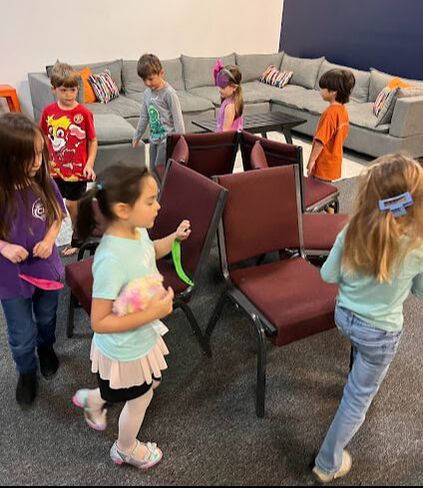
Musical ChairsPlaying Ross King's Genesis song, we played musical chairs to emphasize that music also has 'rest' and it is intentional for the music to sound beautiful.
And there was evening and there was morning on the Seventh Day...
0 Comments
Introducing the Sixth Day of Creation I have said it before and I will say it again, I love this book and how it presents creation in rhyme. Poetry memorization is really a wonderful asset for young students to have and this is an impactful and meaningful poem to memorize and carry throughout life. Below are the hand motions that I made up for Day 6 to help my students and I remember it. The other videos of the hand motions are in previous posts. Reviewing the Days of Creation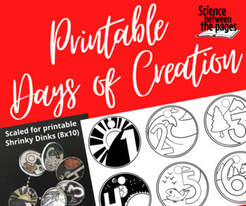 Using the Colors of Creation cards, I made a Memory Match game for the students in order to review what God made on each day of Creation according to the Scriptures.
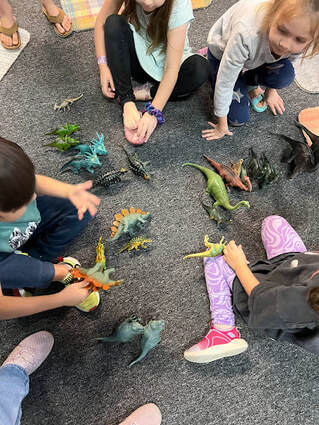
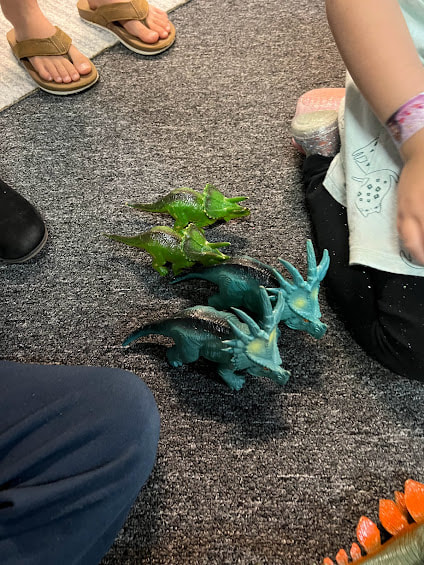
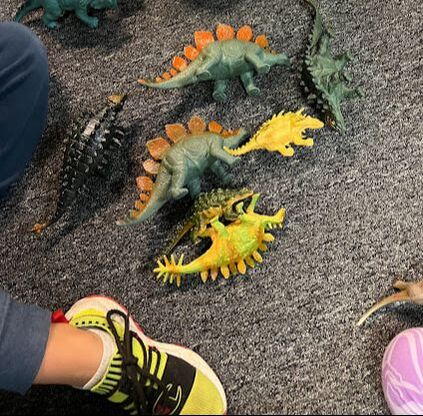
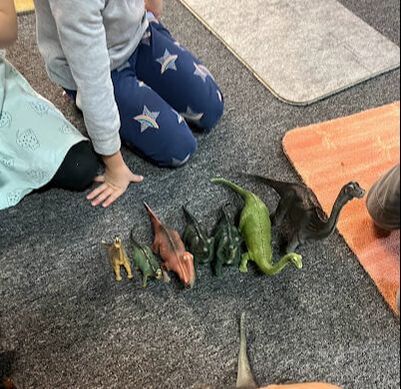
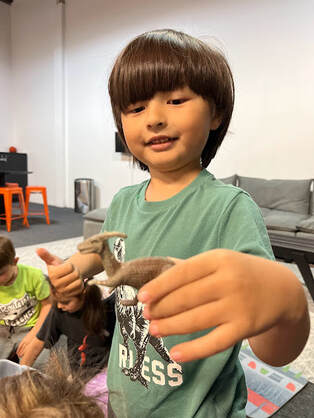
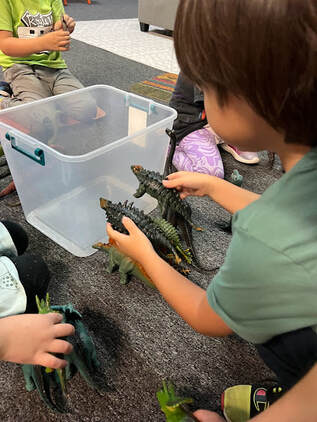
Read Aloud: All Things Bright and Beautiful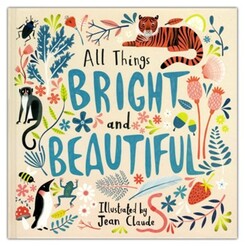 Our Interactive Read Aloud today was All Things Bright and Beautiful wonderfully illustrated by Jean Claude. Every page that I turned there were bright and colorful illustrations of God's creation. I pointed out many and had the students tell me which day of creation God created them on. They did an awesome job.! Dinosaurs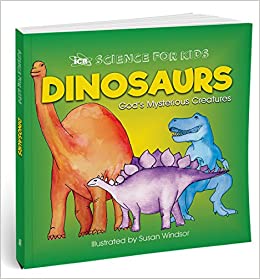 The land animal that I wanted to highlight for Day 6 of creation is the dinosaur. It is a favorite animal among many generations. Here are a few points that I mentioned to the students about dinosaurs.
I was able to find a bin of large toy dinosaurs and thankfully, it had at least one of each type of dinosaur. One of my students really loves dinosaurs and was amazing at pronouncing all the names. I had to check my information with him.
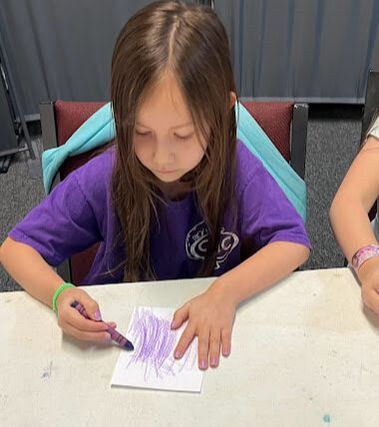
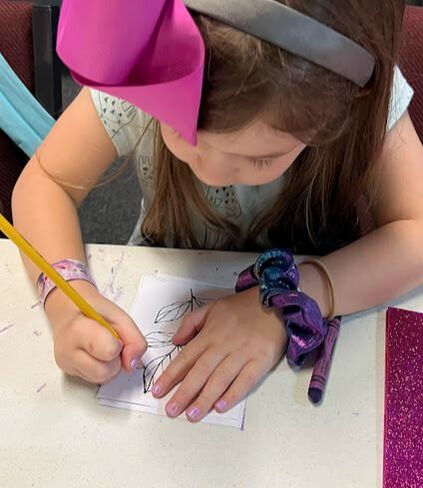
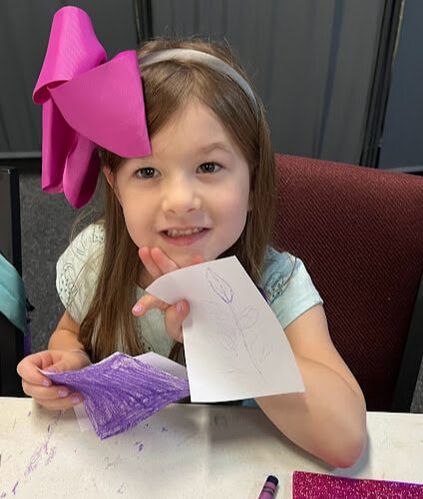
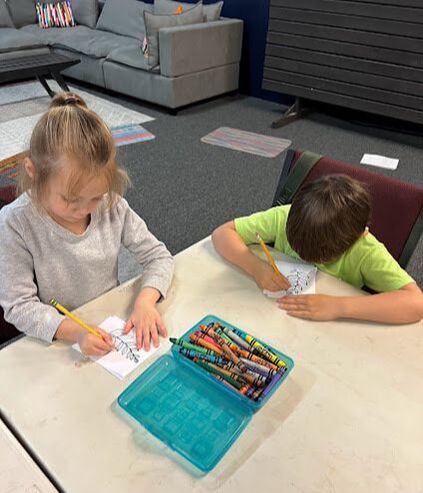
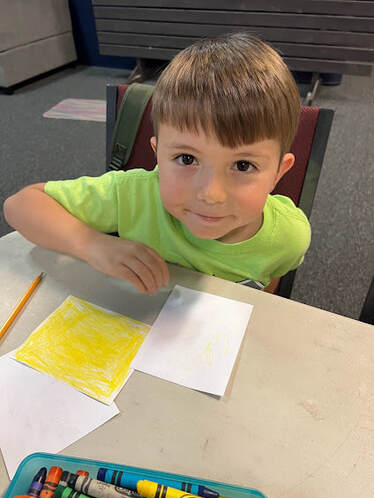
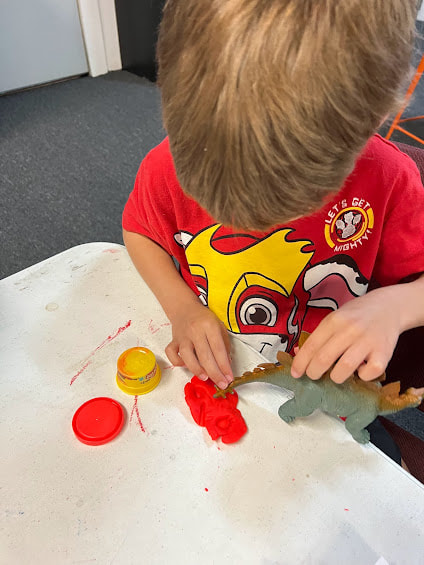
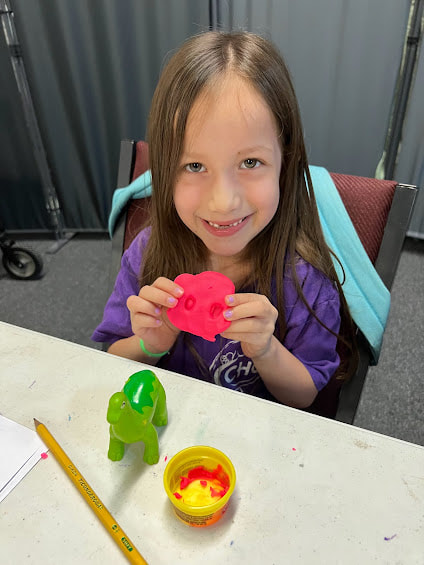
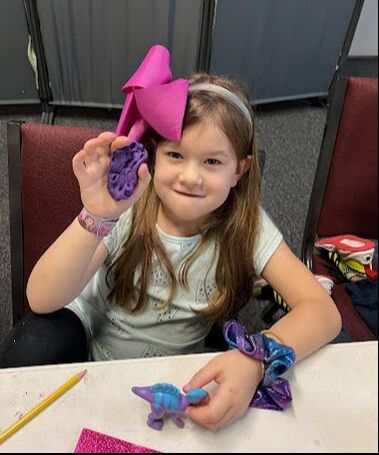
Making Fossils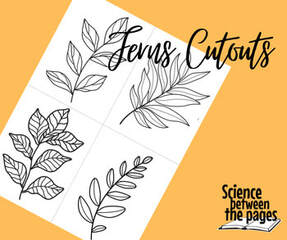 No lesson on dinosaurs would be complete without making a few fossils. We made carbonized fossils and trace fossils. First we made a carbonized fossil where I had each student pick a crayon to color a fourth portion of copy paper. I placed this colored side of the paper face down on another blank white fourth portion of copy paper. Using the Fern template, the students were to press and trace repeatedly on the template thereby imprinting the fern on the bottom sheet of paper by basically making a carbon copy. Carbonized fossils are typically plants imprinted on rocks thereby creating a fossil. Trace Fossils- I gave each student a small container of play doh. The students would then pick the dinosaur that they wanted to make a fossil from. They would make the dinosaur ‘step’ onto the playdoh, leaving a ‘trace’ Trace fossils are anything that is left behind by the dinosaurs.
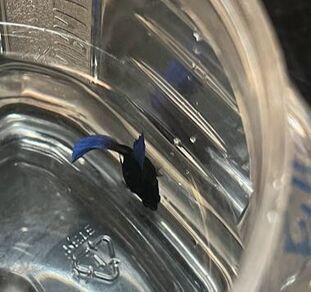
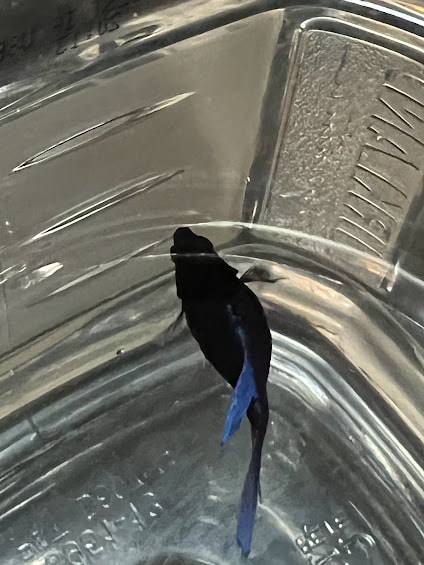
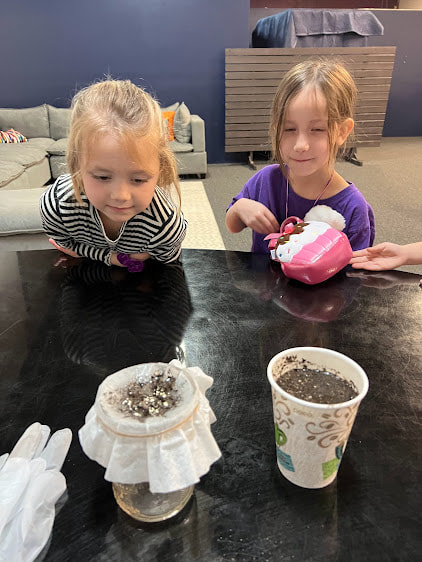
Our Guest: FredsI had mentioned to my students last week when we were learning about fish, that I did not have a pet fish to show them otherwise it would be fun to observe how they breathe, eat, and swim. One of my students took this to heart and brought in his Beta fish to show us during class today. I loved it. We were able to review all the different things we learned about the fish and see it in action. Let me introduce you: Class, this is Freds. Freds, this is my class. Please show them how you breathe, eat and swim.
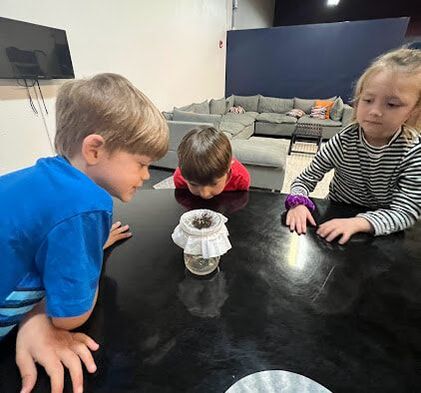
What's It like to be a fish?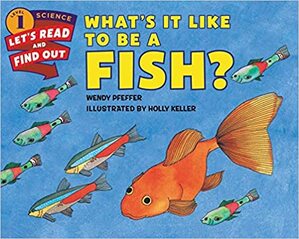 We are finishing up our Day 5 of creation by learning about how God designed the fish perfectly to live in its environment. Through this book, we learned that fish are best suited to live in the water. They are cold blooded animals which means that their body temperature is directly affected by its environment. (Don't place your goldfish in the sun) Fish have seven fins that help them swim in the water. Fish have scales that protect their skin from abrasions but also has slime which keeps the bacteria from infecting the fish. Fish breathe oxygen like we do, but they use gills to filter out the oxygen from the water. When you see a fish's mouth moving, they are actually breathing. Fish do not have eyelids so when they sleep, they sleep with their eyes open. They don't need eyelids because the water keeps their eyes moist.  We practiced as a class opening and closing our mouth as a fish does to breathe. When the fish closes its mouth, the water runs over the gills and it filters out the oxygen for the fish. 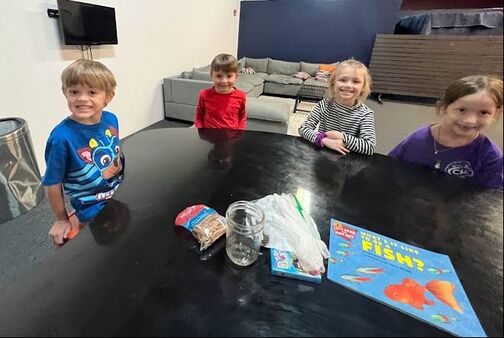  Fish Gill DemonstrationTo demonstrate how fish gills filter out oxygen, I used a pint mason jar, a coffee filter, rubberband, water and some dirt. You can also use coffee grounds also, I just have more dirt around my house than coffee grounds. (haha) Place the coffee filter on the jar and secure with a rubberband. Place the dirt in the cup with the water. No need to mix. Pour a little of the dirt/water mixture over the coffee filter and observe what happens. The dirt is left behind while the water falls through. In a way, the coffee filter is representing a fish's gills, it is filtering out the dirt like a fish would filter out the oxygen for them to breathe. 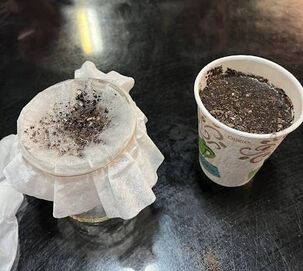
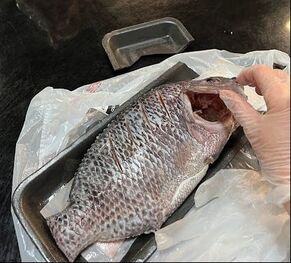
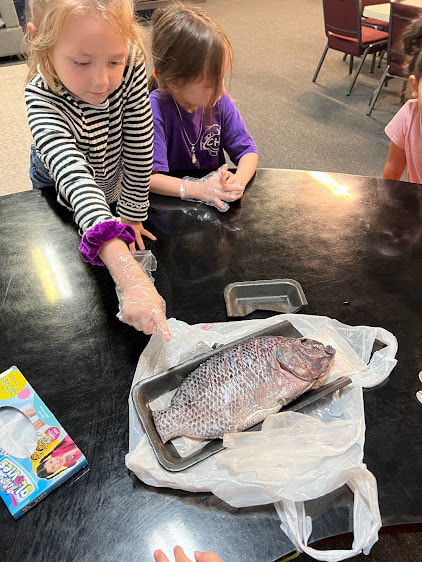
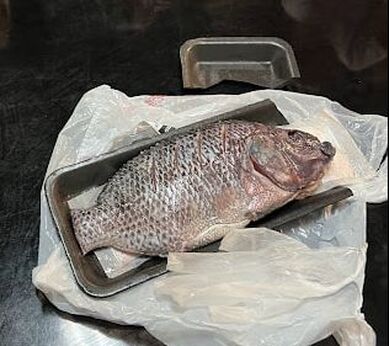
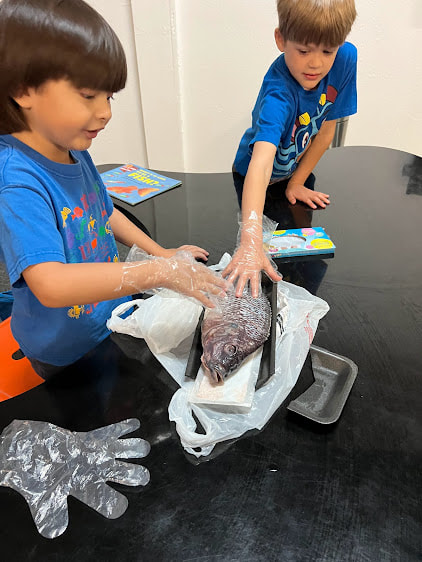
Observing a fishSince my husband believes that fish are a gateway pet (haha), we do not have any fish as pets so I brought in a whole fish from the grocery store for the kids to observe. We pointed out and named all the fins, looked and felt what the scales were and saw the skin of the fish. We opened up the head cavity where the gills would be. Opened their mouth and saw its little teeth. Looked at the open eye.
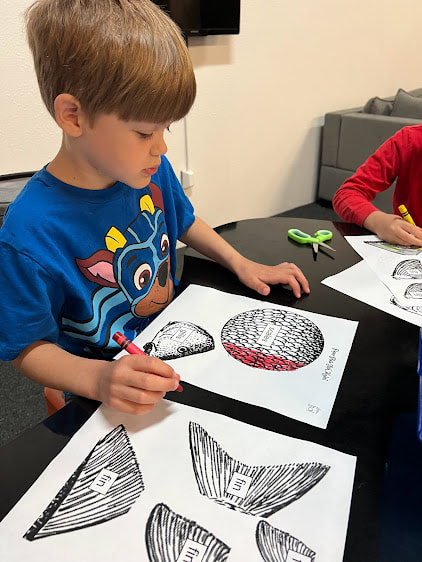
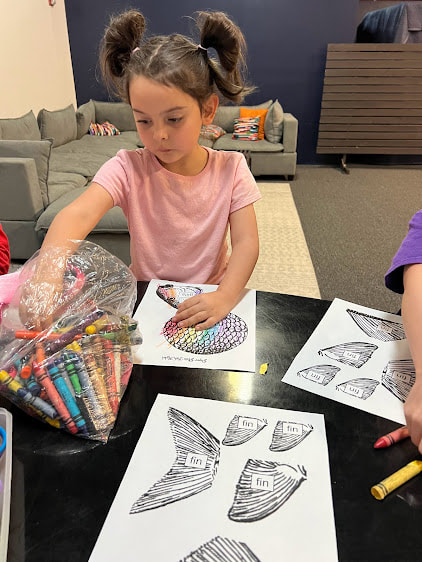
  Making a paper plate fishTo reinforce the parts of the fish that we learned about, I had the students make a paper plate fish with all the fins, scales, and gills. I had the students color their parts first. We were thinking of some fish we knew and the Rainbow Fish is something that most of the students were familiar with so many colored theirs like a rainbow. One student colored theirs like a yellow tang.
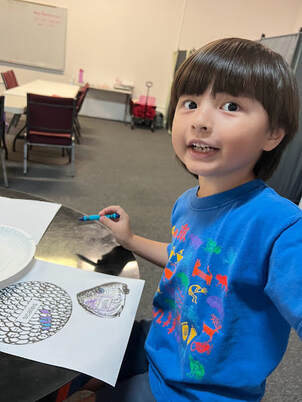 This student is doing a very meticulous job on the scales coloring each scale a little blue and a little purple to show how they change color in the light. He was telling me it was all about the 'details' Wonderful! 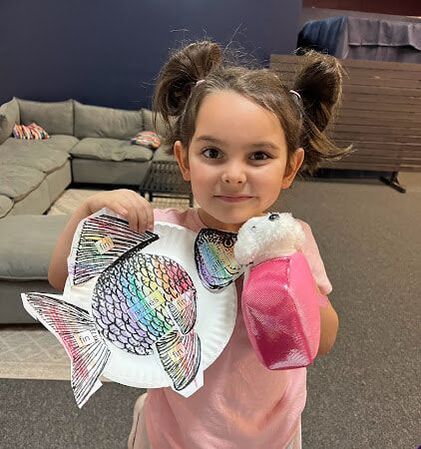 Finished Fish! 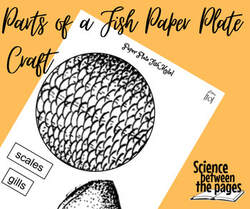 Here is a simple template for the paper plate fish.
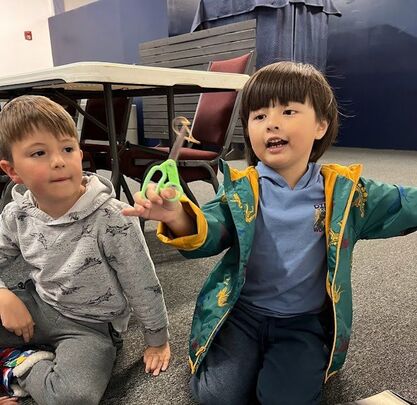
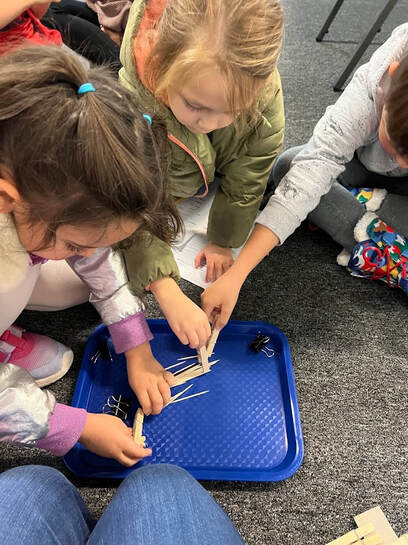
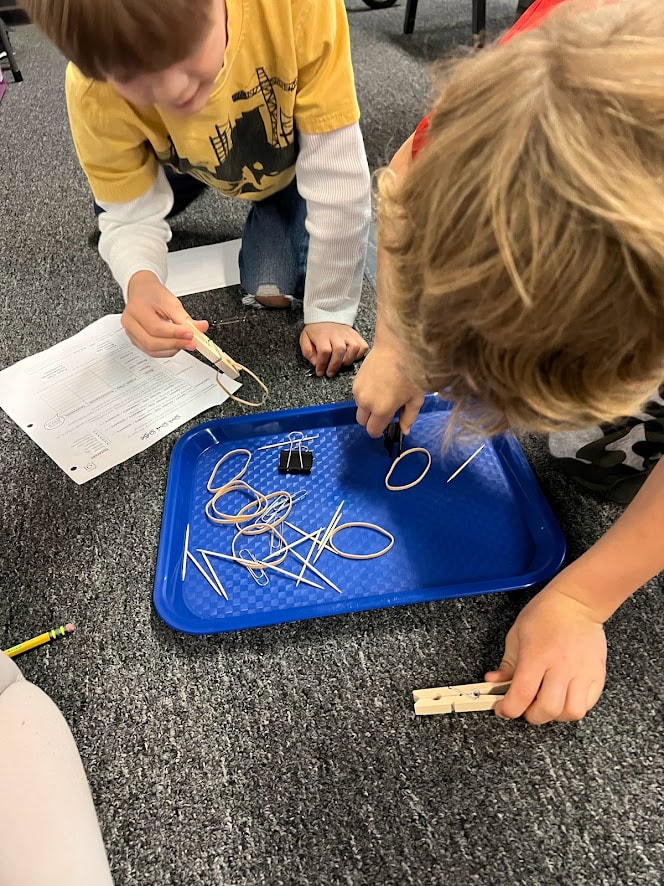
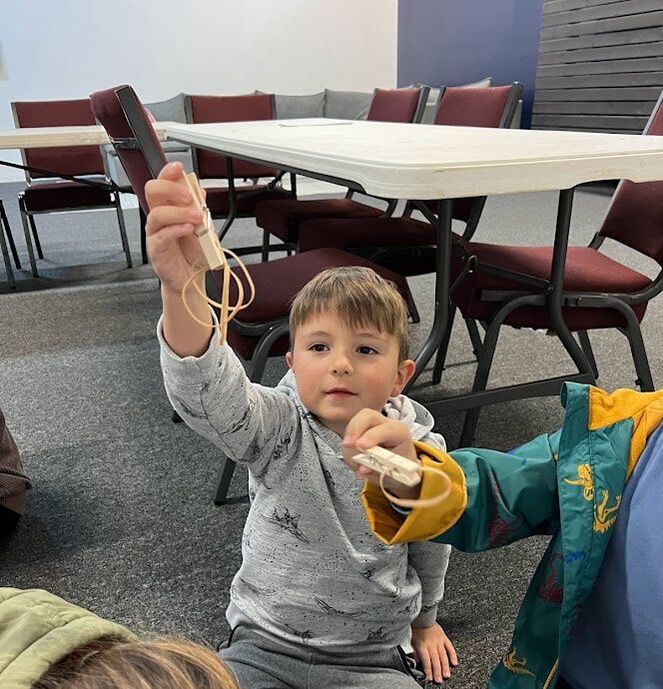
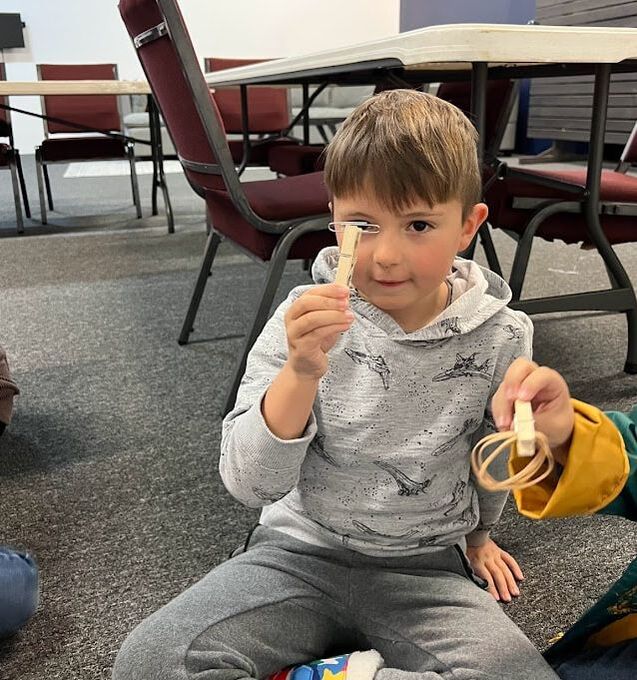
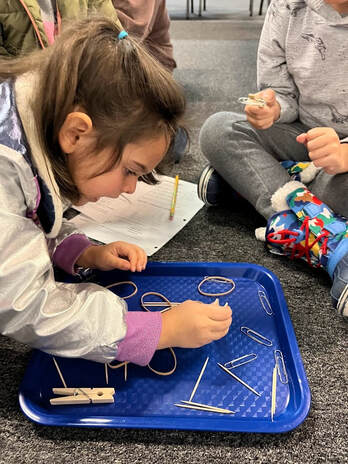
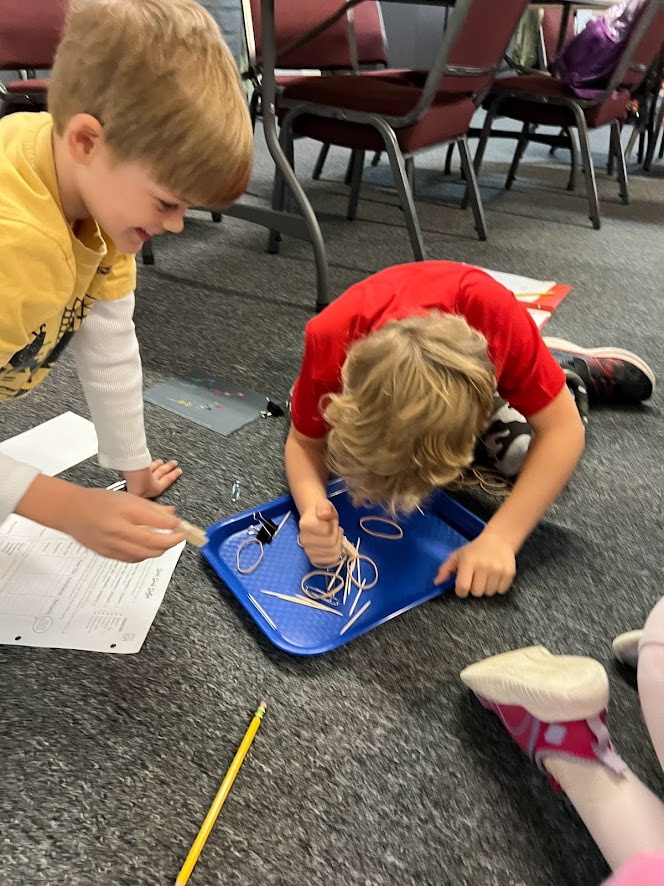
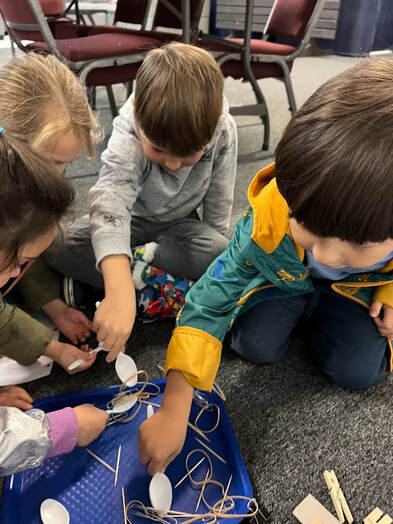
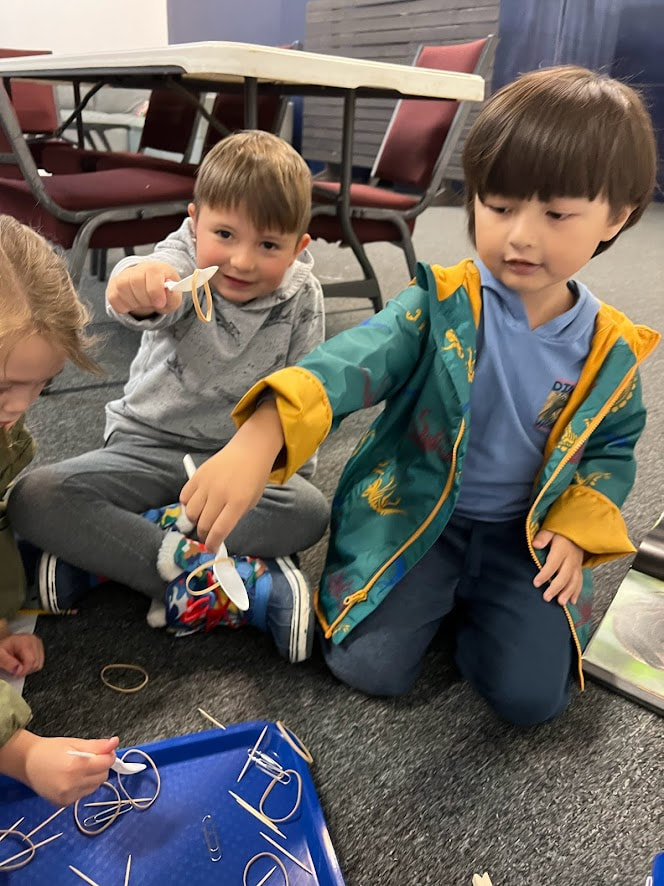
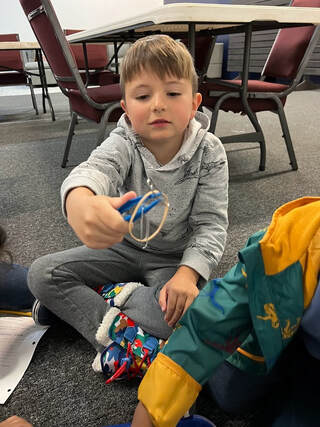
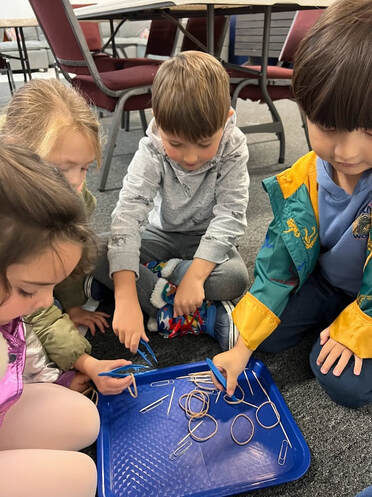
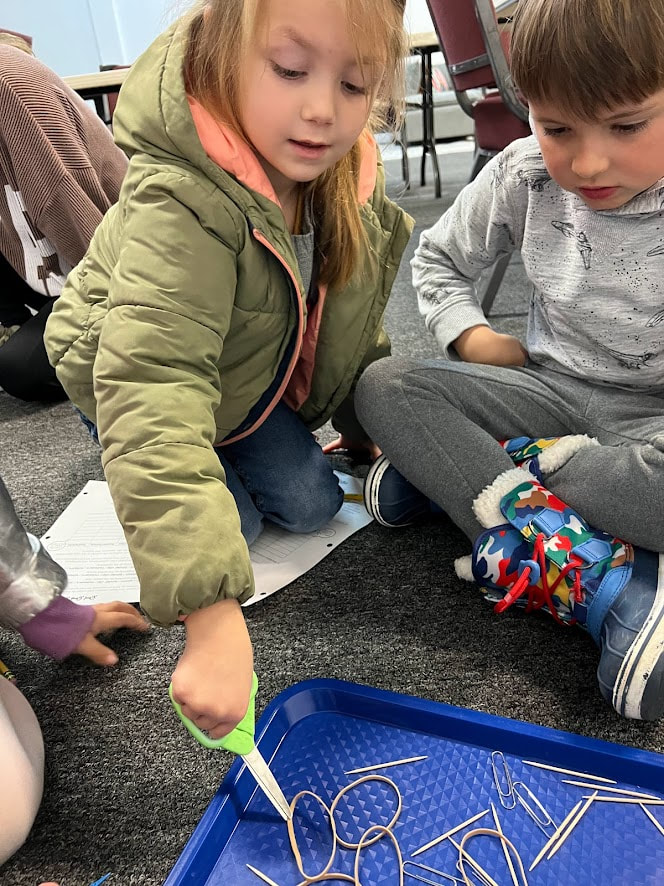
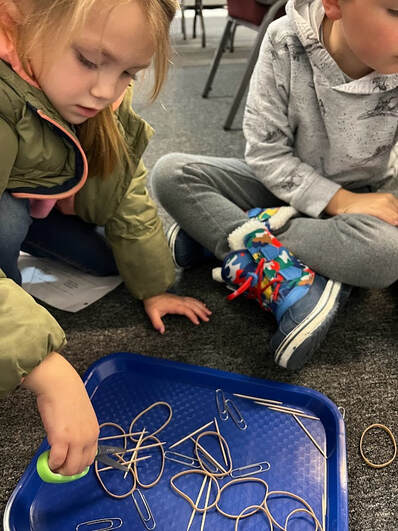
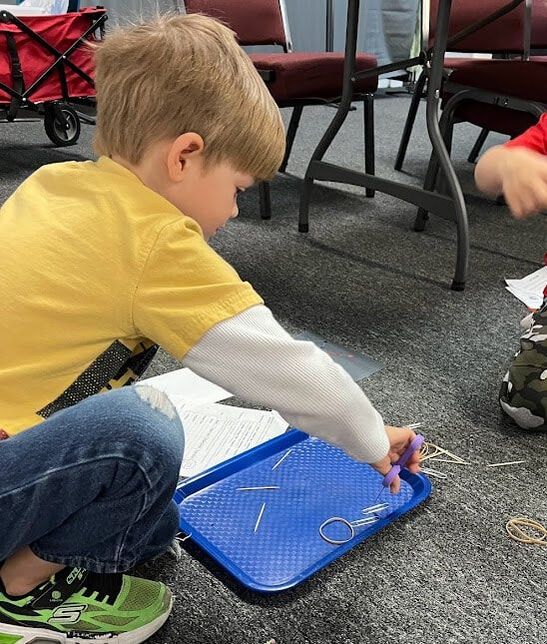
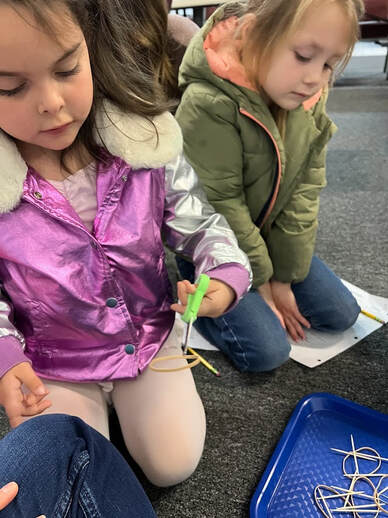
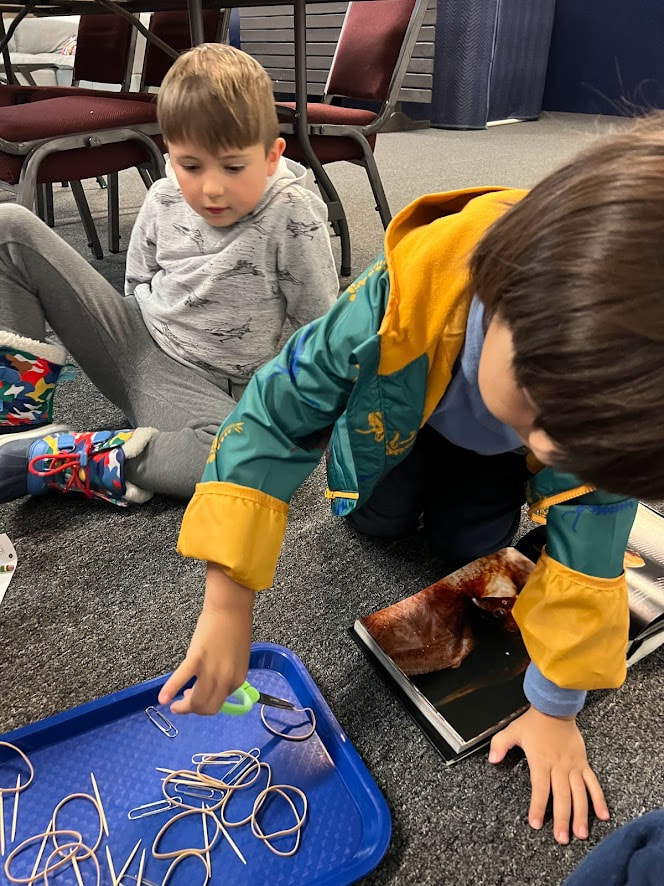
Manna Moment: Where did the World Come from? This is the text from the fifth day of creation that we discovered today. "The sky was now ready for birds to fly in it; Chirps, squawks, and coos filled the air in a minute! - There were black birds and brown birds and yellow and blue- With long beaks and short beaks, and tails and wings too!.- God’s Word filled the waters with fish right away;- The seas were soon swimming with orange, blue and gray- Good were the creatures made on the fifth day- " What is a Bird by Lola M Schaefer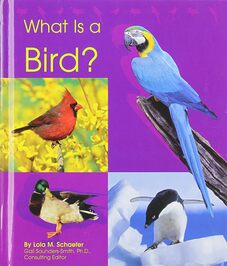 This was a very simple book that states one characteristic of birds on each page along with a vivid photograph. These simple books with pictures really draw out all the ideas from these young minds. 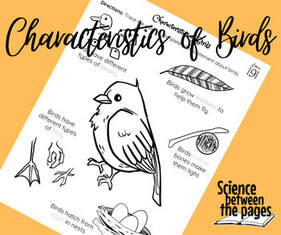 I gave each student one of these reading guides as well that mentions some of the characteristics of birds with a keyword for them to trace as we are discussing some facts about birds. For a review, students can color it. Bird Beak Buffet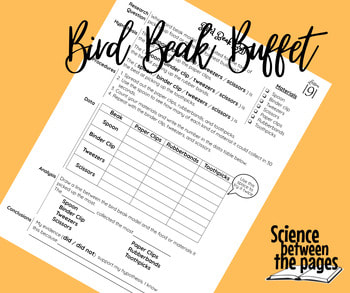 Now that we know some characteristics of birds, it is time to focus on one. I chose to focus on their beaks. Their beaks will determine what food they are able to eat. The students had to 'pretend' to be birds and not pick up the 'food' with their hands but see if they could do it with a spoon, tweezers, scissors, clothespin or binder clip. The materials that they needed to pick up were paper clips, toothpicks and and rubberbands. Here is an investigation sheet that you can use if you have some older students. You can time each student to see how many things they can pick up in 30 seconds and then count and write the number on the chart. My students loved stacking the toothpicks and scooping up as many things with the spoon as they could.
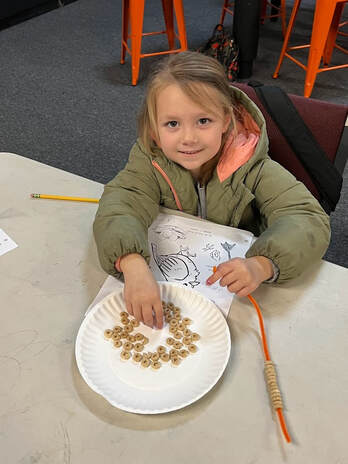
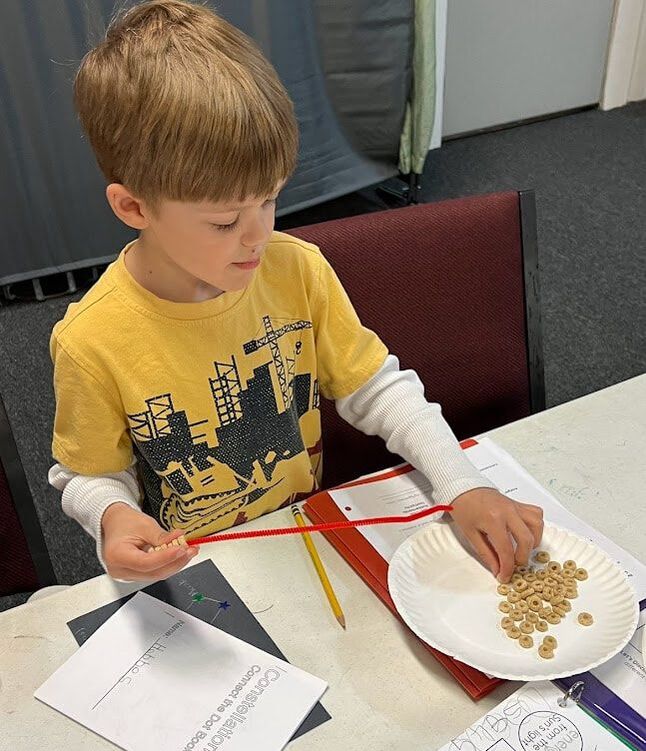
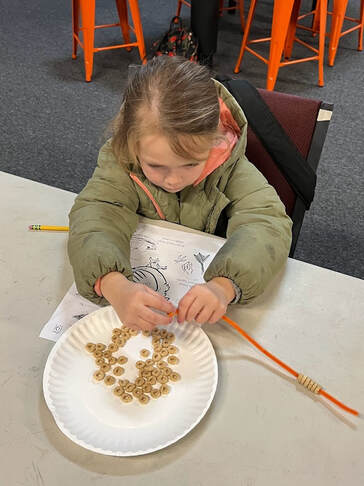
 Making a miniature Bird FeederI wanted to have the students make their own bird feeder and so I picked this very simple design. Students all received a chenille stem and some circle shaped cereal to place on it. Once it was full, they can shape their chenille stem into any shape they wanted and hang it on their tree at home. They can then watch all the birds that might come by for a snack.
 Manna moment and read aloud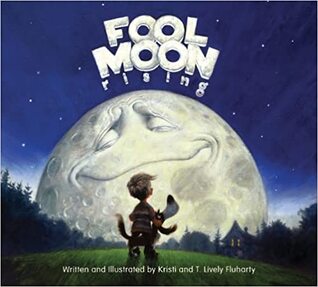 1 Corinthians 4:7 (NLT)- "What do you have that God hasn't given you? And if everything you have is from God, why do you boast as though it were not a gift?" This scripture is on the opening page of this book, and while this book teaches some facts about the moon, it also addresses a character issue of pride. All things are from God and if you have them, they are a gift to praise God for and point back to Him. The moon facts presented here are:
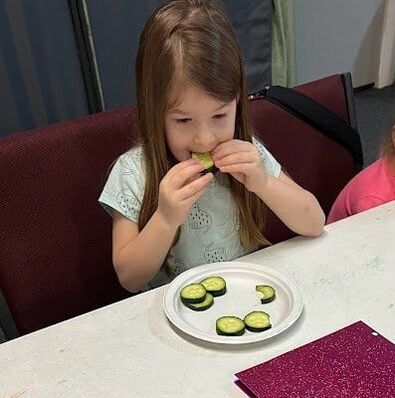
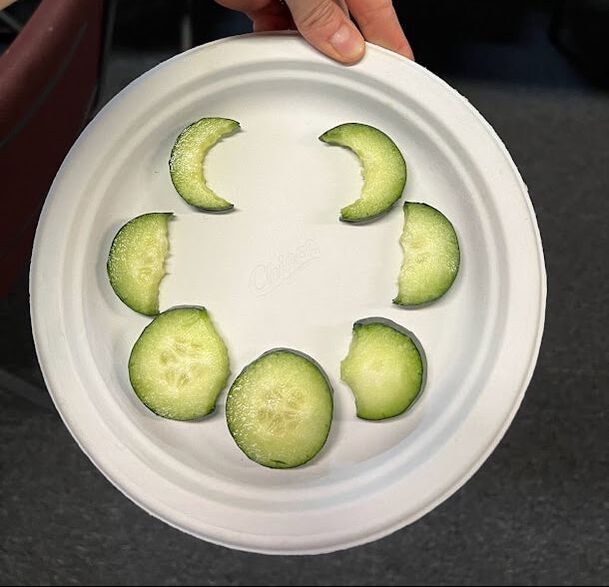
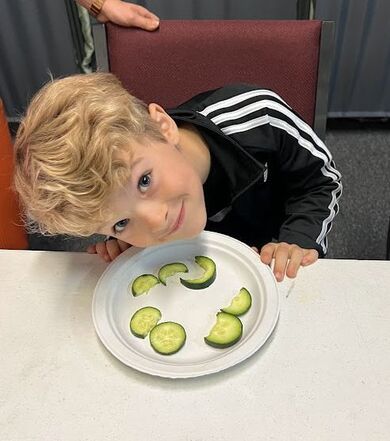
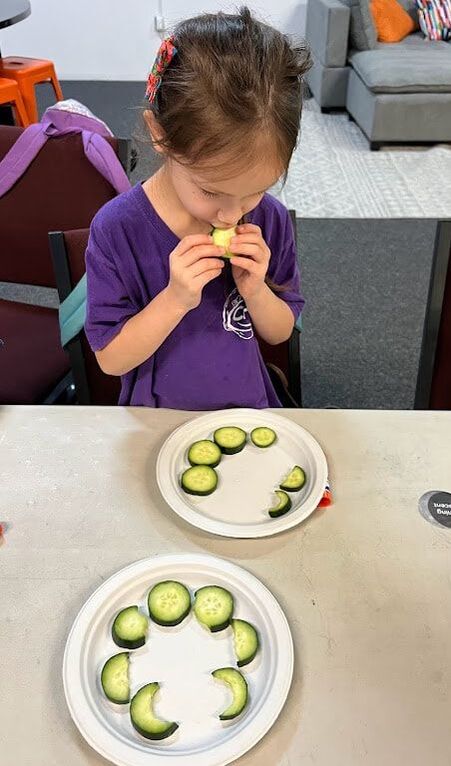
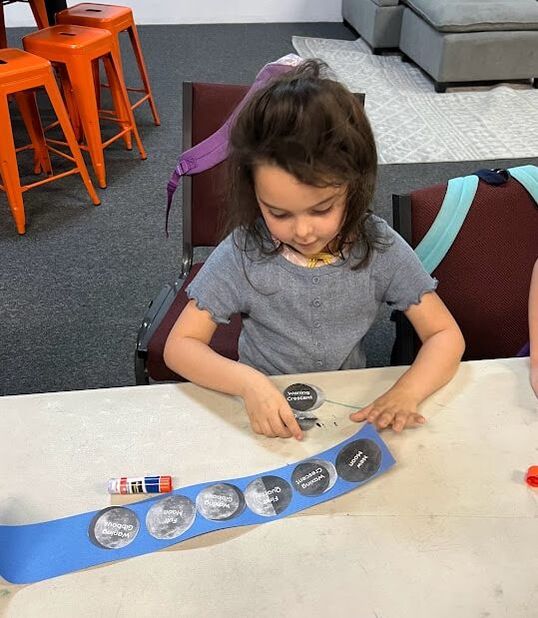
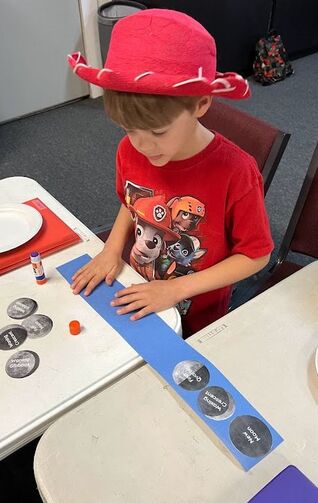
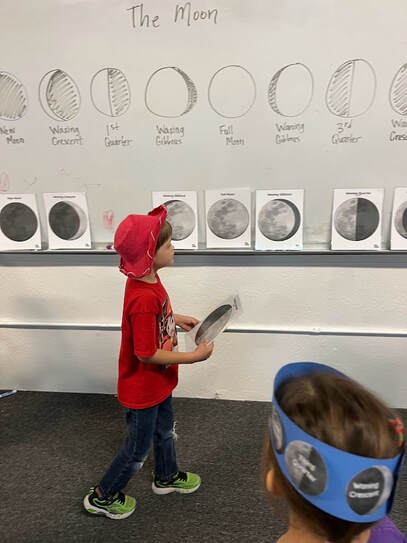
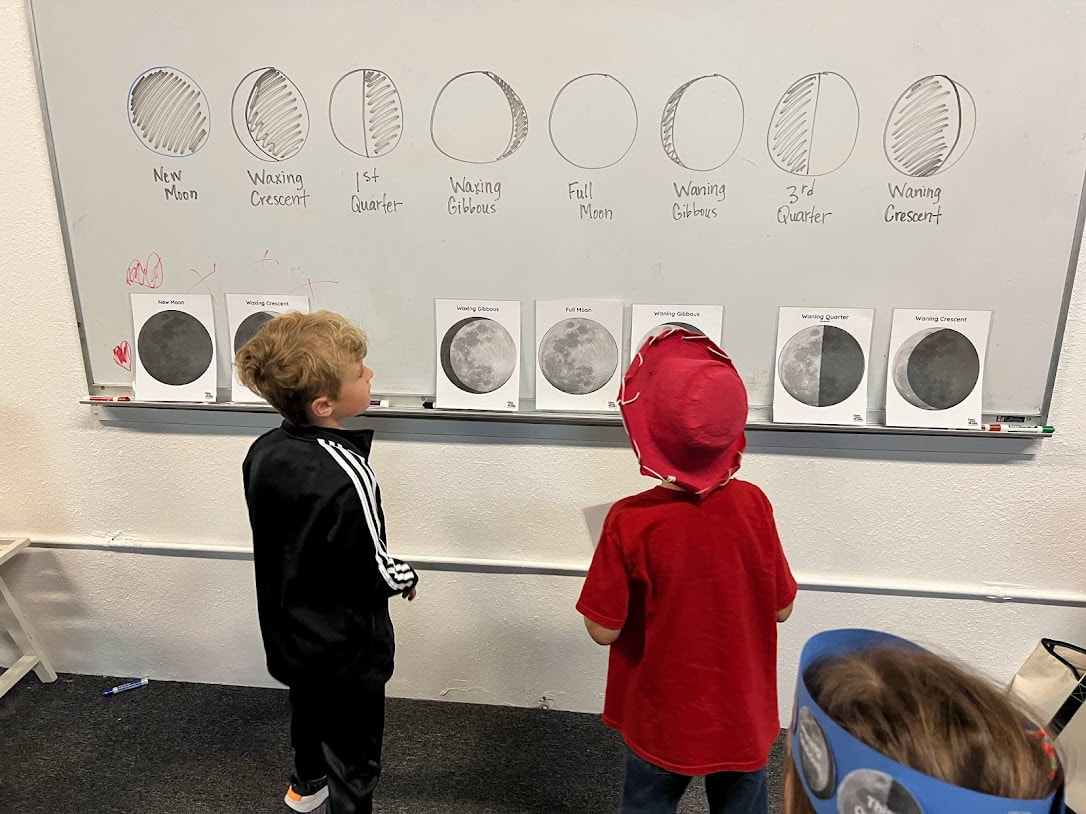
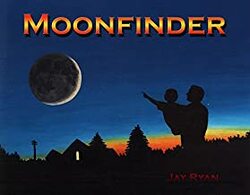 MoonFinder by Jay Ryan is a second book that I presented to the students that has wonderful tips on how to find the moon in the sky with beautifully illustrated pictures. While I did not have time to read them the story, I was able to show them the pictures of the moon and how you can find it in the sky. I highly recommend this book if you are wanting to be a Moonfinder. Phases of the Moon orderAfter we finished with our read a-louds, we traveled to the board. I gave each student a different 'phase' of the moon and they had to place themselves in order based on the phases drawn on the board. A wonderful mom took our picture as a class. 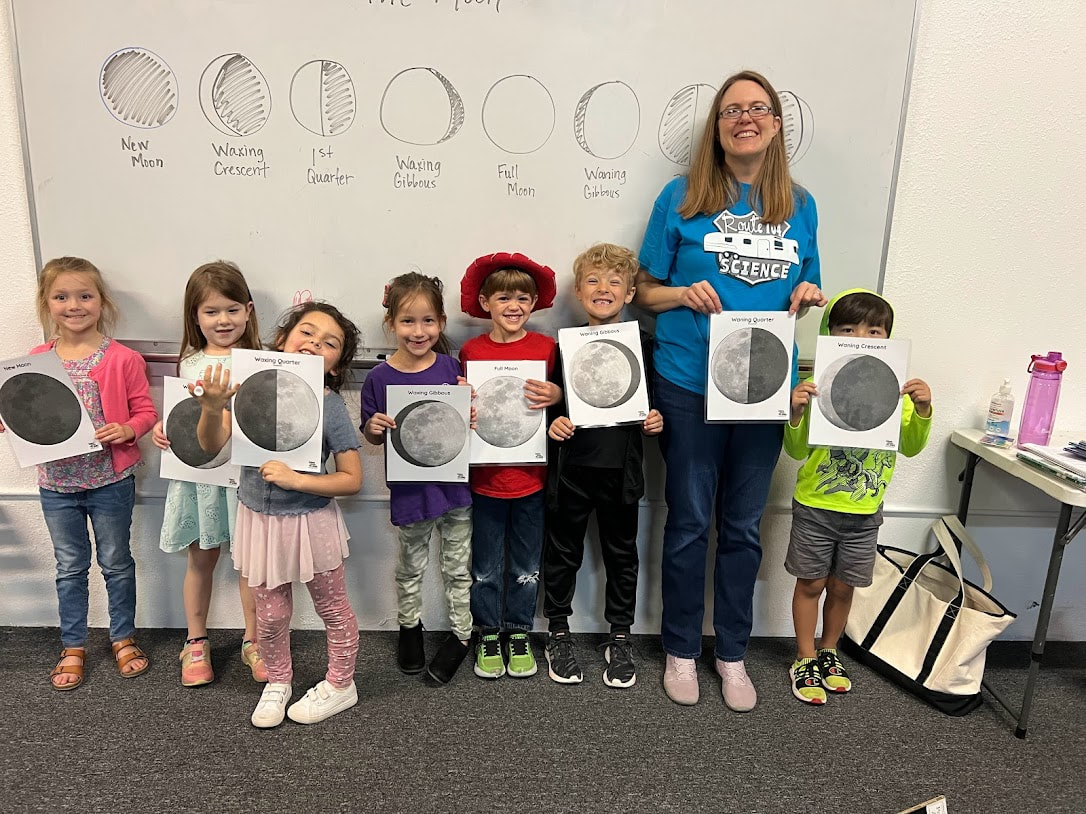 cucumber moonsNow that they are familiar with the phases of the moon, I had them make the phases out of cucumbers. This is typically done with Oreos but I find cucumbers to be just as wonderful and less messy. Speaking from experience, my children receive more reminders of the phases of the moon with cucumbers than oreos as I don't typically buy oreos but always buy cucumbers.
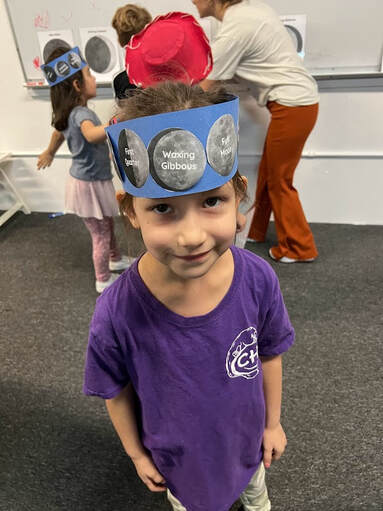
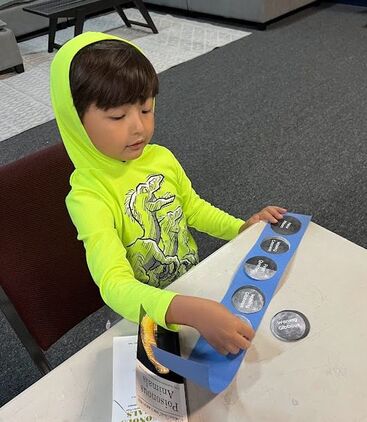
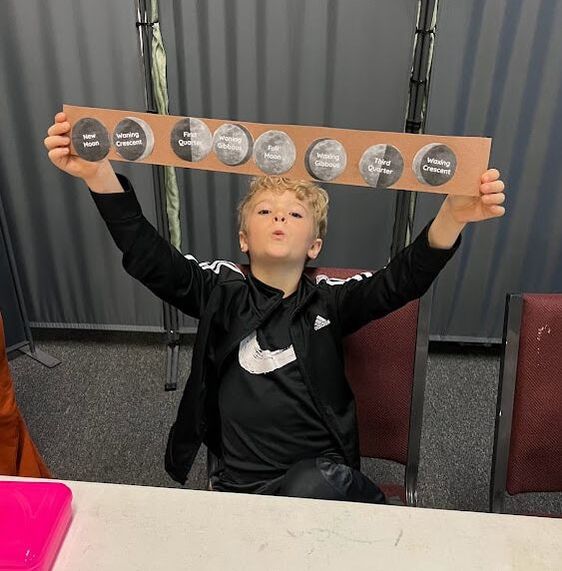
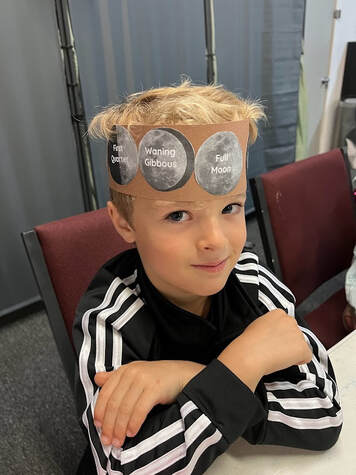
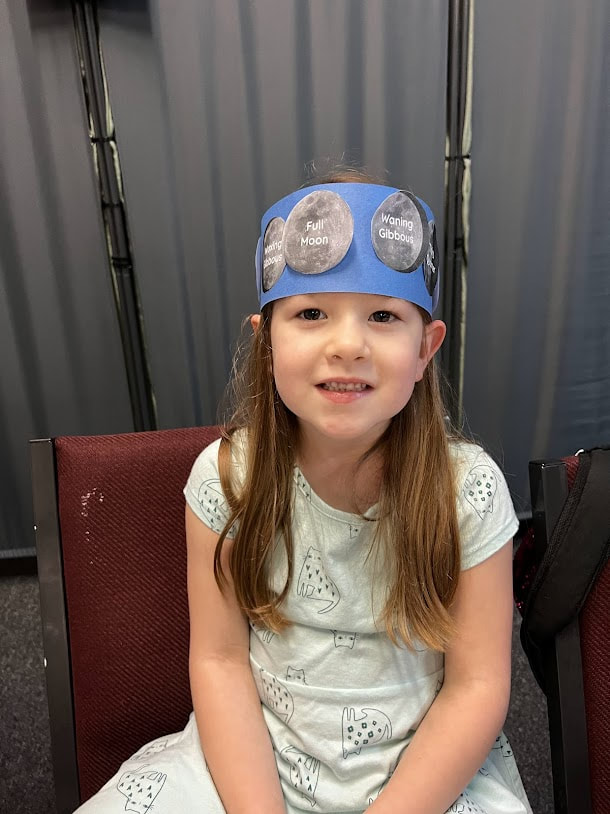
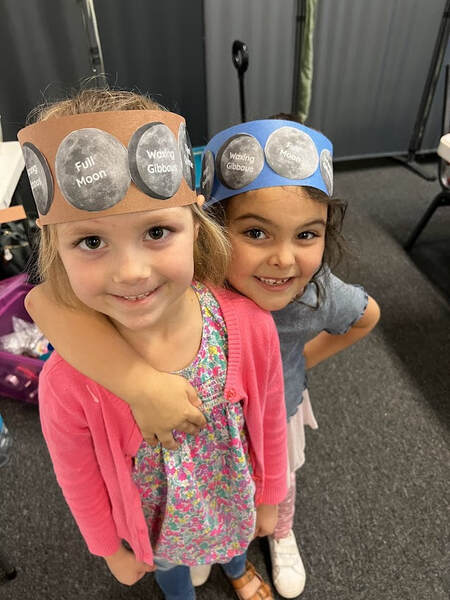
Moon phase HeadbandsAs a take home reminder of the moon phases, I had the students glue moons to a head band.
 A great extension of this activity is to have a large ball represent the earth or a globe in the middle of the room and have the students with their head bands on rotate around the earth. It might be a dizzy experience but they would love it. Phases of the Moon ScrambleSome students were finished with their head bands before others and so I scrambled the Moon phase cards and had them re-order them at the board.
Moon Log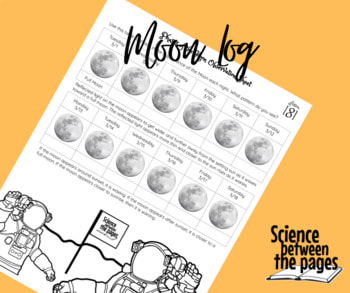 I gave each student a moon log to document their observations of the moon. It does have the dates written on them as today, there will be a full moon. You can change the dates to match when you are observing. There are extra tips for finding the moon on here that are helpful.
Where did the world come from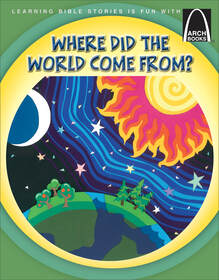 We are continuing to learn the hand motions for this delightful poem which is found in this book with colorful illustrations. This brings us back to Who made it all and Why we can explore it.
Read Aloud: The Sun and Stargazing This is the first book that I read to the students today. It is a newer book with wonderful pictures that illustrated the tilt of the earth around the sun giving reason for the seasons. 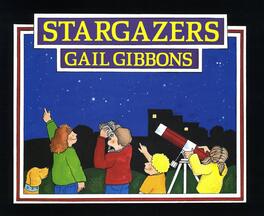 This is the second book that I read to the students after we learned that the Sun was a star. Points of learning this book touched on were:
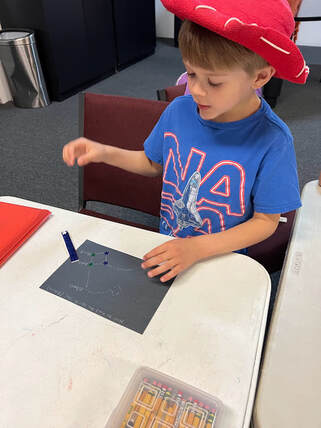
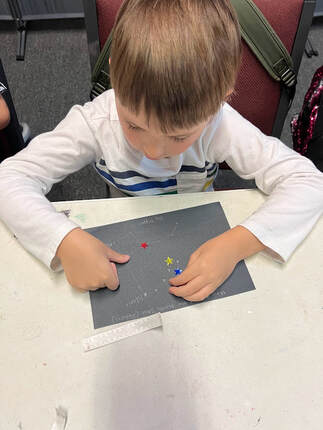
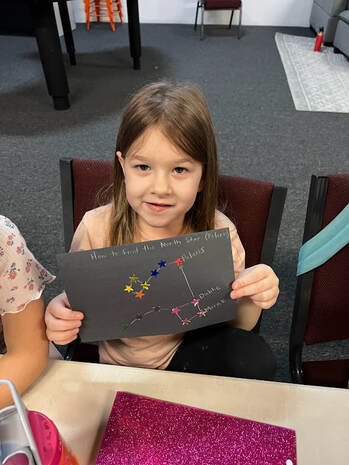
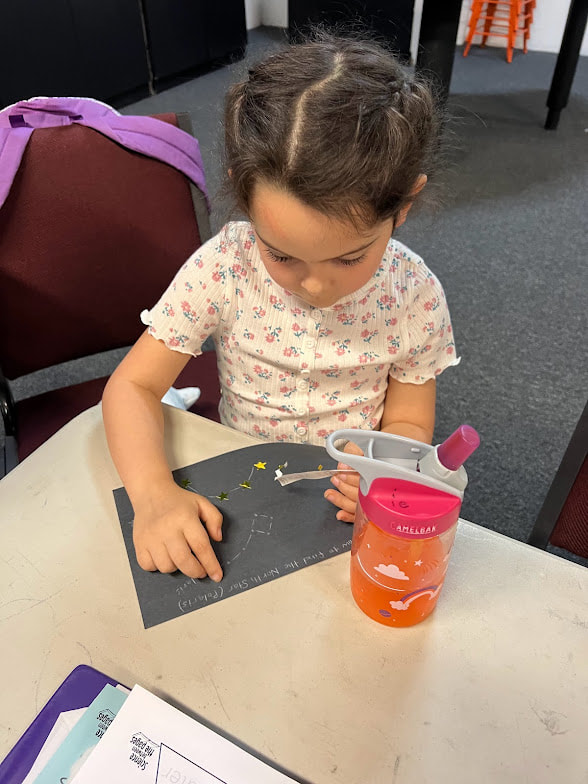
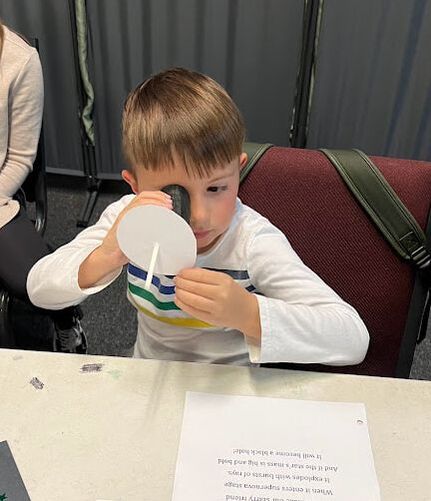
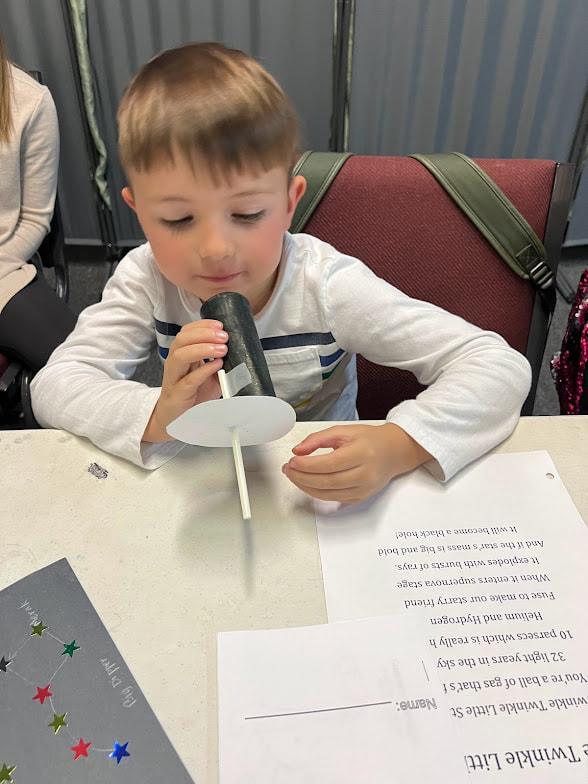
Twinkle Twinkle Little StarHere is a little song that I taught the students to remember what stars are: Twinkle Twinkle Little Star You’re a ball of gas that’s far 32 light years in the sky 10 parsecs which is really high Helium and Hydrogen Fuse to make our starry friend When it enters supernova stage It explodes with bursts of rays. And if the star’s mass is big and bold It will become a black hole! How to find the North Star1. Find the Big Dipper 2. Look for the two stars at the right edge of the Big Dipper. 3. Follow these two stars (Dubhe and Merak) straight and there will be the North Star or Polaris. I used black construction paper and a white map pencil to draw a diagram of the Big Dipper, labeling the two stars on the right side of the dipper, Dubhe and Merak respectively. I then drew an arrow from these stars up to the North Star or Polaris so that the students would be able to find the North Star in the sky. Polaris is the last star on the handle of the Little Dipper as well. I had the students use star stickers to place on the dots. As the stars were colored, this was a great time to review the different colors of stars and their temperatures. Red stars are cooler, yellow stars are medium, and blue/white stars are hot.
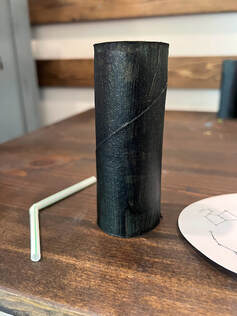
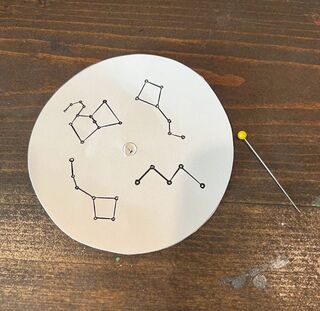
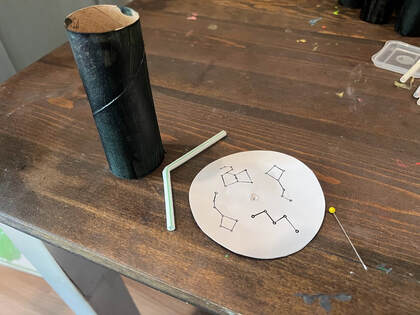
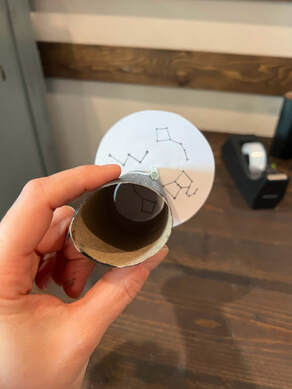
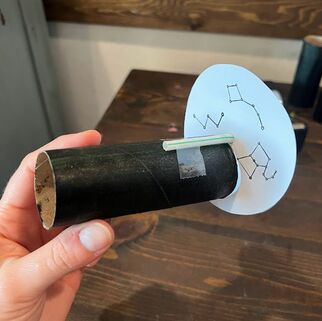
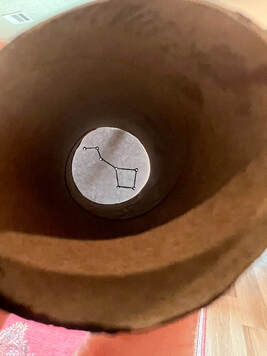
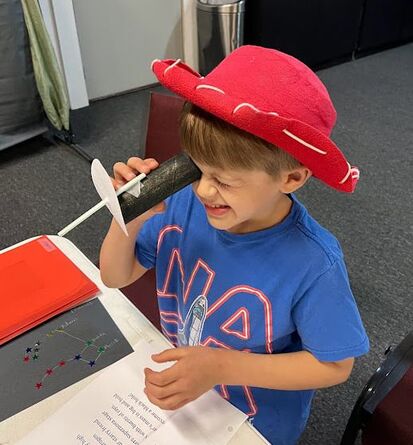
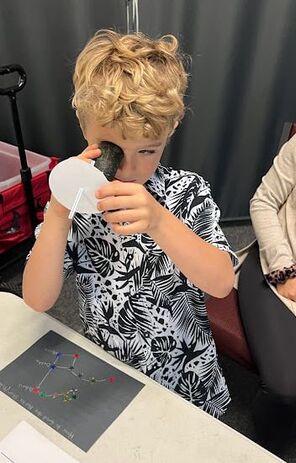
making a constellation viewer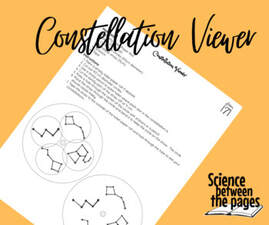 I prepped this activity for class but the directions on how to do this are on the printable along with the templates to cut out. 1. Paint the toilet paper rolls 2. Cut out the constellation viewer template 3. Use a straight pin to poke the holes 4. Use scissors to punch a hole in the middle for the straw 5. Cut a bendy straw in half and feed it through the constellation circle 6. Tape the constellation circle to the toilet paper roll and Voila!
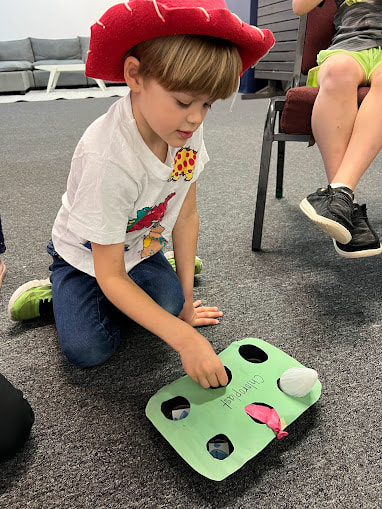
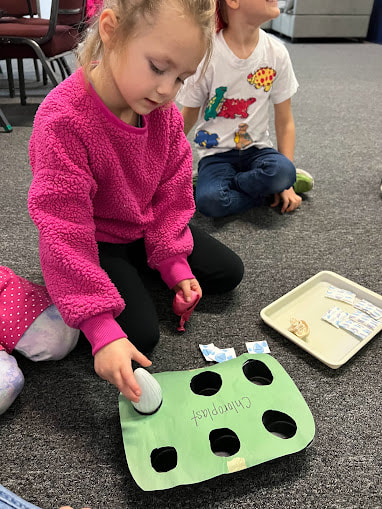
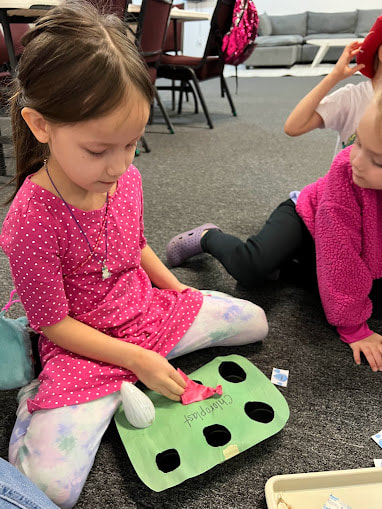
Manna Moment and Opening ActivitiesAs the students entered, I set out the photosynthesis cards and had them pick the ingredients for it and make some food for their plant and oxygen for us. I made it into an equation where Sun + Water+ CO2 = Sugar + O2. We then remembered that our Creation God has set all of Creation in order and in motion by reviewing the first three days of Creation and learning the hand motions for the fourth day of Creation that go with Where Did the World Come From?
 One of my students was having trouble putting the equation for photosynthesis together and another student would race over to him and help him with the next part of the equation. I loved seeing the team work and kindness! 
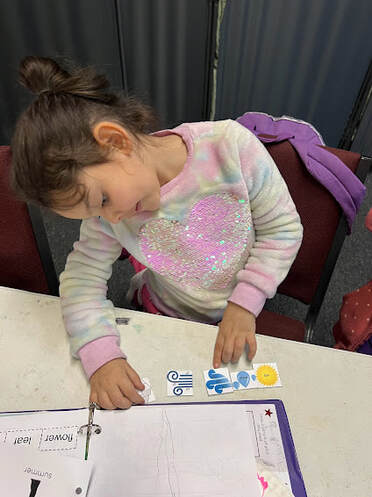
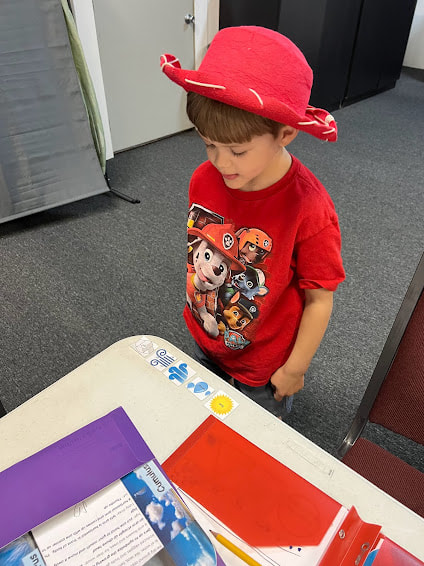
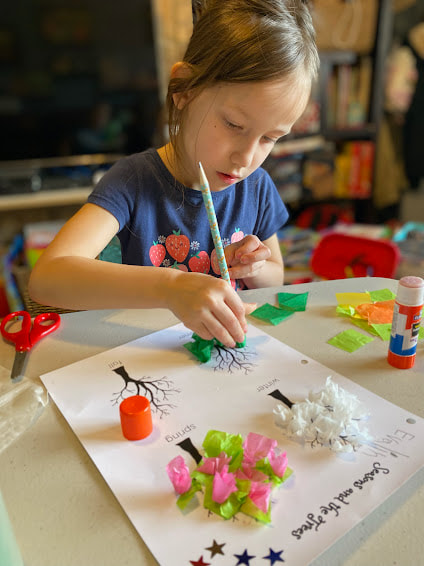
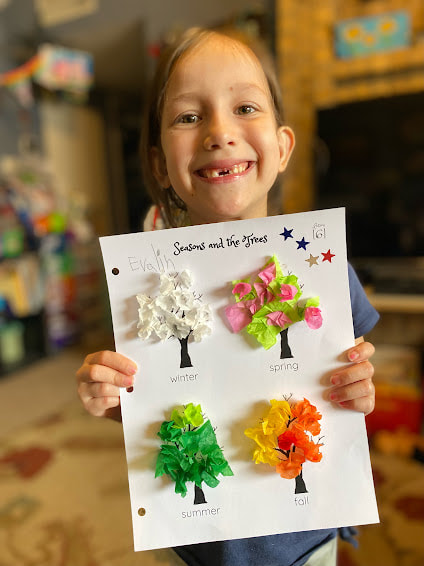
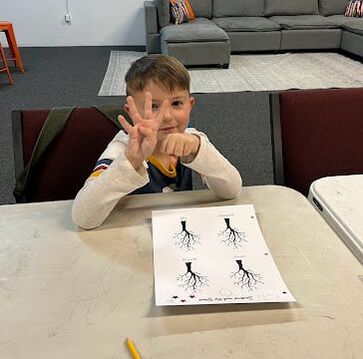 Why do we have Seasons?We need the energy from the Sun for plants to grow and we have food. Yet another component of growing food is the importance of our seasons and how we get to have four seasons so that we have enough time to grow the amount of food necessary for life on earth. We also need the tilt of the Earth to give us our spring and fall seasons. If our Earth hung in space straight up and down, we would simple have winter and summer which would not give us enough time to grow food. I brought in a lamp with no shade to represent the Sun and an inflatable globe that I used to demonstrate how the Earth rotates on its axis at a tilt while revolving around the Sun. The students were able to see why the tilt was so important. 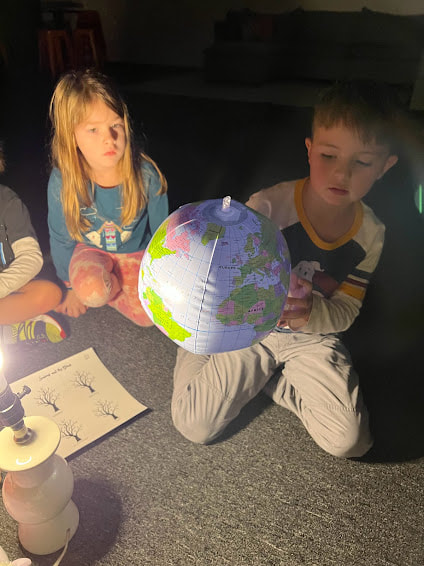 While traveling around the Sun, we sang the Season's Song to the tune of 'This Old Man' 'Winter, Spring, Summer, Fall There are seasons Four in all Look outside and you will see It is _________, yes sirree It was funny today, I wasn't sure which season the students would say it is. It's 'supposed' to be winter and cold yet it was 70 degrees when I taught this lesson and felt a whole lot like spring. Texas weather, very unpredicatable. Read Aloud: The Seasons of Arnolds Apple Tree by Gail Gibbons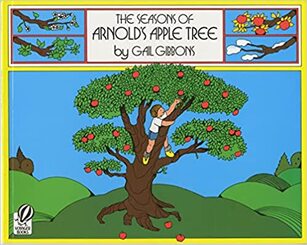 This book highlights the changes in the tree as it goes through the seasons and how Arnold responds to the changes. Something to not is that he never complains and each season brings new activities that he is glad to do. Seasonal tissue paper trees To review the different seasons during class, I had the students make tissue paper trees and remember the seasons, why we have seasons, and what are the two things that we need in order to have the seasons. We need the seasons in order to grow food. We need the sun to give energy to the plants to make food through photosynthesis, and we need the earth tilted at just the right angle so that we can have the pleasant seasons that we do.
Homework highlight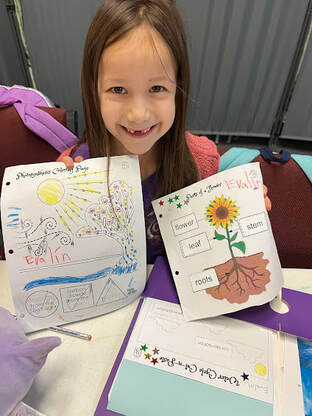 I love seeing all the students complete their homework. They receive stickers for completion that work towards a prize at the end of class.
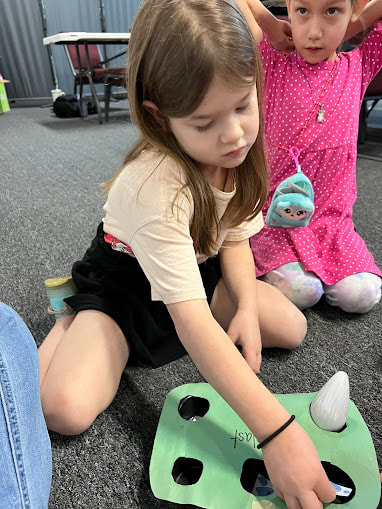
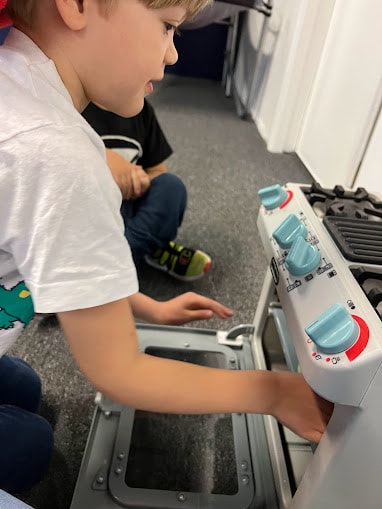
Read Aloud: Mortimer's First Garden by Karma Wilson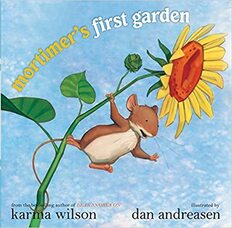 Can you imagine being a tiny mouse and the only thing you have ever done with seeds is eat them? What an outlandish thought to stick something you have always devoured and put it in the dirt! Sometimes the Lord asks us to do some outlandish things and by faith, we do. When we do, the abundance of joy is reaped. I loved using this book to introduce the parts of a plant as it begins to grow from the seed that Mortimer planted in faith. a Leaf Kitchen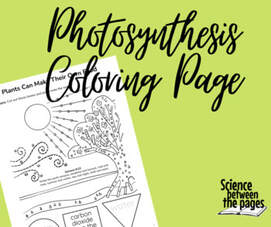 To break down the process of photosynthesis, I brought in a toy oven, a 6 space muffin tin, a lightbulb to represent the sun, two different colored balloons, some sugar packets and little cards that have water droplets on it. I placed the 'ingredients' of photosynthesis in the muffin tin; water, light, and a balloon labeled carbon dioxide. I placed the muffin tin in the oven and had the students count to five. I took out the muffin tin, took out all the ingredients and replaced them with what is produced by photosynthesis; oxygen for us and sugar for the plant. Each student was able to place the ingredients in the tin, place it in the oven and replace the items with the products of oxygen and sugar.
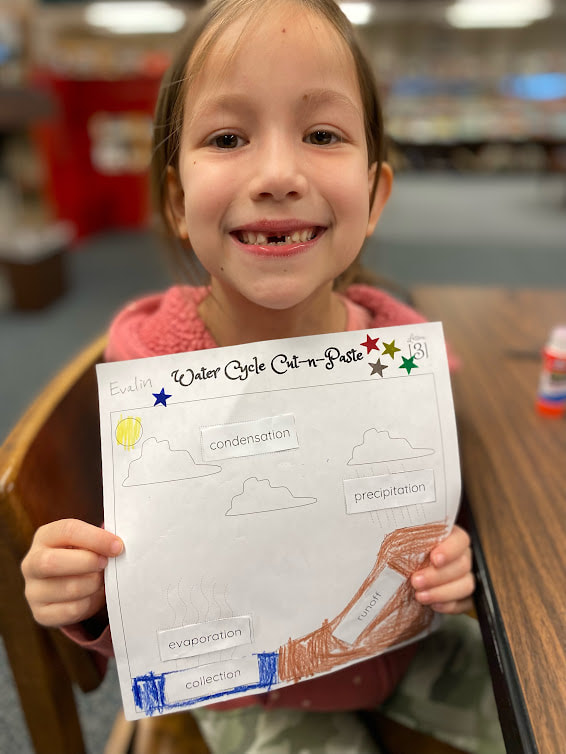
 Parts of a plant to the Muffin Man I brought in some sunflower seeds for the students to see and hull for themselves. They could eat them if they wanted to. I also gave them a handout where they can cut and paste the parts of the plant. While we did this, we sang the Parts of a Plant song to the tune of Have you seen the Muffin Man. I found this song here 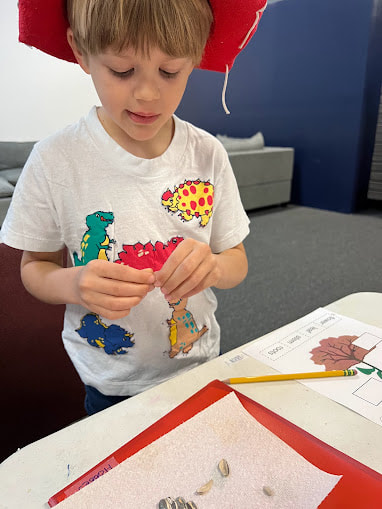 Duck Duck Goose Water Cycle StyleTo review the water cycle, we played Duck Duck Goose but instead of saying Duck and Goose, we set the four parts of the water cycle; Evaporation, Condensation, Precipitation and when we said 'Run off' the students were off...Each student had at least one chance to get up and say the different parts of the water cycle.
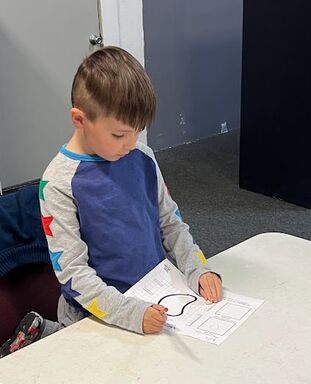
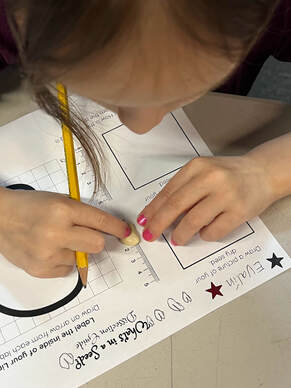
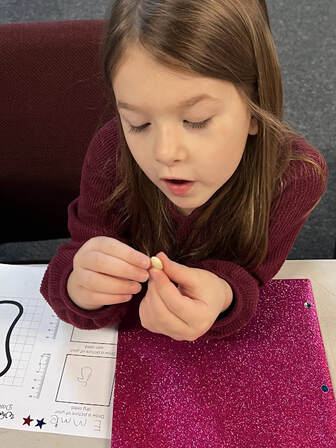
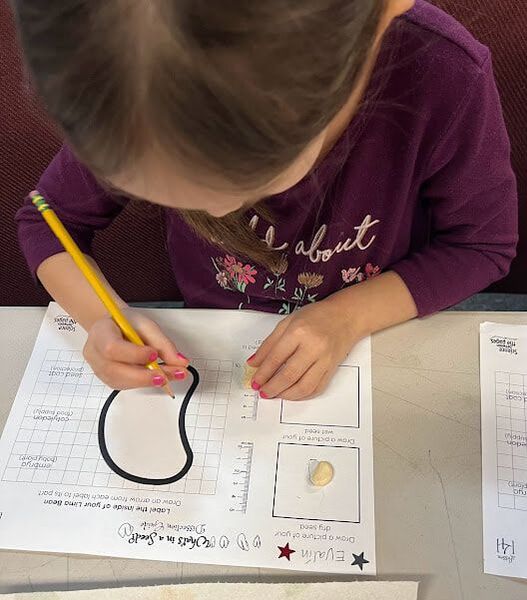
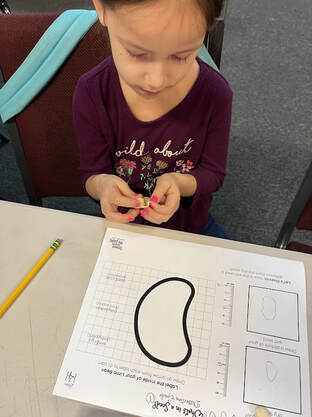
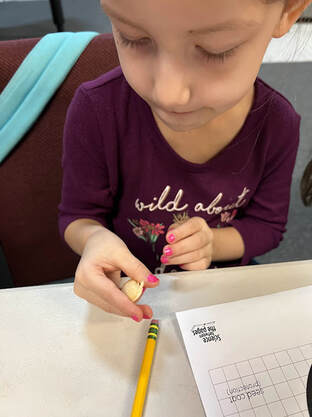
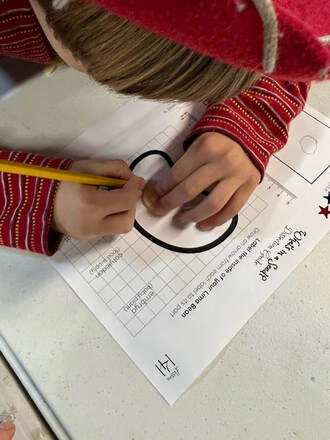
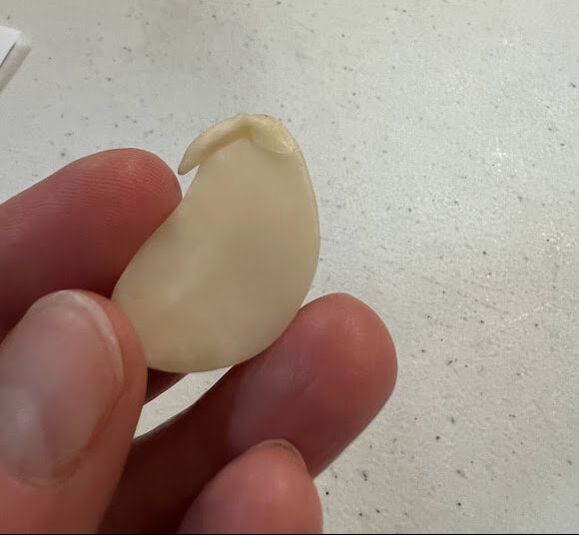
where did the world come from? As the students rolled into class, we reviewed our hand motions and poem from Where Did the World Come From by Karyn Lukasek Here is a video of Day 3 when God created the dry land and the vegetation. Read Aloud: It Starts with a Seed by Laura Knowles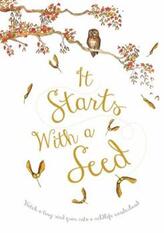 This simple text creates a wonderful picture of how a tiny seed can grow into a magnificent tree. It reminds me of how God can take the tiniest mustard seed of faith and move a mountain. God can do great things with tiny things, even our precious children. Lima Bean Dissection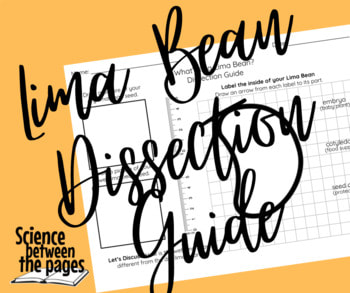 This is the procedure that I followed as I led the Kindergarten and first graders through a dissection of a lima bean. 1. Give each student a Lima Bean Dissection Guide. 2. Pass out one dry lima bean to each student. Have the observe it with their five gifts (senses), 3. Measure the lima bean on the provided ruler. They can place the bean at the 0 and mark a line to where the lima bean is. 4. Trace around the dry lima bean in the provided box to document its size. 5. Pass out a soaked bean on a paper towel. Have them observe this bean with the five gifts (senses). 6. Measure this bean the same way on the provided ruler and then have them trace the outline of the soaked bean. They will be able to tell how much bigger the bean gets when it is soaked. 7. Have them gently take off seed coat to look at it, observe and wonder. There is a space for them to draw what they see on the large lima bean on the page. 8. Next, separate the two halves. Because there are two halves, this makes it a dicot seed. On one side, they should find the embryo or baby plant. Some will have a tiny leaf already there as well. Have them draw this on their lima bean diagram. 9. Finally, point out that the rest of the seed is cotyledon, or plant food for the seed as it begins to grow. Note: Soak more beans than necessary as some of my students enjoyed just breaking the seed into pieces. All types of exploring but nonetheless have extra on hand for your intended purpose.
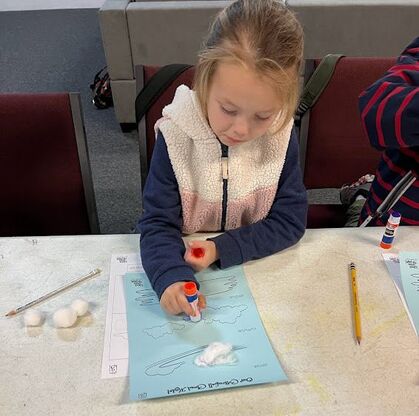
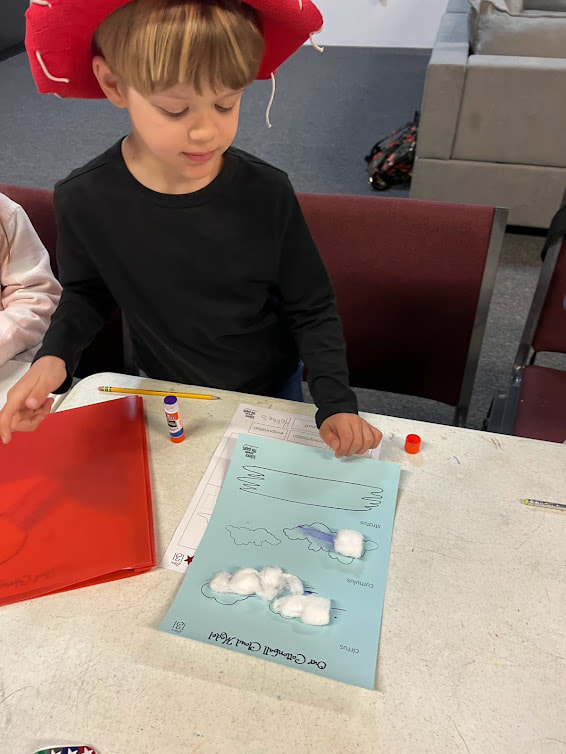
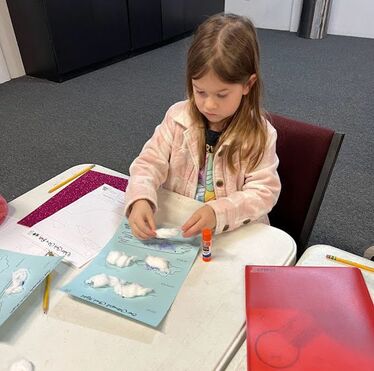
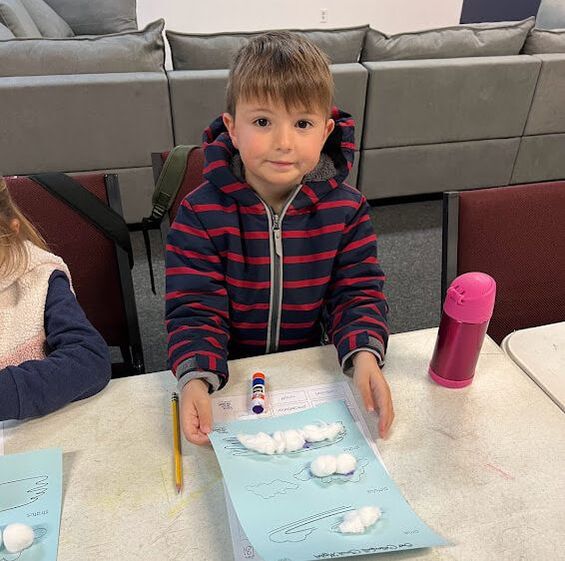
Planting Lima BeansI prepared some cups with dirt and had each of the students plant a dry lima bean and a soaked lima bean to see if they would grow. We watered the dirt and then placed a cup on top of the cup with the dirt. One student asked how they were going to water it if the cup was covered. I thought this to be a very observant question. The water cycle of course. We are going to view the water cycle in action and see if it will be enough water to grow our lima beans a little bit. We had all sorts of hypothesis' but only time will tell what will happen. As we planted we sang the Water Cycle song from last week. 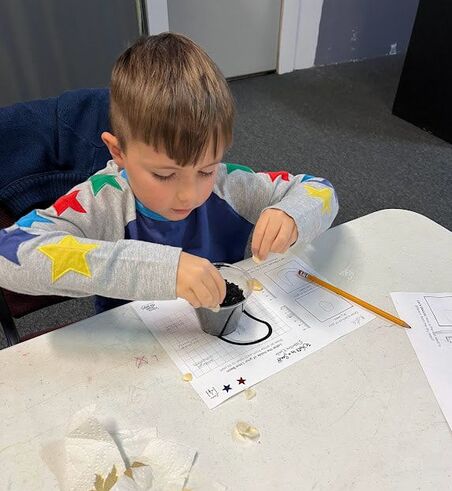 Read Aloud- The Cloud Book by Tomie de paola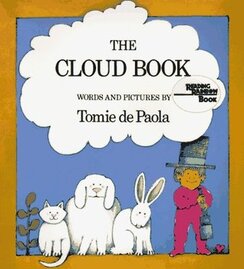 This book was great at showing and explaining to the students about the three basic cloud types. The end of the book has some legends about clouds mentioned so for the purpose of this lesson, I only presented the different types of clouds and where they can be located in the sky. Cotton ball cloud models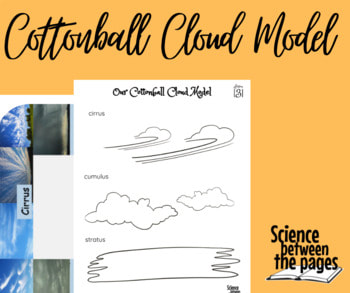 After we finished the read aloud, I printed this Cotton Ball Model out on blue cardstock and had the students gently pull apart cotton balls to make them look like the different types of clouds that we learned about. Cirrus clouds are clouds found highest in our sky and they look like wispy horse's tails so we made our cotton balls wispy. Cumulus clouds are in the middle of the sky and they are more fluffy and so I had the students just glue cotton balls together for this section. Finally, the stratus clouds are lower to the Earth's surface and look like blankets so we stretched out cotton balls to make them look like flat blankets.
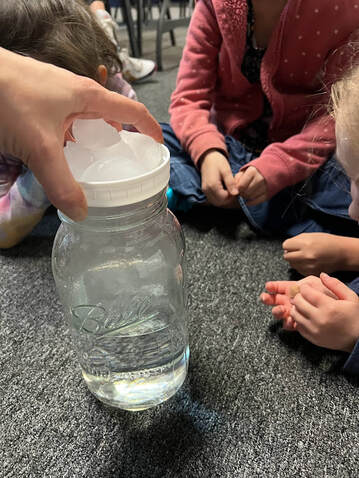
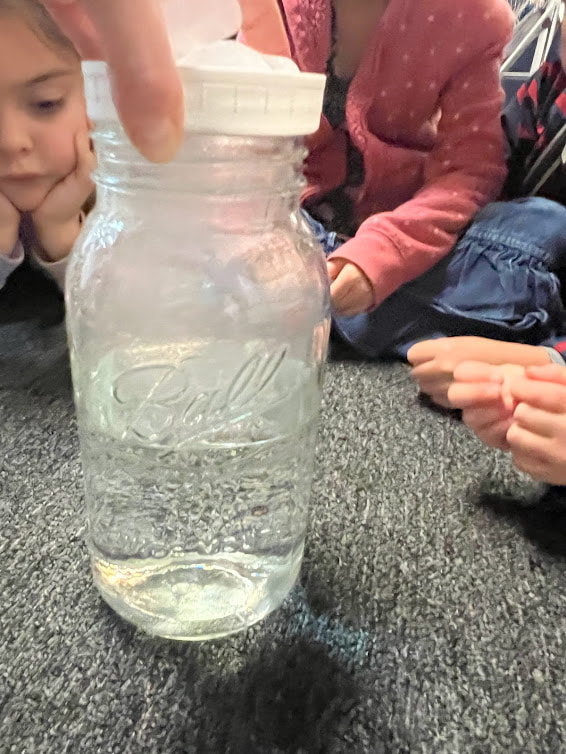
The Water Cycle SongWhile they were gluing their clouds on their paper, I drew a Water Cycle diagram similar to the one in the Water Cycle Cut and Paste sheet. I then introduced the Water Cycle through this song. Sung to the tune of ‘She’ll Be Comin’ Around the Mountain’ 'Water travels in a cycle yes it does, clap, clap, clap Water travels in a cycle yes it does, clap, clap, clap It goes up as Evaporation, Then forms clouds as Condensation Then falls down and Precipitation, yes it does, clap clap clap Water Cycle DemonstrationUsing a half gallon mason jar, boiling water, saran wrap and ice, we demonstrated the water cycle. I filled the mason jar halfway up with boiling water and placed a piece of saran wrap over it. The students should observe the steam/water vapor making the saran wrap look cloudy. This is representative of evaporation. I then, placed some ice on top of the saran wrap and bubbles of water were found all over the sides and top of the jar representing condensation. The students were able to observe several drops of water falling back into the water representing precipitation. 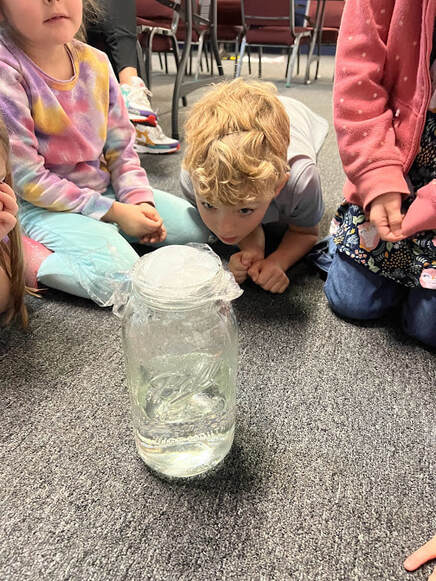 Cloud in a jar DemonstrationFrom the same equipment as we used for the water cycle demonstration and including a match, we made a Cloud in a Jar. I added a little more boiling water, struck a match and threw it in the water. Covered the jar with the lid upside down and place ice on top. We noticed a cloud forming inside the jar. I explained that water vapor cannot be seen and so in order for us to see clouds, the water vapor has to attach to particles of dust in our atmosphere. This is the purpose of throwing in a match.
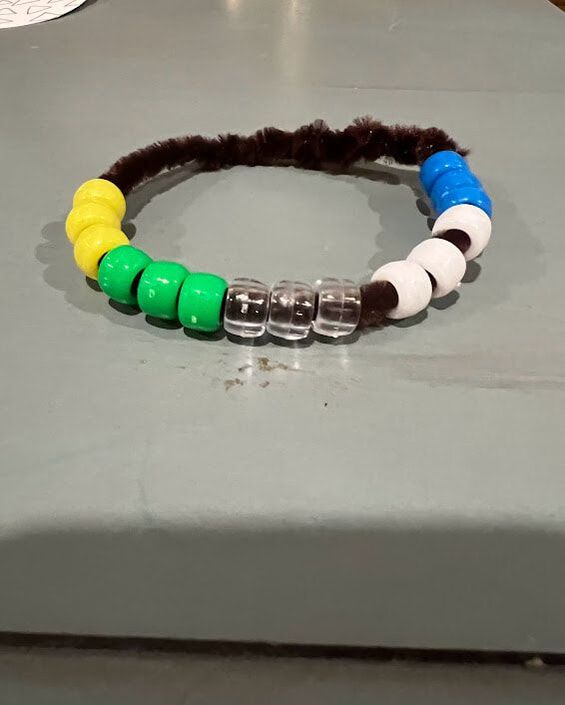
Water Cycle BraceletsIn order to remember the parts of the water cycle, I had the students make water cycle bracelets. I handed out chenille stems and one type of bead at a time, reviewing the parts of the water cycle. Yellow represents the sun Green represents the Earth that the sun warms causing Clear beads of Evaporation. From the Evaporation, Clouds form from Condensation which are the White beads and then last, the Blue beads that represent precipitation.
Water Cycle Cut and Paste
|
Lead LearnerWelcome! My name is Nicole Fleming and I have been leading science learning in the Bryan/College Station homeschool community for over 10 years. Archives
April 2023
Categories |


 RSS Feed