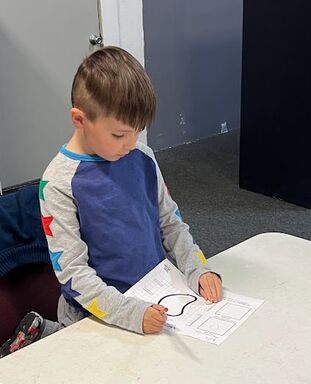
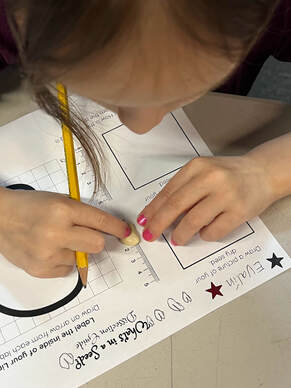
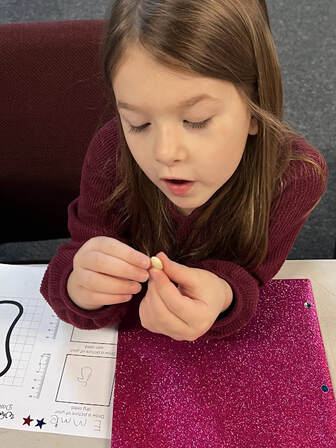
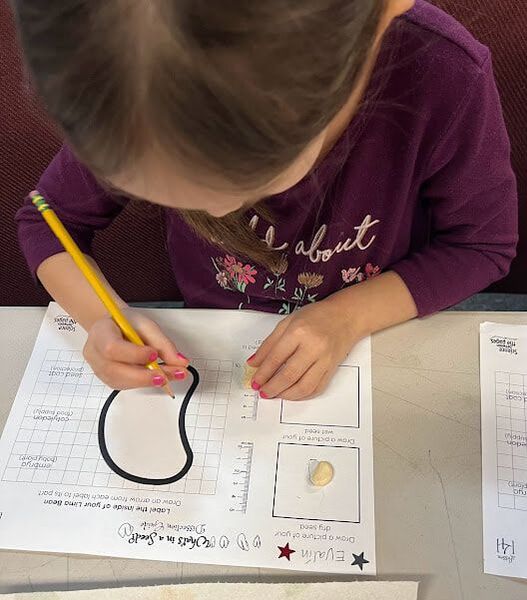
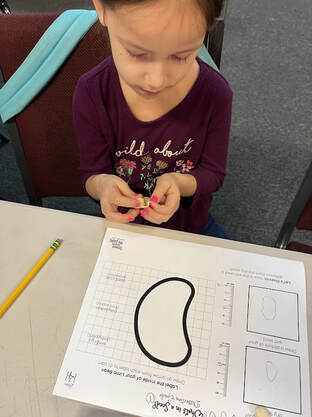
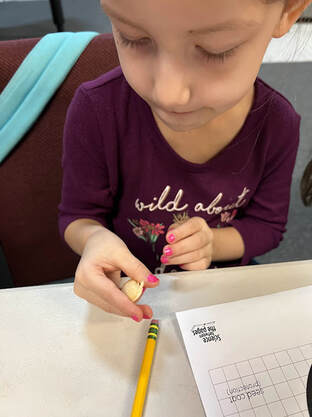
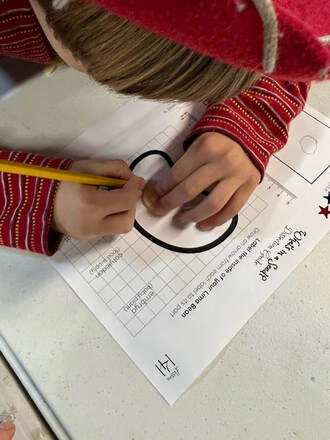
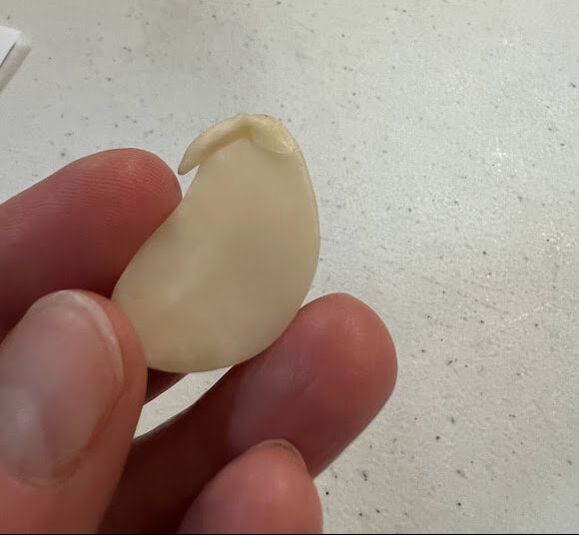
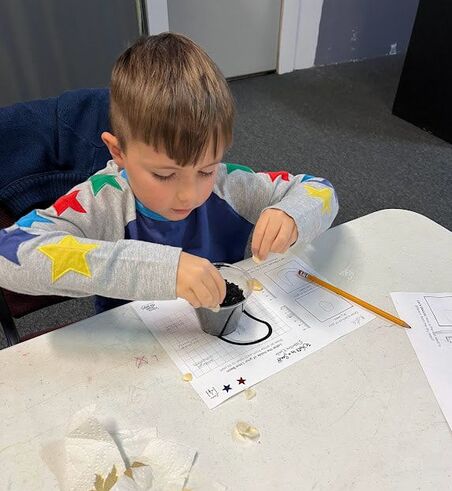
where did the world come from?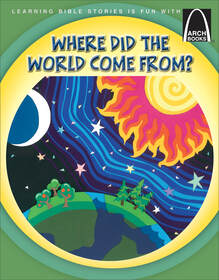 As the students rolled into class, we reviewed our hand motions and poem from Where Did the World Come From by Karyn Lukasek Here is a video of Day 3 when God created the dry land and the vegetation. Read Aloud: It Starts with a Seed by Laura Knowles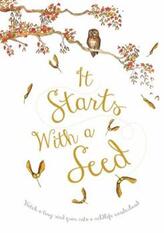 This simple text creates a wonderful picture of how a tiny seed can grow into a magnificent tree. It reminds me of how God can take the tiniest mustard seed of faith and move a mountain. God can do great things with tiny things, even our precious children. Lima Bean Dissection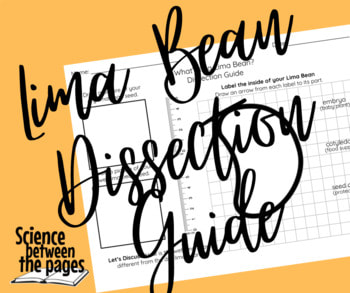 This is the procedure that I followed as I led the Kindergarten and first graders through a dissection of a lima bean. 1. Give each student a Lima Bean Dissection Guide. 2. Pass out one dry lima bean to each student. Have the observe it with their five gifts (senses), 3. Measure the lima bean on the provided ruler. They can place the bean at the 0 and mark a line to where the lima bean is. 4. Trace around the dry lima bean in the provided box to document its size. 5. Pass out a soaked bean on a paper towel. Have them observe this bean with the five gifts (senses). 6. Measure this bean the same way on the provided ruler and then have them trace the outline of the soaked bean. They will be able to tell how much bigger the bean gets when it is soaked. 7. Have them gently take off seed coat to look at it, observe and wonder. There is a space for them to draw what they see on the large lima bean on the page. 8. Next, separate the two halves. Because there are two halves, this makes it a dicot seed. On one side, they should find the embryo or baby plant. Some will have a tiny leaf already there as well. Have them draw this on their lima bean diagram. 9. Finally, point out that the rest of the seed is cotyledon, or plant food for the seed as it begins to grow. Note: Soak more beans than necessary as some of my students enjoyed just breaking the seed into pieces. All types of exploring but nonetheless have extra on hand for your intended purpose. Planting Lima BeansI prepared some cups with dirt and had each of the students plant a dry lima bean and a soaked lima bean to see if they would grow. We watered the dirt and then placed a cup on top of the cup with the dirt. One student asked how they were going to water it if the cup was covered. I thought this to be a very observant question.
The water cycle of course. We are going to view the water cycle in action and see if it will be enough water to grow our lima beans a little bit. We had all sorts of hypothesis' but only time will tell what will happen. As we planted we sang the Water Cycle song from last week.
0 Comments
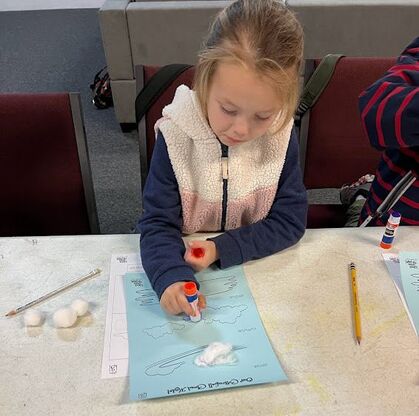
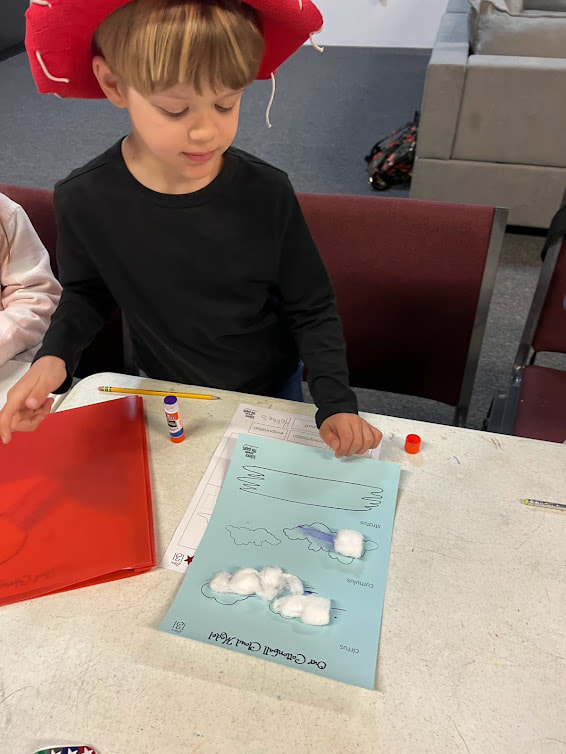
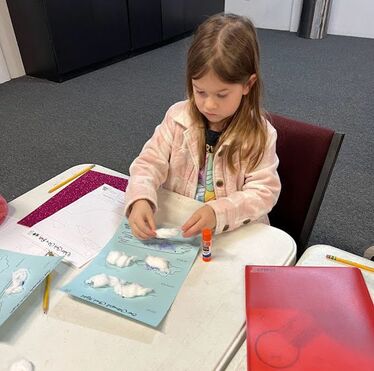
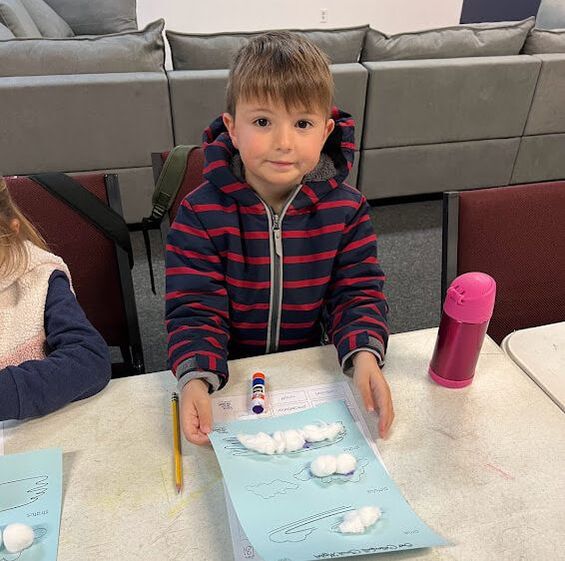
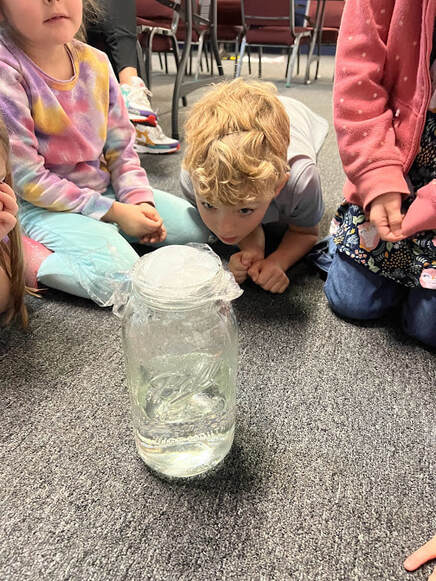
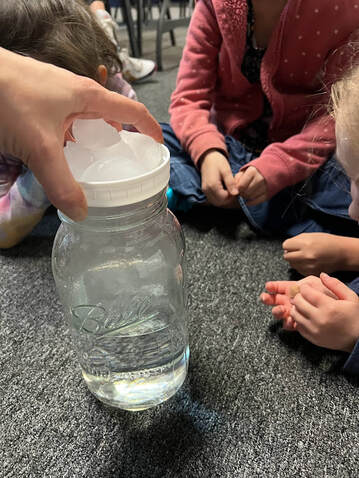
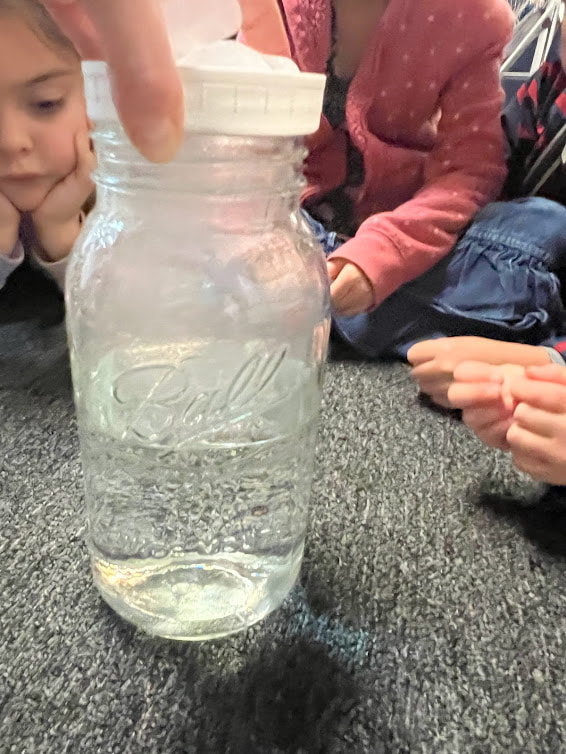
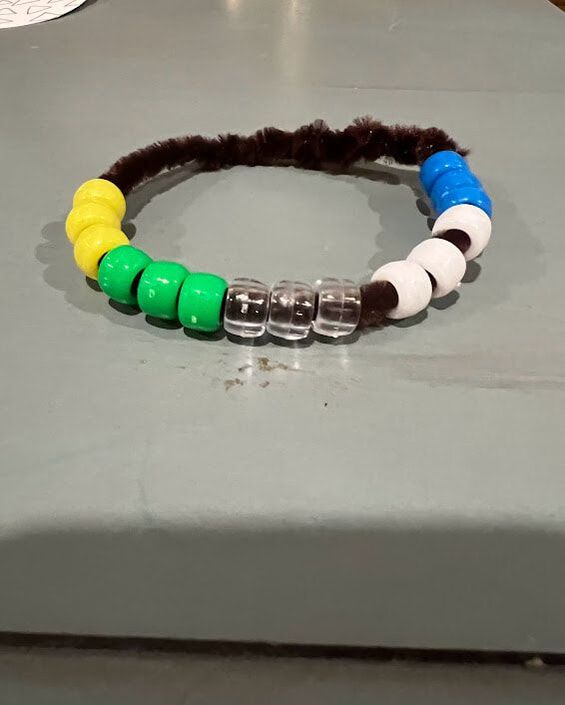
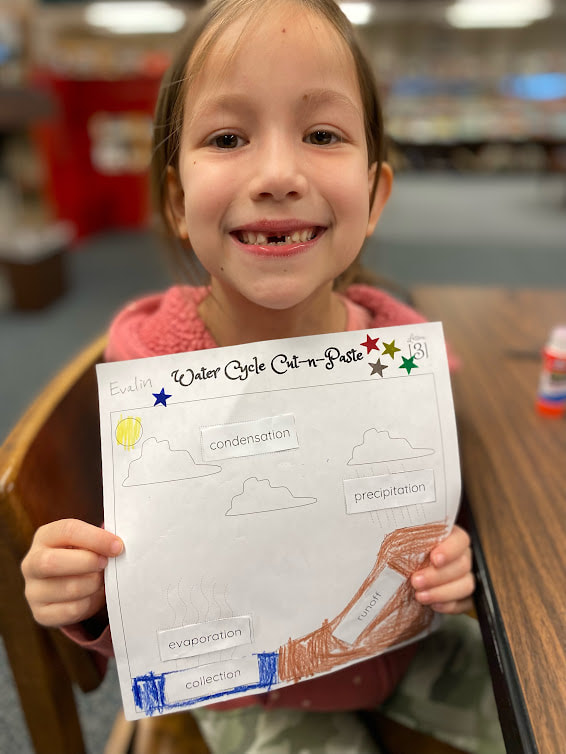
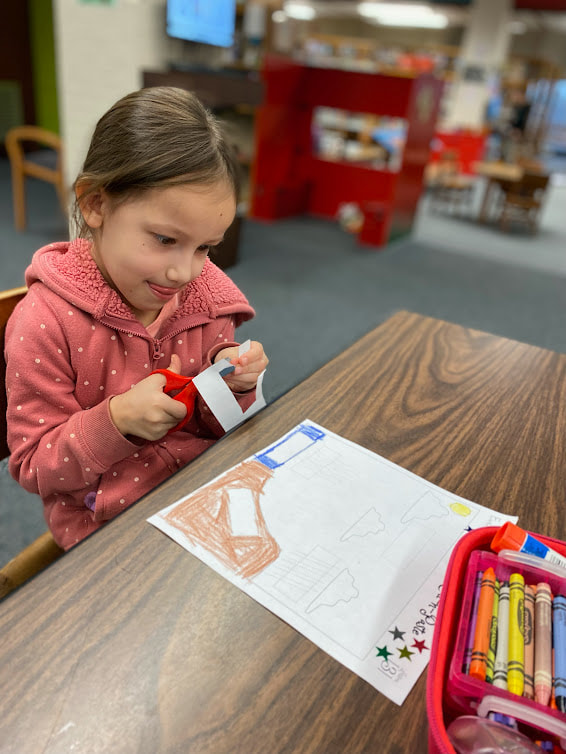
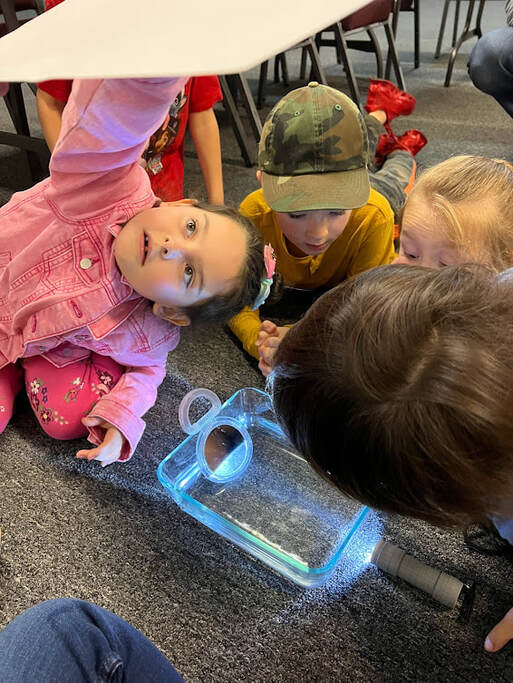
Read Aloud- The Cloud Book by Tomie de paola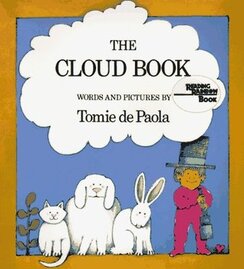 This book was great at showing and explaining to the students about the three basic cloud types. The end of the book has some legends about clouds mentioned so for the purpose of this lesson, I only presented the different types of clouds and where they can be located in the sky. Cotton ball cloud models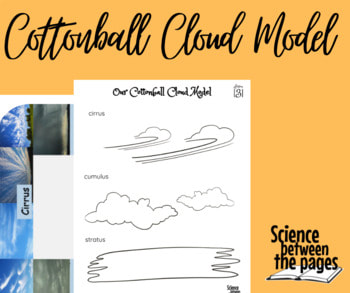 After we finished the read aloud, I printed this Cotton Ball Model out on blue cardstock and had the students gently pull apart cotton balls to make them look like the different types of clouds that we learned about. Cirrus clouds are clouds found highest in our sky and they look like wispy horse's tails so we made our cotton balls wispy. Cumulus clouds are in the middle of the sky and they are more fluffy and so I had the students just glue cotton balls together for this section. Finally, the stratus clouds are lower to the Earth's surface and look like blankets so we stretched out cotton balls to make them look like flat blankets. The Water Cycle SongWhile they were gluing their clouds on their paper, I drew a Water Cycle diagram similar to the one in the Water Cycle Cut and Paste sheet. I then introduced the Water Cycle through this song. Sung to the tune of ‘She’ll Be Comin’ Around the Mountain’ 'Water travels in a cycle yes it does, clap, clap, clap Water travels in a cycle yes it does, clap, clap, clap It goes up as Evaporation, Then forms clouds as Condensation Then falls down and Precipitation, yes it does, clap clap clap Water Cycle DemonstrationUsing a half gallon mason jar, boiling water, saran wrap and ice, we demonstrated the water cycle. I filled the mason jar halfway up with boiling water and placed a piece of saran wrap over it. The students should observe the steam/water vapor making the saran wrap look cloudy. This is representative of evaporation. I then, placed some ice on top of the saran wrap and bubbles of water were found all over the sides and top of the jar representing condensation. The students were able to observe several drops of water falling back into the water representing precipitation. Cloud in a jar DemonstrationFrom the same equipment as we used for the water cycle demonstration and including a match, we made a Cloud in a Jar. I added a little more boiling water, struck a match and threw it in the water. Covered the jar with the lid upside down and place ice on top. We noticed a cloud forming inside the jar. I explained that water vapor cannot be seen and so in order for us to see clouds, the water vapor has to attach to particles of dust in our atmosphere. This is the purpose of throwing in a match. Water Cycle BraceletsIn order to remember the parts of the water cycle, I had the students make water cycle bracelets. I handed out chenille stems and one type of bead at a time, reviewing the parts of the water cycle. Yellow represents the sun Green represents the Earth that the sun warms causing Clear beads of Evaporation. From the Evaporation, Clouds form from Condensation which are the White beads and then last, the Blue beads that represent precipitation. Water Cycle Cut and PasteManna Moment:Genesis 1:6-8- "And God said," Let there be an expanse in the midst of the waters, and let it separate the waters from the waters. And God made the expanse and separated the waters that were under the expanse from the waters that were above the expanse. And it was so. And God called the expanse Heaven. And there was evening and there was morning, the second day."  Where Did the World Come From? By Karyn E. Lukasek is one of my favorite books as it depicts the creation account in a poem. I have developed some hand motions to go along with each of the days of creation to help us remember how God created and ordered our universe. read aloud- Why is the sky blue by Debbie Vilardi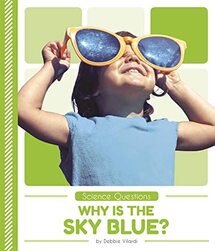 Our read aloud book today was Why is the Sky Blue by Debbie Vilardi. This is a newer book, published in 2019 and has helpful QR codes that take you to 30 second videos of the actual atmosphere to websites with science activities. I introduced what the atmosphere was by using this book and the video that showed a recording of a spaceship leaving the Earth's atmosphere. We learned that the atmosphere is a thick layer of air that has water particles, dust particles and gas particles. As the light from the sun hits our atmosphere, the colors found in the light hit these particles. During the day, when the sky is blue, the blue wavelengths, being shorter and smaller, are scattered by the particles and we see a blue sky. Science Experiment: model of the sky being blueAfter reading the book, we set out to model or imitate what the atmosphere might be doing on a smaller scale. I grabbed a
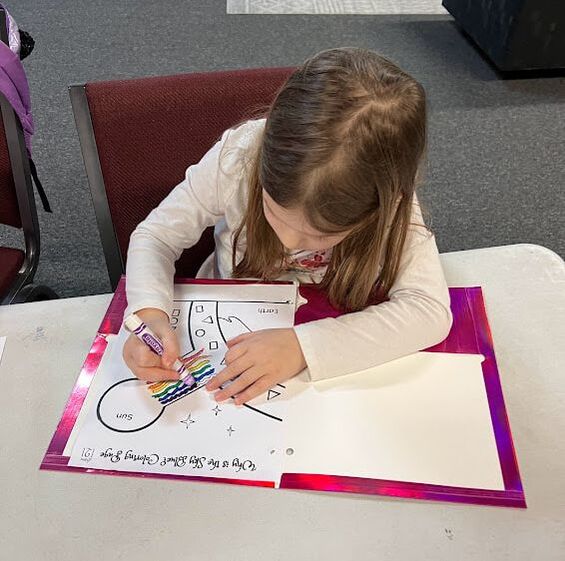
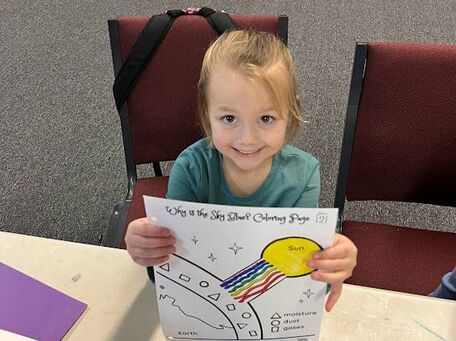
Here is the link to where I found this activity from the book above. Science Experiment: Can we make a rainbow?This science experiment is from one of the QR codes from the book mentioned above. This is the link. I used a glass pan and filled it 3/4 full of water. I used a flashlight to shine into the water onto a mirror placed at an angle in the water. As we shined the light on the mirror, it reflected up where I held a piece of white card stock. I had the students tell me what they could see. I moved the paper up and down to see if there were differences and then changed the mirror to a triangular mirror. The straight mirror reflected the light well and the triangular mirror, we were able to see a faint rainbow on the white paper. I grabbed the triangular mirror I used to make the kaleidoscopes in last weeks' activities. why is the sky blue coloring page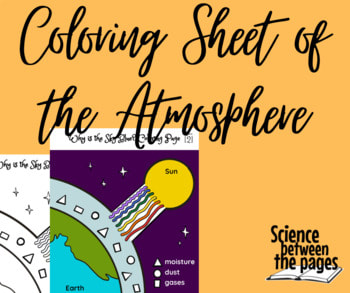 I gave out this custom coloring sheet to the students which was a launch pad into reviewing all the big ideas we talked about today. I only gave them one color at a time as we learned the length of each color that come from the sun's light. You will notice that there is a thick layer and different shapes to represent the different particles that the sun's light hits. And then the students can color the world. Review Points to reinforce:
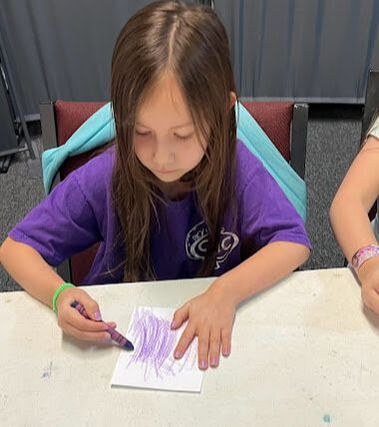
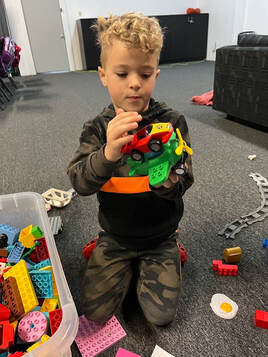
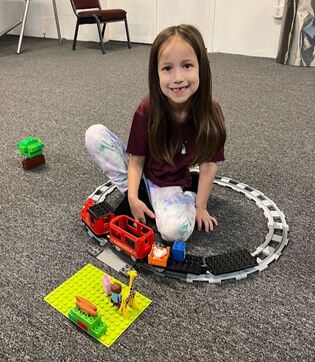
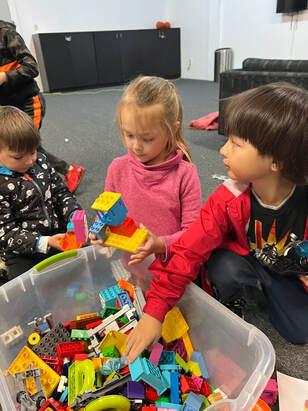
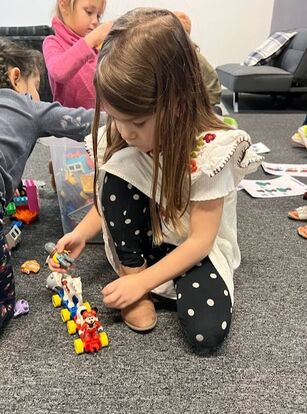
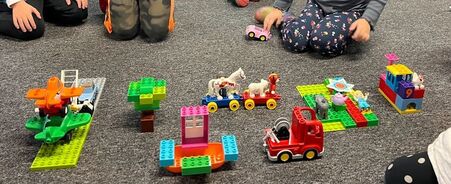
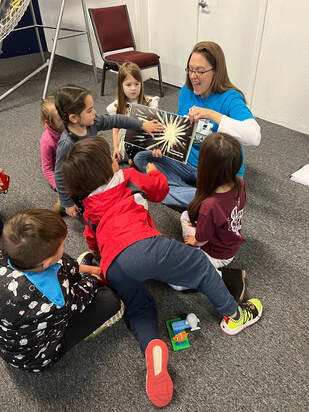
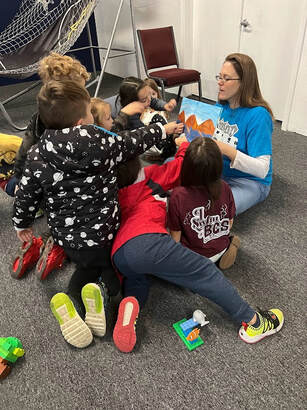
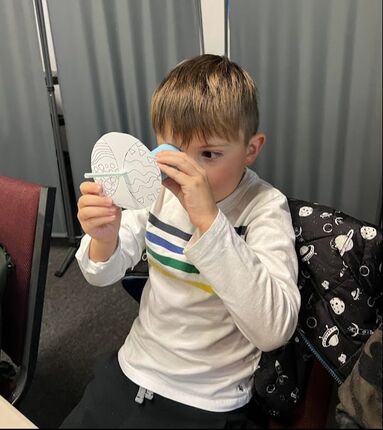
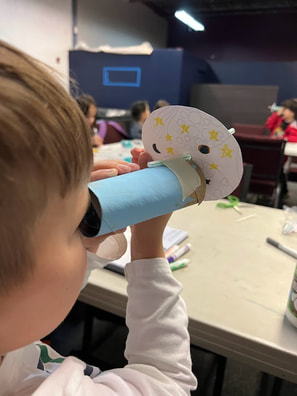
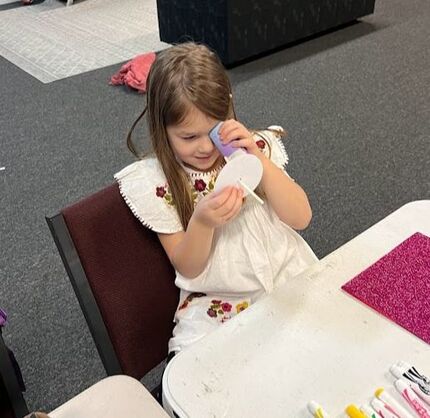
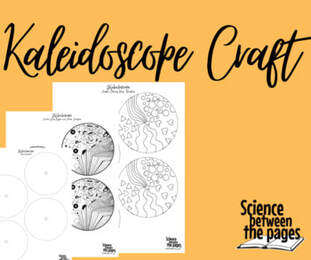
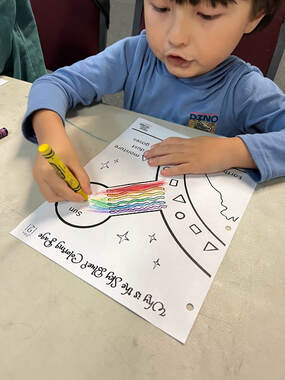 I love what this student did. He didn't mind coloring with crayons and he didn't so much color in the lines but had the colors blend. I really liked this, it reminded me of what I had taught him last semester about the colors running into one another and blending in our Optical Physics book. I highly recommend using crayons over markers for this reason. This unit of science will be based on the Days of Creation as depicted in Genesis 1. We will learn about science concepts in the order that God ordered the Days of Creation. Opening ActivityOur first activity when the students came into class was to make a Duplo build. I printed off some Lego Duplo instructions from this website for free, however, only I built one of the suggested builds. All of the students wanted to create from their imagination which was wonderful. We have a magnificent and cleverly built world to live in and it didn't happen by chance. When these students put together their build, they were very intentional about the pieces they wanted to use and how they wanted to use them. They, themselves, are not a duplo and therefore the duplos could not build themselves. It took them being, not a duplo, and outside of the duplo world to be able to create a build. This is a parallel to how God created the universe and everything in it. God Almighty is intelligent, purposeful and loving. He, not being human and finite, was able to create the world that we live in just as the these students are not duplos and intelligent to order pieces so they could create something wonderful. I pointed to the big bin of duplos and asked if that bin of chaos would ever, with enough time, create any of the builds by themselves. They said, 'no' because someone has to build those things intentionally. I agree. Romans 1:20- "For His invisible attributes, namely, His eternal power and divine nature, have been clearly perceived, ever since the creation of the world, in the things that have been made. So they are without excuse." Storytime- God's Creation, Help Tell the Story by Joanne Liu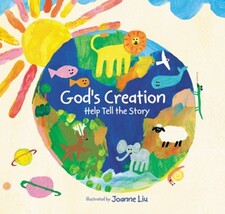 I introduced the Days of Creation to the students using this incredibly interactive book. This book invites the reader to be apart of the creation story. It has you clap your hands to signal the creating of light, then you gently swipe the pages to put the light all on one page, leaving the darkness on another page. It had you rub the page before to see the sun being created on the fourth day. I had the students rub their hands together, creating friction and heat to signify the sun being created. All the students were involved and active throughout the telling of the Creation story. 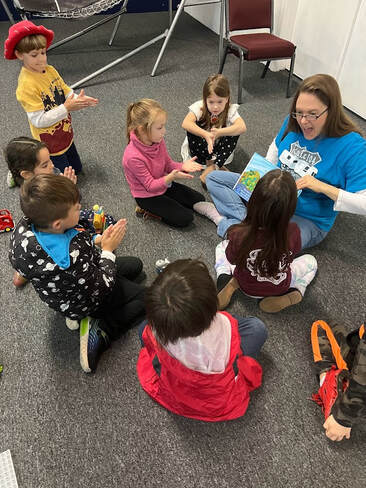 Students were rubbing their hands together to creation friction and heat to signify the creation of the sun on the fourth day. where did the world come from? by Karyn E. LukasekToday's class focused on Day 1 of creation which was the creation of Light. Karyne Lukasek wrote this wonderful poem about creation which resides in an Arch book called Where Did the World Come From? I have developed some hand motions to go with this poem so that we can remember it in a fun way. Here is a video with me doing the hand motions characteristics of LightAfter explaining that God created Light on the first day of creation, we talked about what light is and reviewed what gift we have been given to be able to see light. The students remembered that we had learned last semester in Five Gifts Science that the gift of sight allows us to see light. Light allows us to see form and shape of objects, when you block the light, it creates shadows, and within white light are all the colors of the rainbow. Without light we cannot see color. Jesus is the light of the world and allows us to see wonderful color. Then, I taught them that light travels in a straight path until it hits something. The colors we we see are a result of the light reflecting that color to our eyes while the rest of the colors in light are being absorbed. Making KaleidoscopesIt was so fun to be able to make little kaleidoscopes with the students so that they could see the light being reflected off their mirrors and color wheel into their eyes to see wonderful creations. I found this idea on this website. Here are some circle templates that you can use to go with this activity. If you are wanting to integrate some art into this, one of the templates has the OiLs represented.
|
Lead LearnerWelcome! My name is Nicole Fleming and I have been leading science learning in the Bryan/College Station homeschool community for over 10 years. Archives
April 2023
Categories |

 RSS Feed