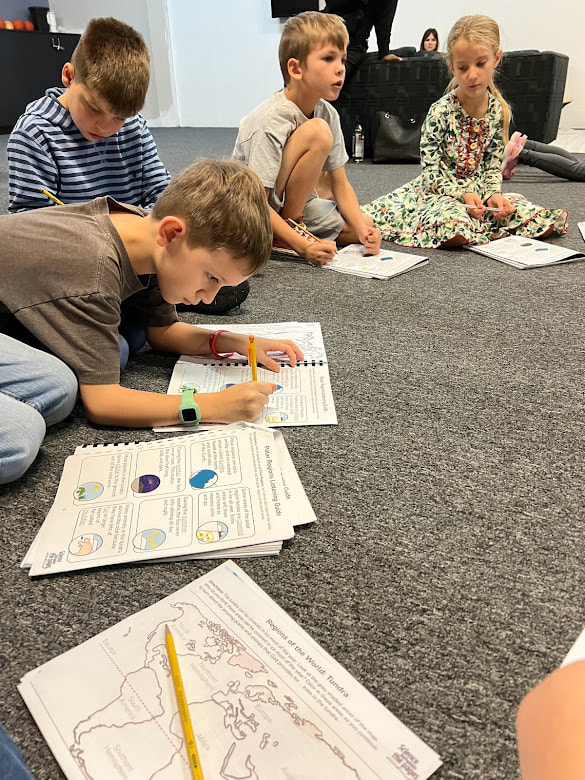
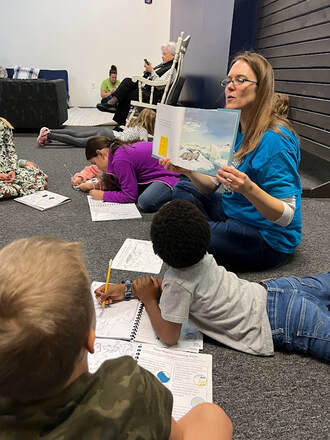
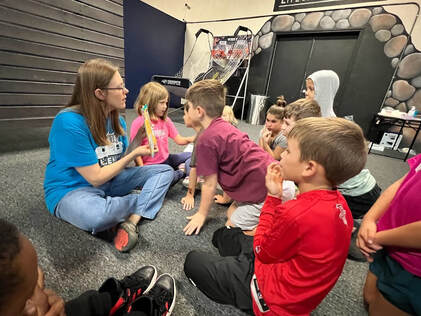
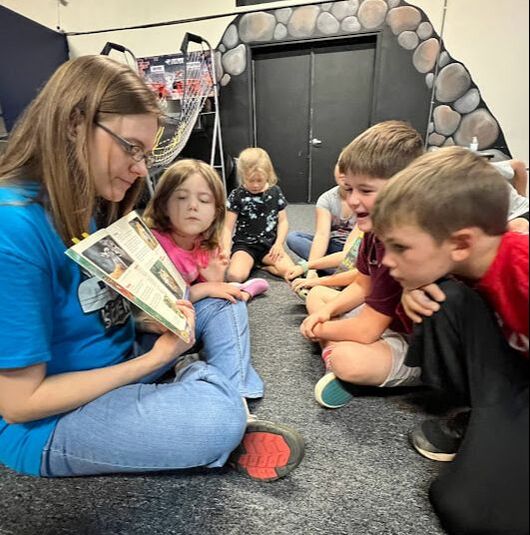
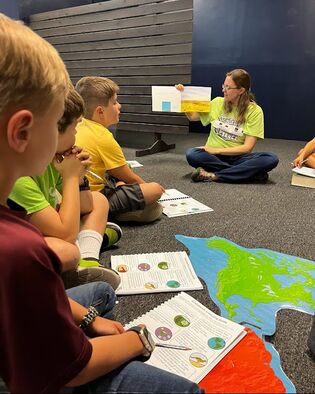
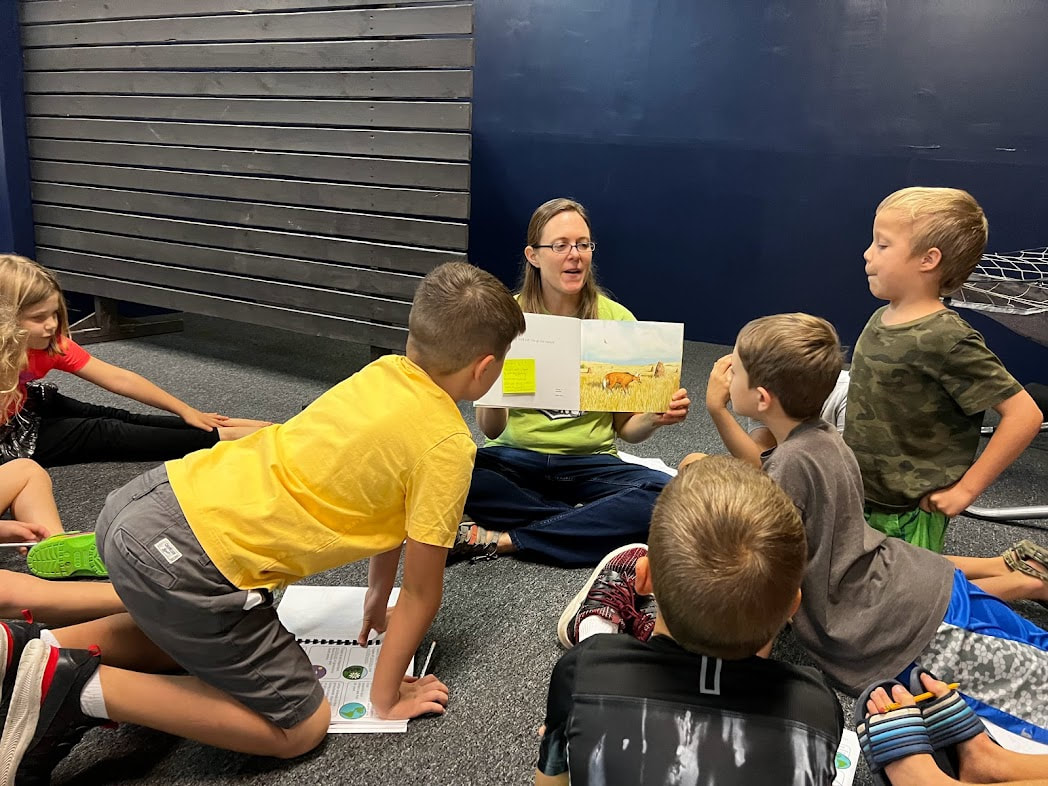
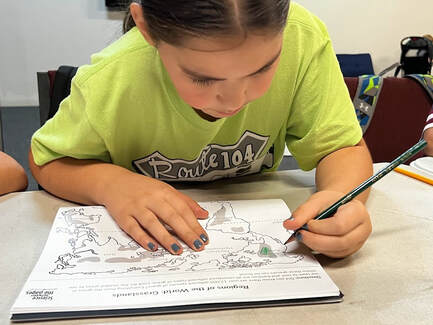
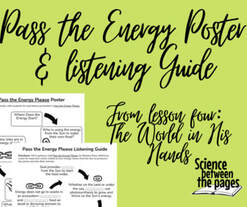
manna momentGod is the Maker of all things but He didn't just make it and leave it, He cares for and provides for us and His creation. There is an icefish whose habitat is in the waters surrounding Antartica where temperatures in that water get down to 28 degrees Fahrenheit. This is cold enough to freeze the blood of most fish but not the icefish. God has provided a way for their bodies to produce a kind of antifreeze that allows their blood to flow. It is interesting to note that their blood has no red blood cells and therefore almost clear. How amazing our God is, that He can make anything to live anywhere on this world He created. Regions of the World- The tundraWhere is the Tundra? My students have these Regions of the World maps in their student guidebooks that highlight on their map where these biomes are located. 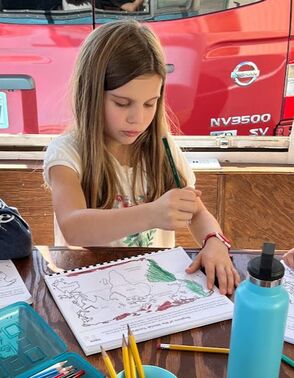 Read Aloud- The polar Regions by cathryn sill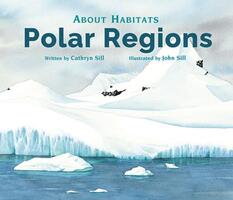 These books by Cathryn Sill are great for younger children. One whole side of a page is a picture of a habitat or region depicting either a type of flora or fauna or both. The words are not complicated and there are few of them so that there can be interaction and observation during the read aloud. Here is a listening guide as well that catch the highlights of the book that my students fill out while I am reading.
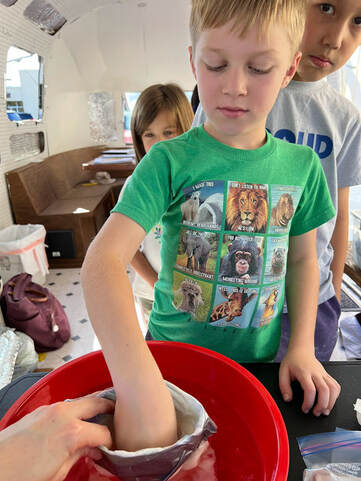
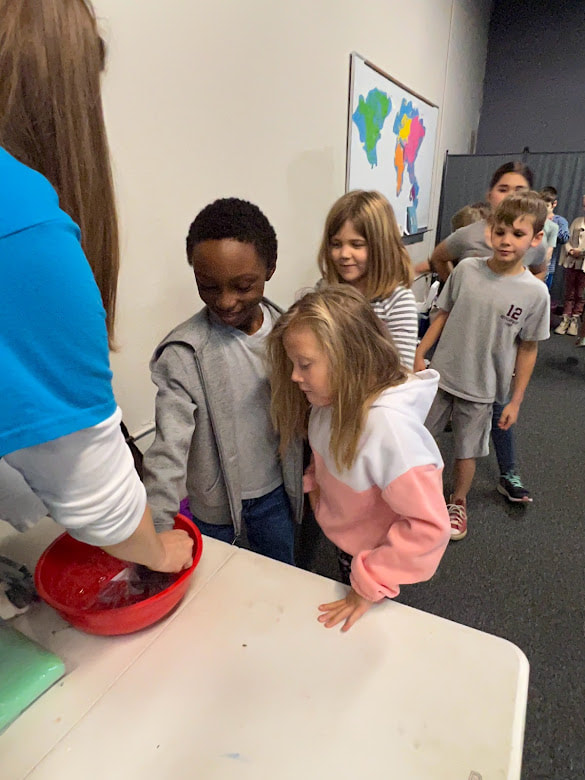
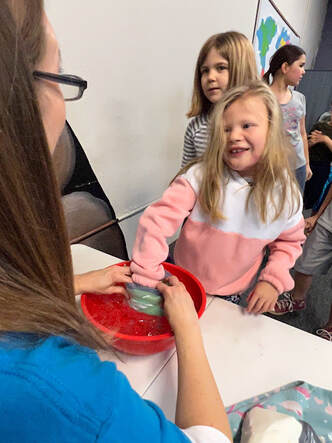
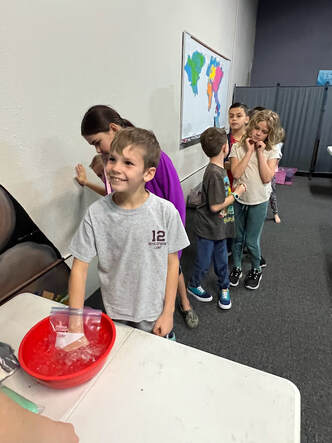
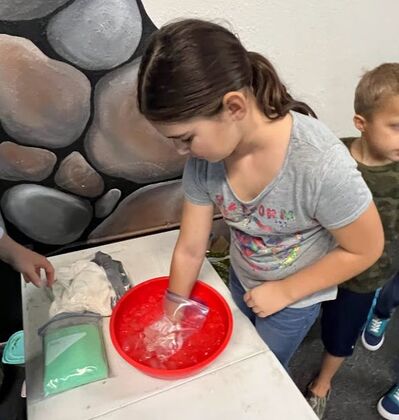
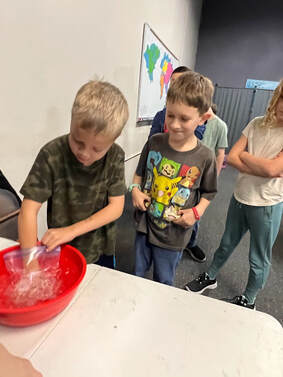
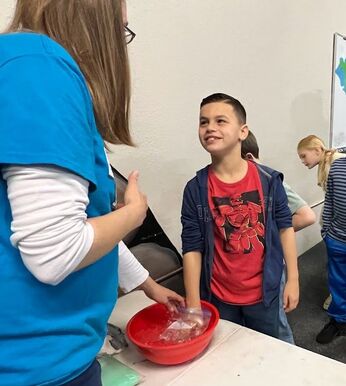
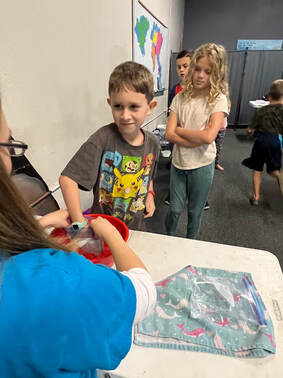
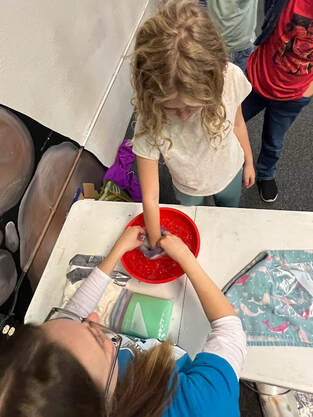
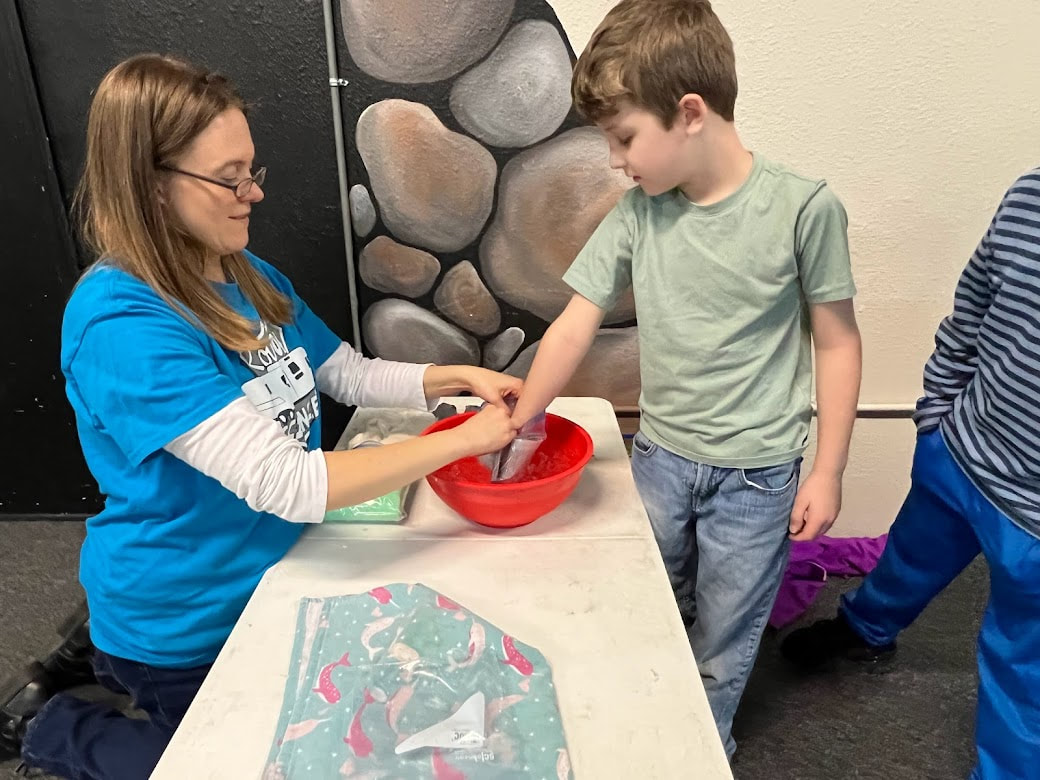
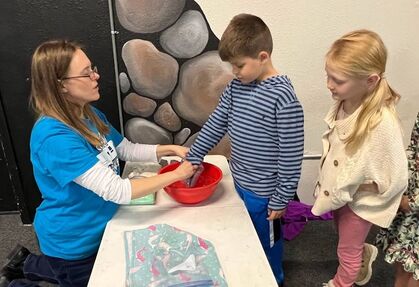
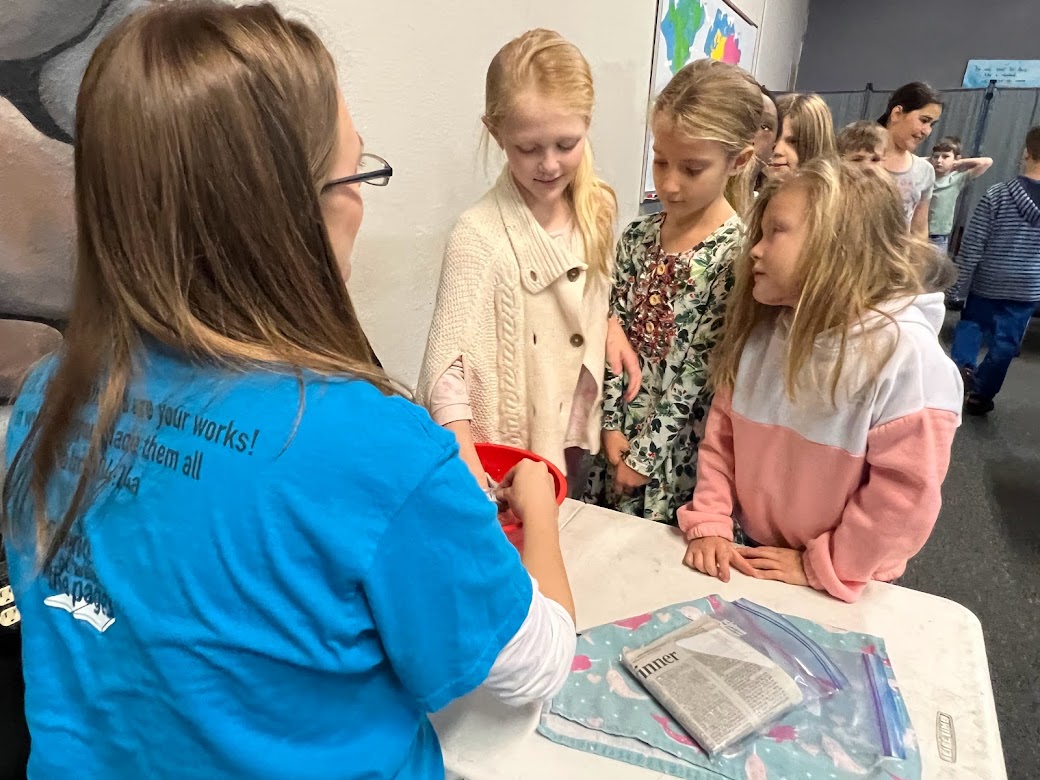
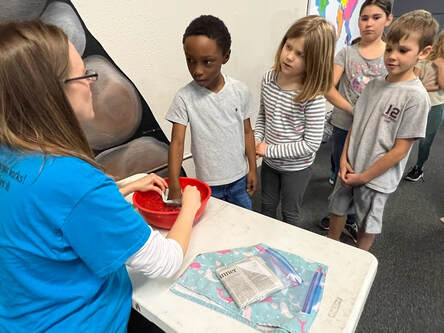
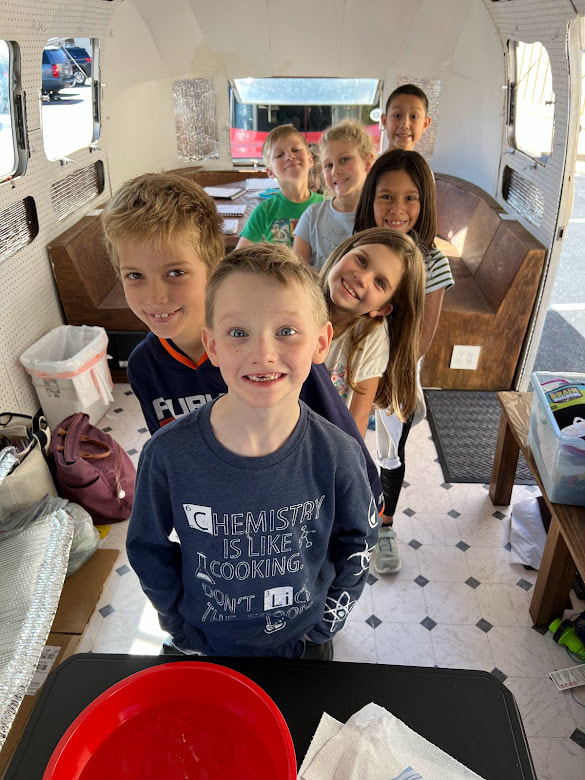
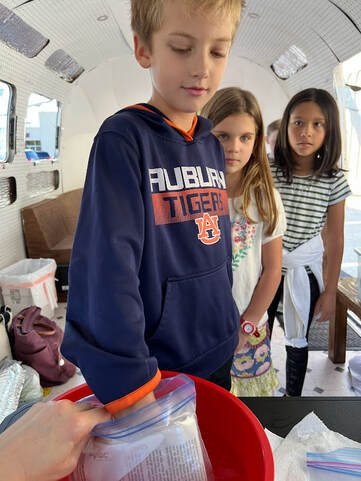
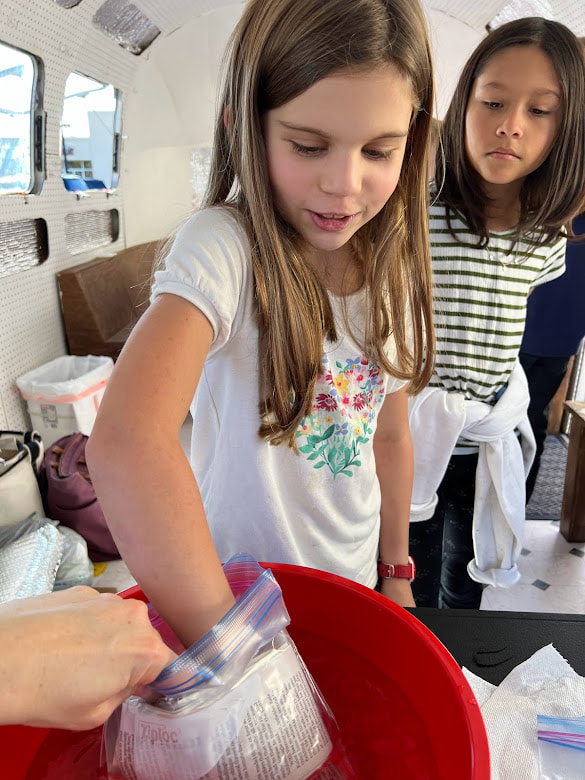
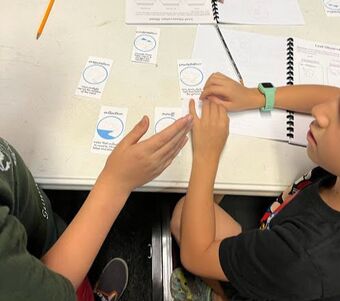
 Blubber Glove Investigation One of the ways that animals survive the extreme cold weather of the tundra is by having a layer of blubber just under their skin to insulate them. This is a clever design by the Maker. Insulation is a special way that God designed large marine and land animals to survive in extremely cold environments. This is an opportunity to explore the insulating power of fat. I added some shortening to a quart size ziplock bag and placed a smaller sandwich ziplock bag in it. I, then duct taped the bags together after I turned the tops inside out. I lined up the students and had them all try each type of glove. I had just a normal quart size freezer bag, then a bag with newspaper, a bag with shortening, and a bag with foam. I had the students label which bag made their hand feel the coldest on a scale of 1-4. We had some discussion about which bag they would want on their hands if they were in the Tundra. Most of them said the foam, however, I mentioned the practicality. The foam was really thick and if you had a glove like that, you wouldn't be able to do anything with your hands. I challenged them with science fair project to see what material they could use to make great gloves that were also useable. I, then had the students try different materials like foam and newspaper to see if they would be good insulators.
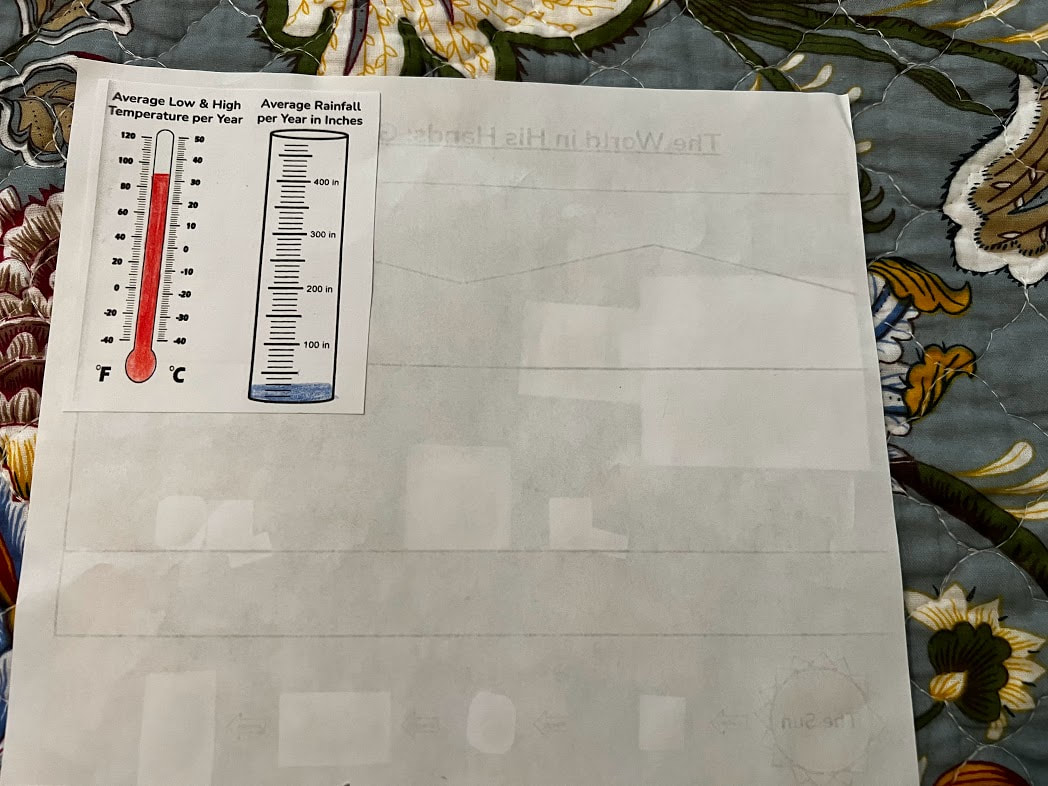
 Tundra biome sheet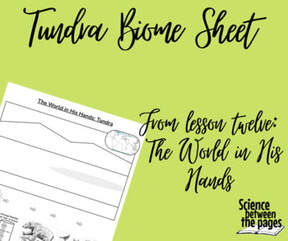 The temperature range for the Tundra is -30 degrees Fahrenheit to 50 degrees Fahrenheit. The average rainfall a year is less than 10 inches. Grasses, mosses and twigs feed Lemmings and Arctic Hares which are hunted by Arctic Foxes and Snowy Owls. Caribou feed on grasses are hunted by wolves.
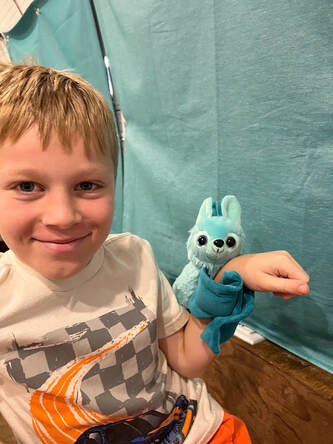
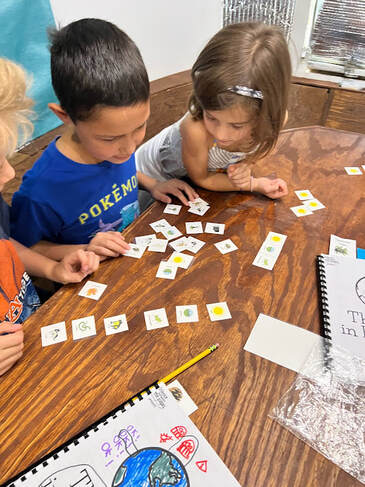
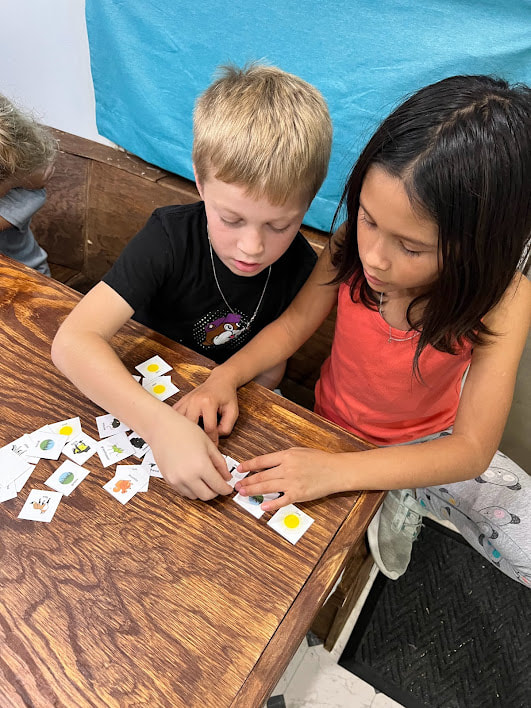
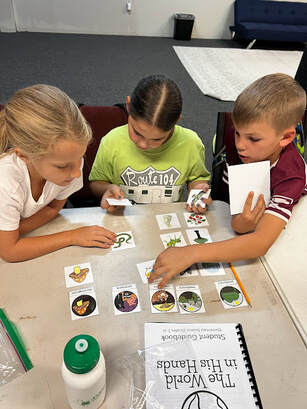
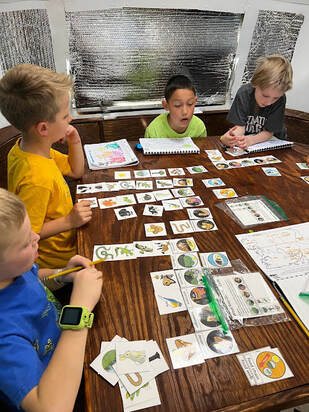
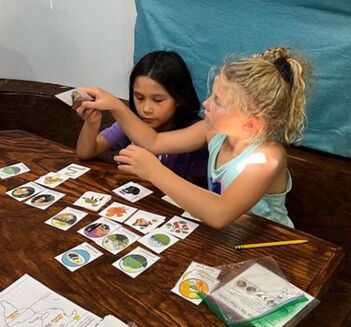
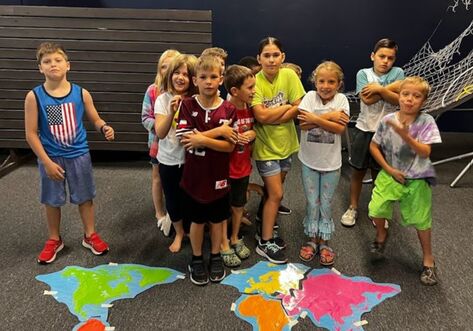
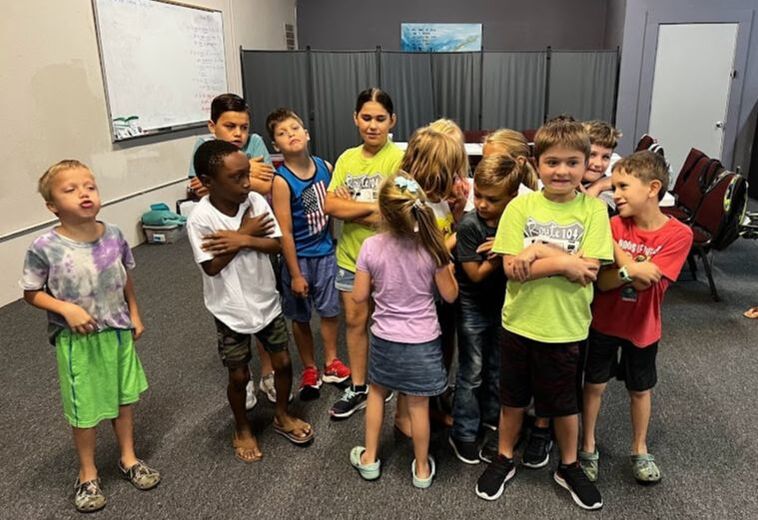
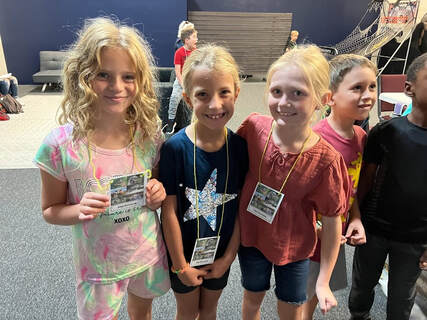
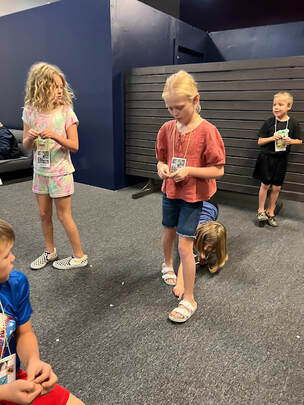
End Of Unit TreatWhat a wonderful group of students that I had this semester! I gave each student a prize of a type of fauna from some of the biomes we studied this semester along with some candy inside a bag or plastic globe. I held up the vocabulary cards and would ask each student a question from the cards. Having the vocabulary sheet in front of them was like their multiple choice.  The World in His Hands Curriculum These past 12 lessons have been from The World in His Hands Part 1. I sure hope that you will join us for Part 2 with another set of biomes, ecosystems, flora and fauna to discover.
0 Comments
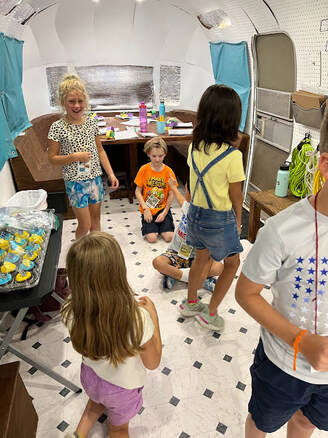
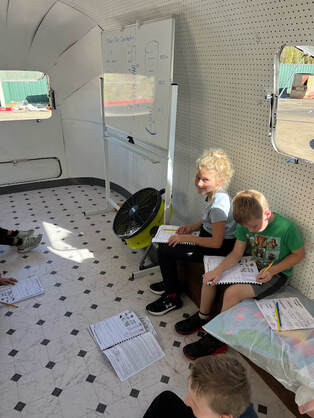
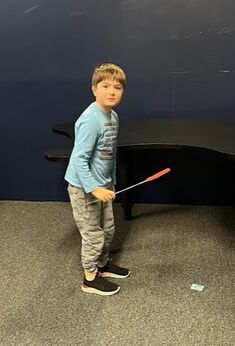
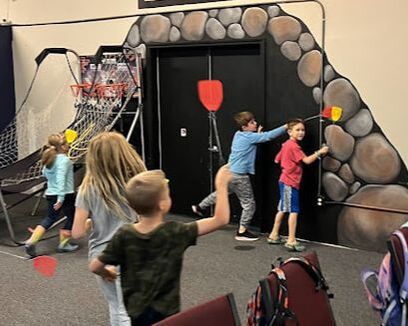
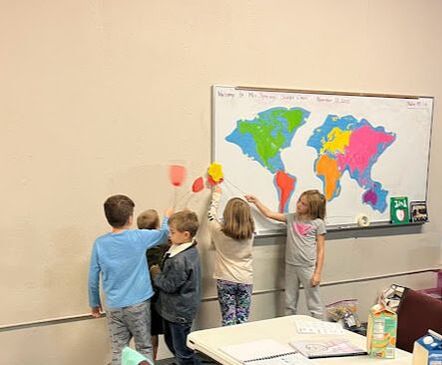
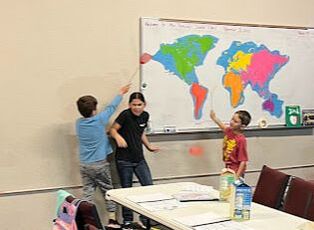
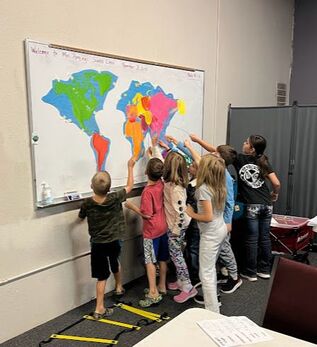
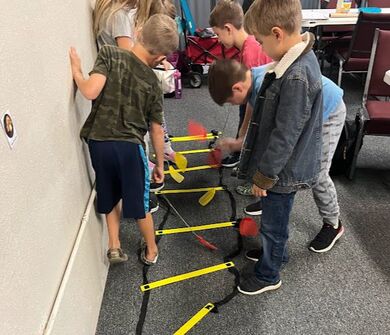
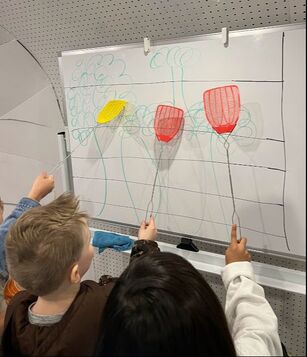
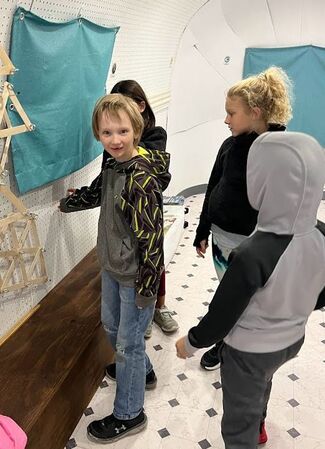
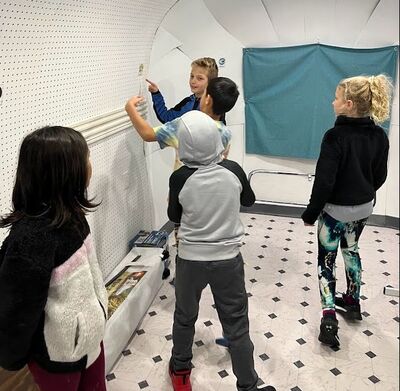
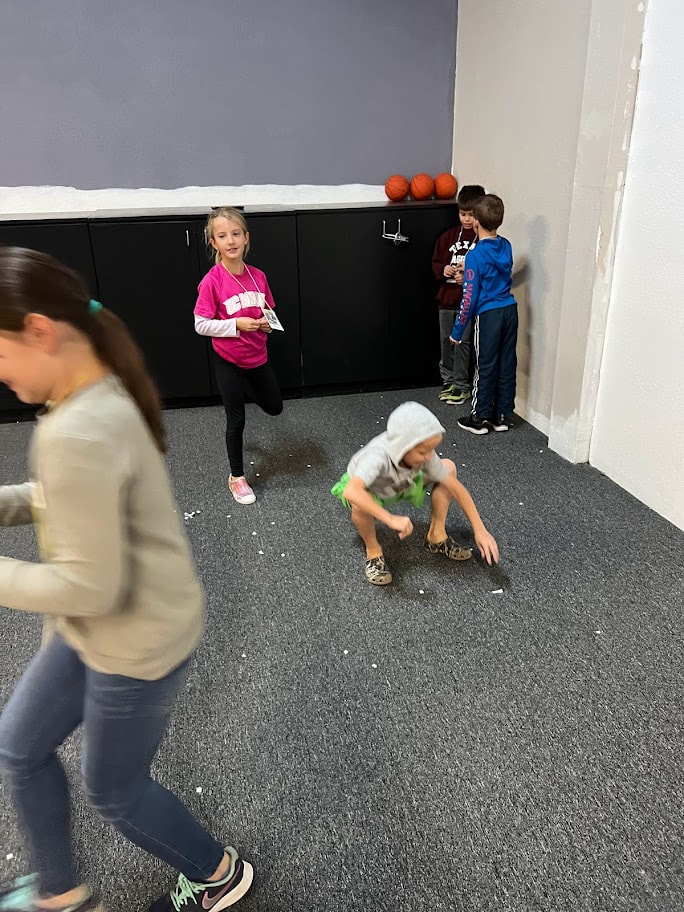
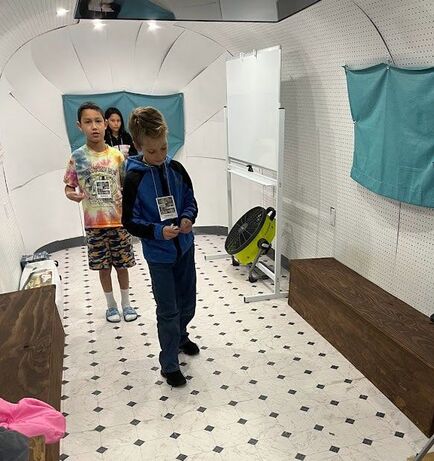
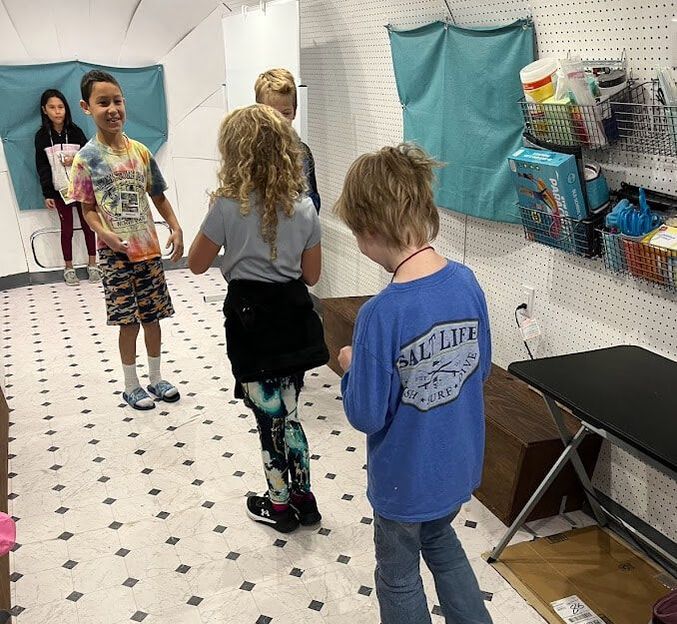
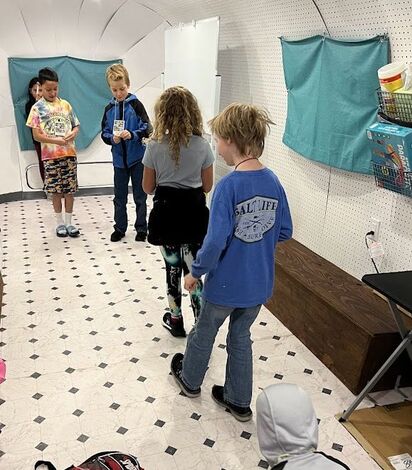
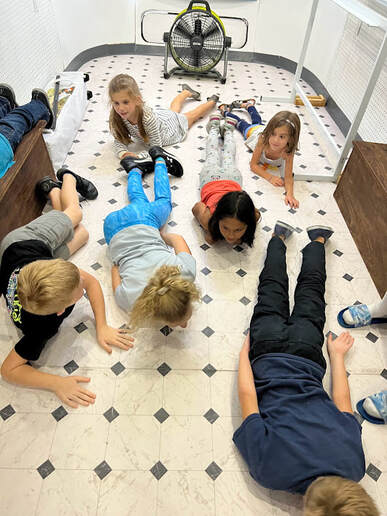
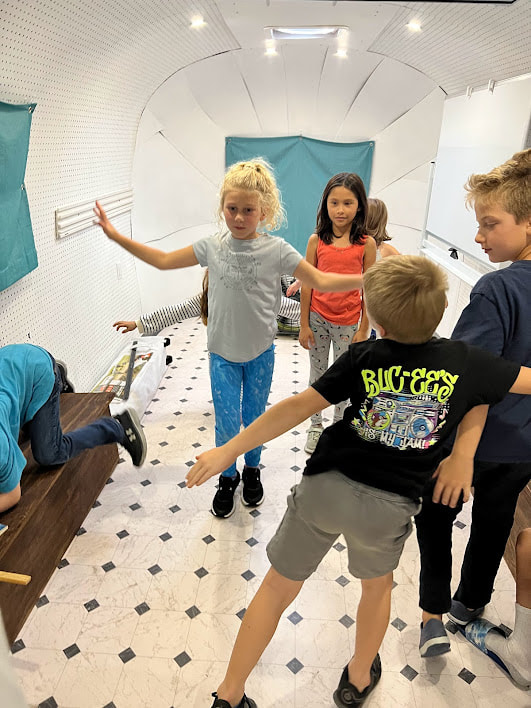
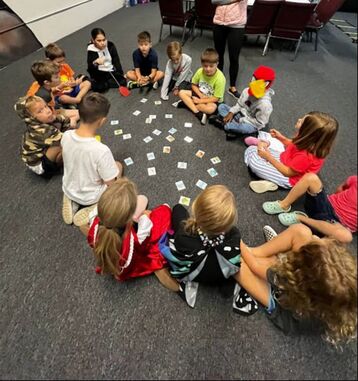
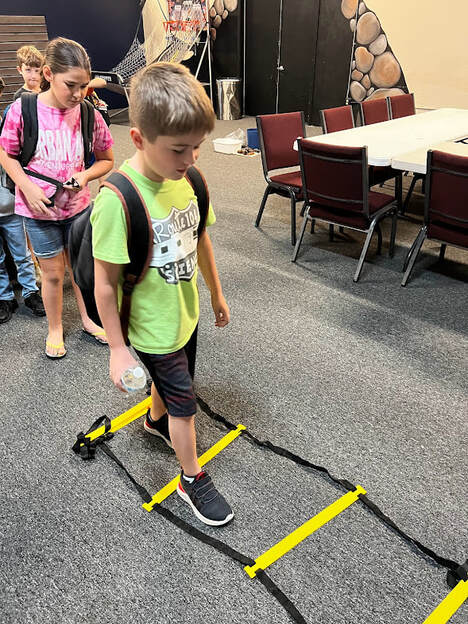
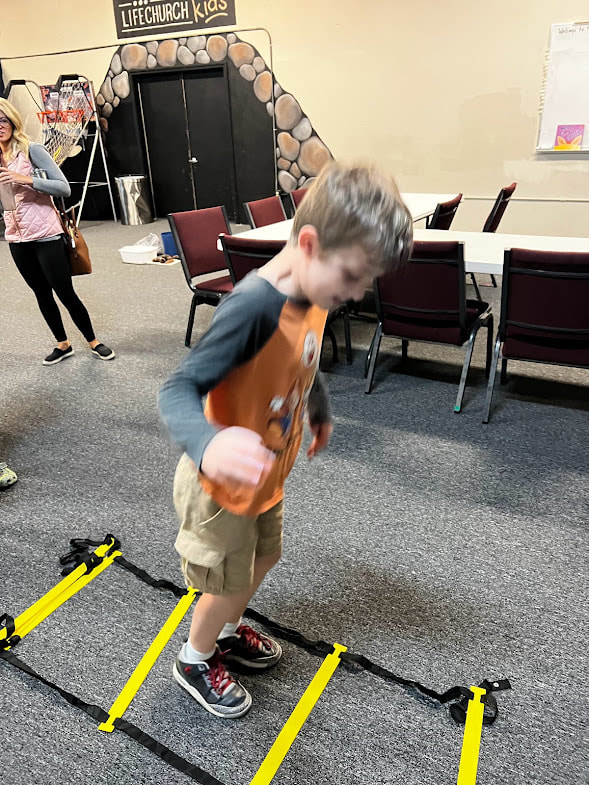
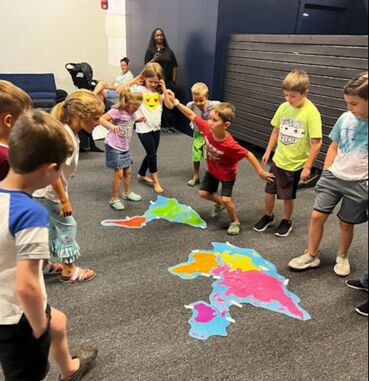
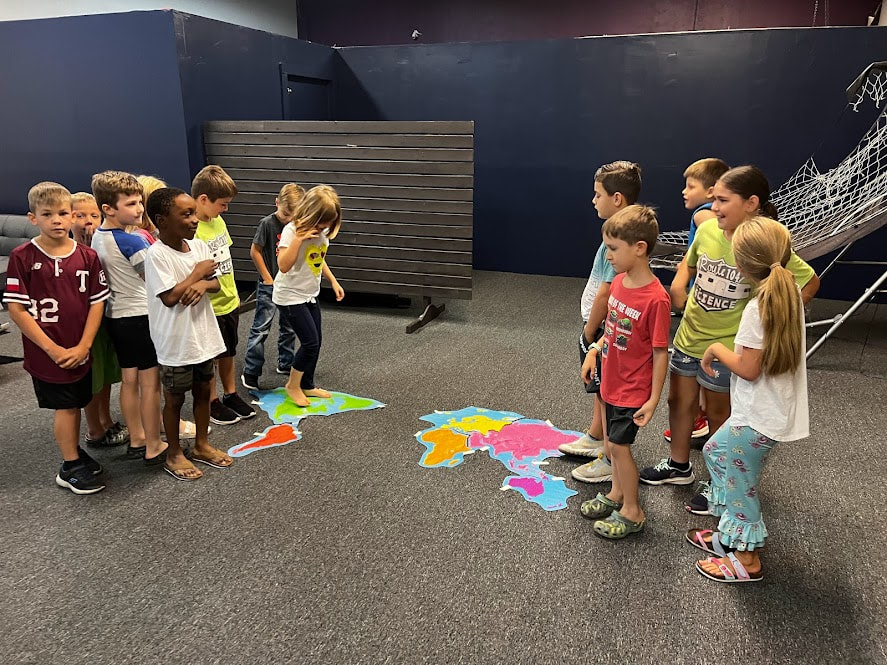
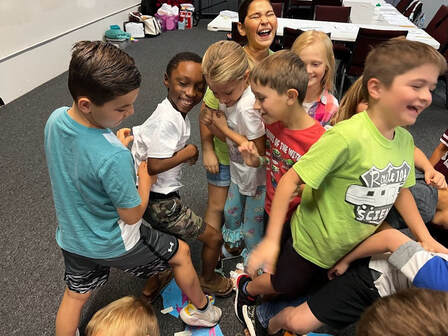
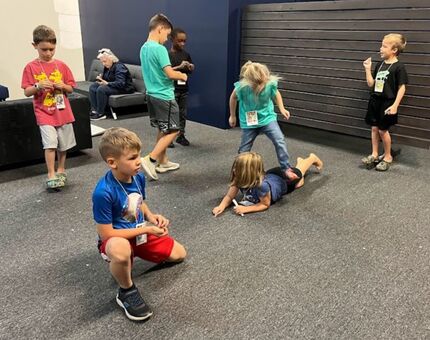
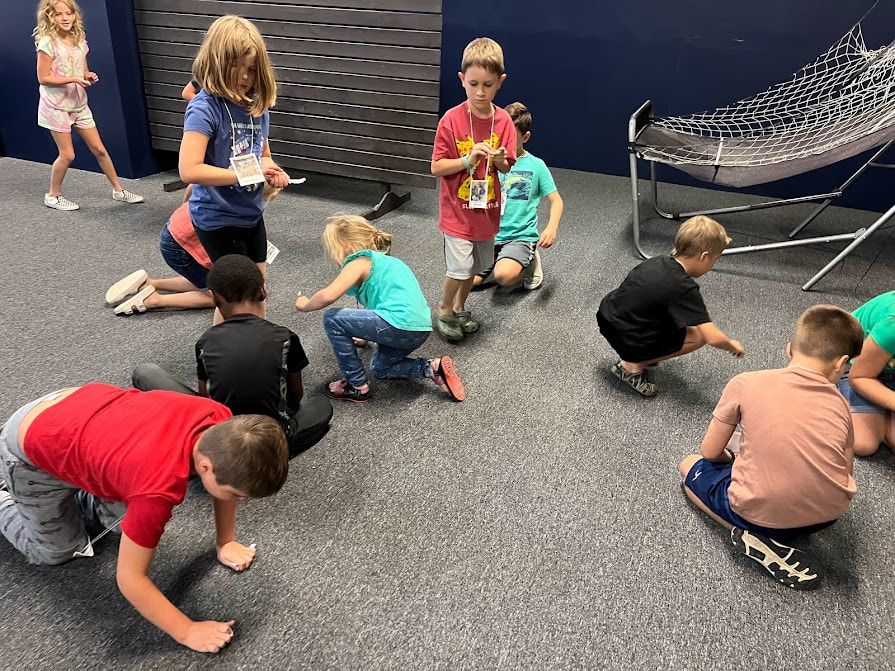
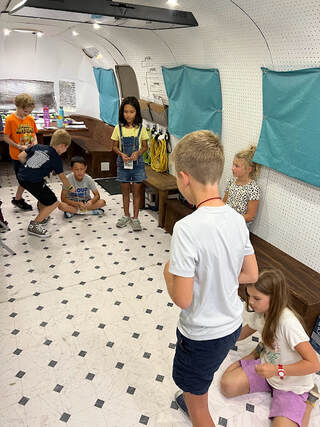
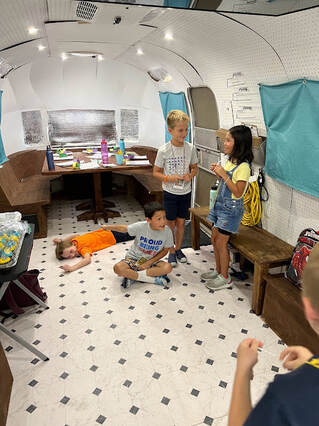
manna momentPsalm 95:1-6 "Oh come, let us sing to the Lord, let us make a joyful noise to the rock of our salvation. Let us come into His presence with thanksgiving; let us make a joyful noise to Him with songs of praise. For the Lord is a great God, and a great King above all gods. In His hand are the depths of the earth, the heights of the mountains are His also. The sea is His, for He made it, and His hands formed the dry land. Oh come, let us worship and bow down, let us kneel before the LORD, our Maker." Caves are found in nearly all the biomes of the world and are an example of an ecosystem. We have know caves to be places where animals can hibernate or people have been known to live in or hide during certain times during their life. I remember a particular instance where David and his men were hiding in a large cave when King Saul, who was trying to kill him, came into the cave not knowing David was there. David could have killed Saul in that moment but chose to only cut a piece of his cloak instead. David was adamant on not killing God's anointed even though King Saul was trying to kill him. David trusted and completely depended on God for help. God protected David and David stubbornly did what was right in God's eyes. May we have this same resolve, to do what is right in God's eyes no matter the temptation to do what is wrong. (1 Samuel 24:3-22) around the world Vocabulary review I combined all the games and vocabulary that we have played this semester into a vocabulary game extravaganza to review and reinforce knowledge. I set up the room with a world map on the board for the regions of the world that we have learned. Then, I attempted to hang an agility ladder to represent the layers of the forest but it didn't work and I placed it on the ground using a yard stick to signify the floor of the forest. For the class in the Route 104 Airstream, I drew a picture of the forest with the layers. Then placed both the ecosystem and energy transfer vocabulary cards all over the room. As soon as I would call out a region or definition the students would go to swat that.
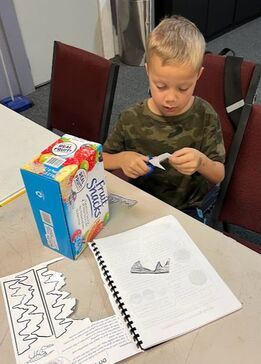
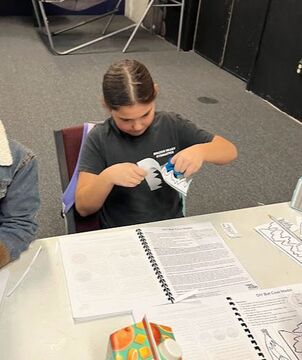
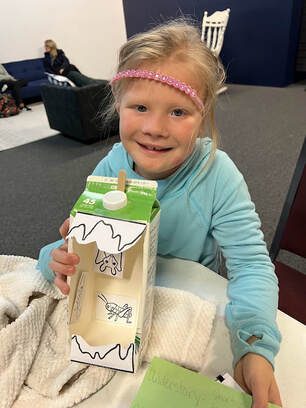
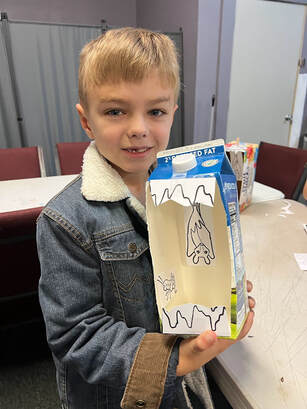
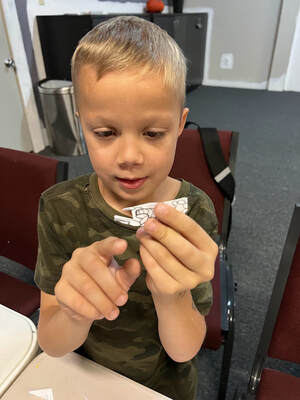
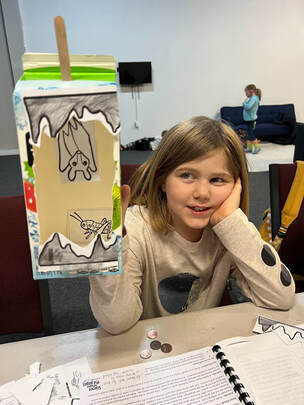
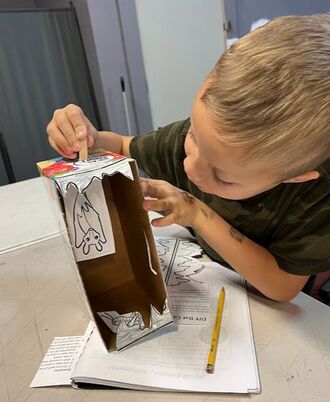
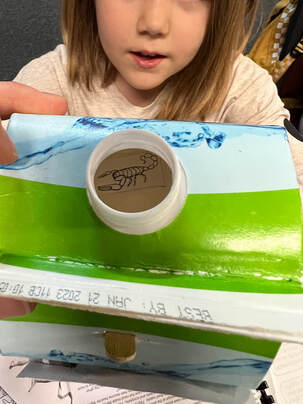
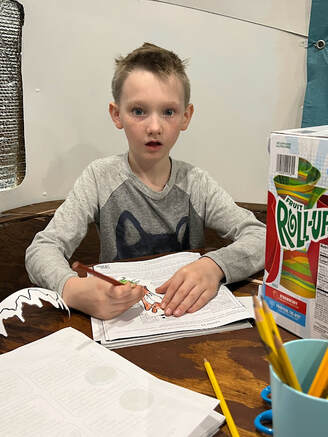
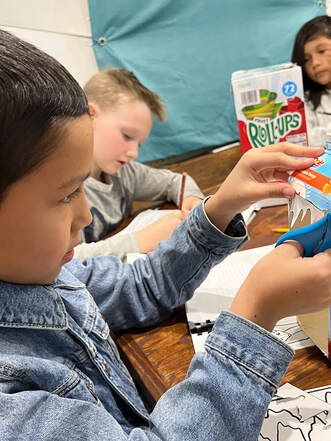
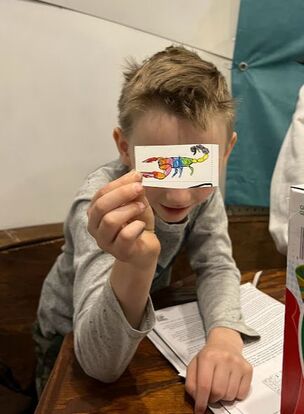
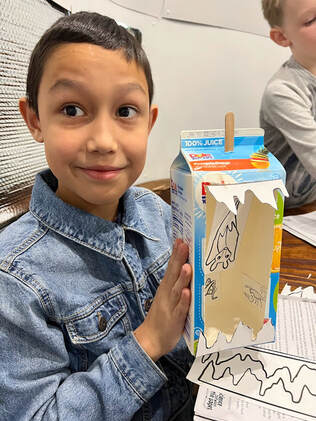
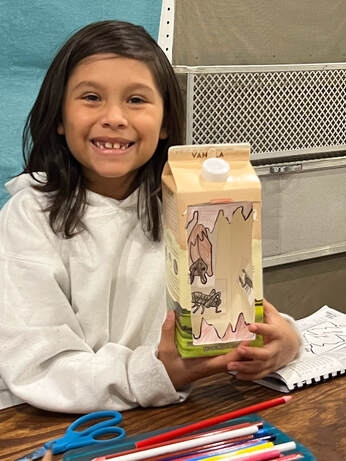
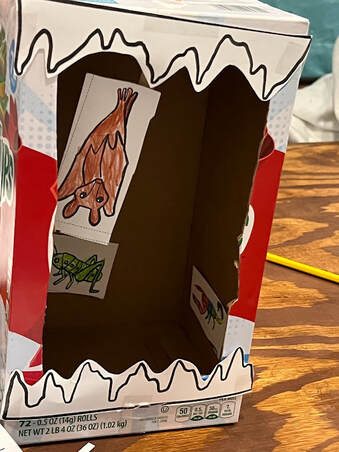
Read Aloud- Hibernation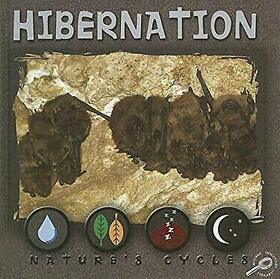 This book has simple text with photographs of animals for visuals. One of the animals that hibernate are bats. Hibernation is a way that animals in very cold climates can survive. When an animal hibernating, their heart rate and breathing slow and their body temperature lowers thus using a lower amount of energy. 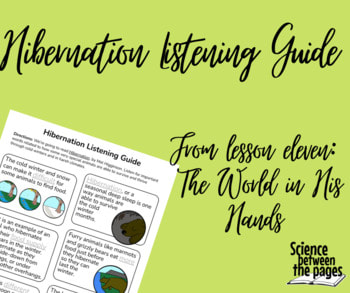 Here is a listening guide to go along with this book in order to review the main points. Making a Bat cave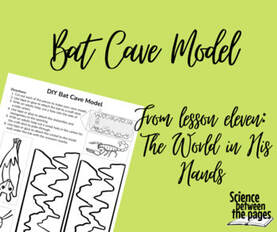 I had the students bring in a half gallon container empty and rinsed with a hole cut out on the side. I changed the orientation of the bat cave slightly to fit the bat that is drawn on the printable but you could do it either way. The students would cut out the stalagmites and the stalagtites, the bat, the cricket, and the scorpion and place with tape inside the cave. They can color and decorate as they like. We talked about the food chain of the cave ecosystem and how this is a very low energy ecosystem. A true cave only has one entry and exit point therefore there is limited light that streams in. Consequently there aren't any green plants that live in a cave. How would anything live in a cave? Well, bats love to roost in caves. They get their food outside of the cave but when they roost, they poop and leave guano. Guano then feeds bacteria and fungi within the cave which in turn feeds the crickets that might live there. The crickets then become an energy source for the scorpions and crayfish. So this would be the food chain. Here is a short video on bats. https://www.youtube.com/watch?v=9FVoTMOorXA
The students did an excellent job with this activity and I loved seeing all their creativity. My favorite part is being able to have conversation about the bats and caves while they are doing the activity.
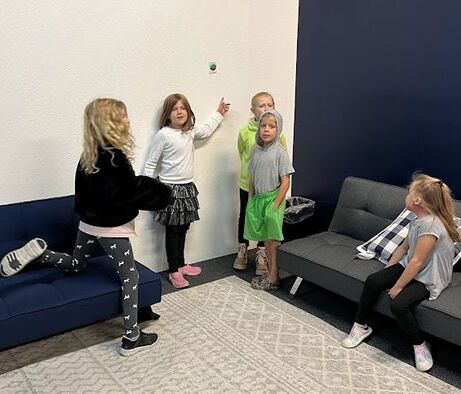
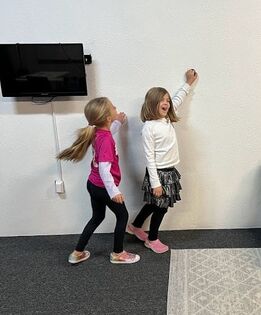
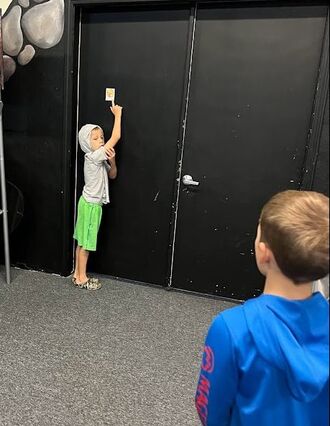
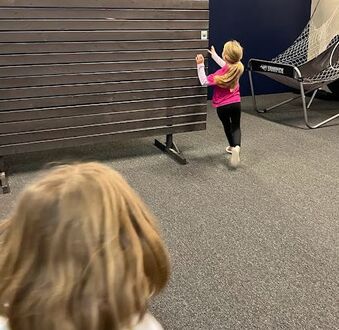
Manna moment:Let us steward the creation that the Lord has given us well. Genesis 1:28-30- "And God blessed them. And God said to them, "Be fruitful and multiply and fill the earth and subdue it, and have dominion over the fish of the sea and over the birds of the heavens and over every living thing that moves on the earth. And God said, "Behold, I have given you every plant yielding seed that is on the face of all the earth, and every tree with seed in its fruit. You shall have them for food. And to every beast of the earth and to every bird of the heavens and to everything that creeps on the earth, everything that has the breath of life, I have given every green plant for food." And it was so." This occurred on the sixth day of creation. God had finished placing everything in order and creating all the land, vegetation, fish, animals, and us. After making all of it, He places Adam in charge to have dominion. We have a great responsibility to care for that which the Lord God has created. Has anyone ever given you a masterpiece? If someone hand made something for you and gave it to you, you would want to take care of it well. We need to take good care of God's creation too. Vocabulary ReviewSince it just turned chilly for us in Texas, I placed vocabulary words around the room for the students to find as I called out the definitions of the words. The activity should warm them up well.
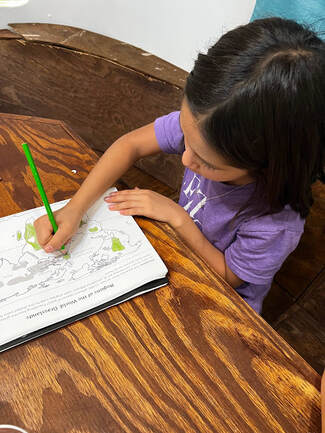
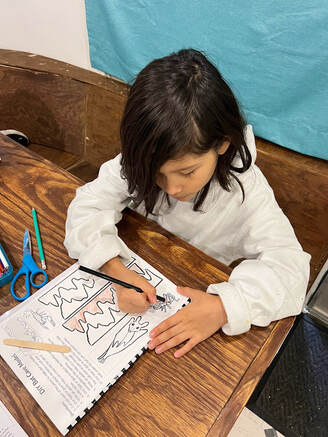
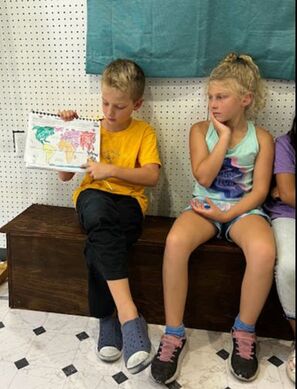
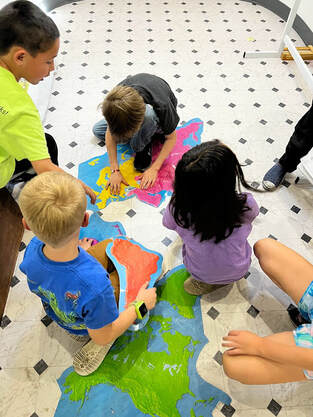
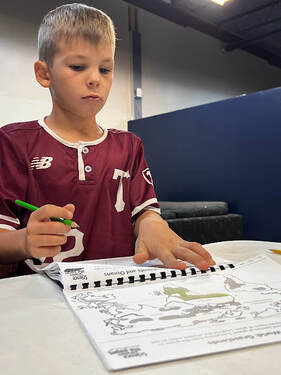
Regions of the WOrld : Forests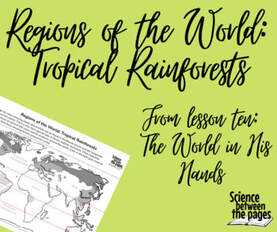 I never have adequate time during class to do ALL the things I want to, to relish in the activities, and so these Regions of the World would be an awesome, small, short, and simple way to review some geography and ecology at the same time. My suggestion is to color the Boreal Forest blue, the Temperate Forest orange, and the Tropical Rain Forest Green. Then, I would point out the Tropic of Cancer and trace that line Red and point out the Tropic of Capricorn and trace that line Orange. Since my class in our Route 104 Airstream is smaller, I attempted to have the students color the forests with different colors. They began with outlining and then colored it in accordingly.
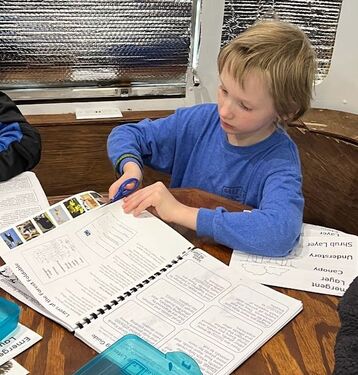
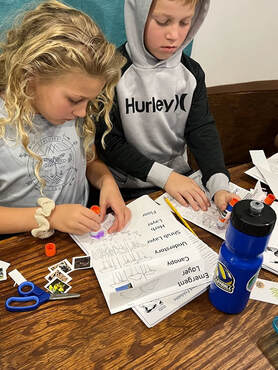
 Read Aloud- The Great Kapok Tree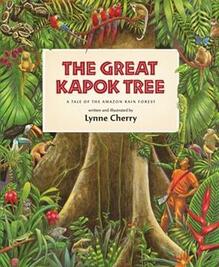 The aspect of this book that I like the best is that a good choice was made at the end. This book shows the interconnectedness of a biome and reminds us that every living organism on the planet is connected and has relationship with other living organisms. It's like there is a Creator God who is always in relationship creating a world that thrives through relationships. Consequently, we are to be the best stewards of the most awesome creation in the universe. We made a listening guide to go along with this book to review the key science concepts. Check it out here.  RainForest Foldable To reinforce the layers of the forest and learn that the rainforest has an extra layer called the Emergent layer, we made these sweet foldables with layers. The students can color them, there is information already written under each fold about the layer of the forest along with a word to trace. There are pictures of an animals that belongs in each layer of the rainforest as well. This is a great way to learn about the fauna that lives in the layers of the rainforest.
Tropical Rainforest Biome SheetBringing it all together, here are some key characteristics of the Tropical Rainforest: Average Temperature: 70-85 degrees Fahrenheit Rainfall: 80-400 inches a year Most fauna are arboreal or live in the trees of the rainforest. Common flora are pineapples, bananas, cocoa, lemons, balsa, and mahogany trees Common fauna are spider monkeys, tree frogs, lizards, lemurs, boa constrictors, and toucans. 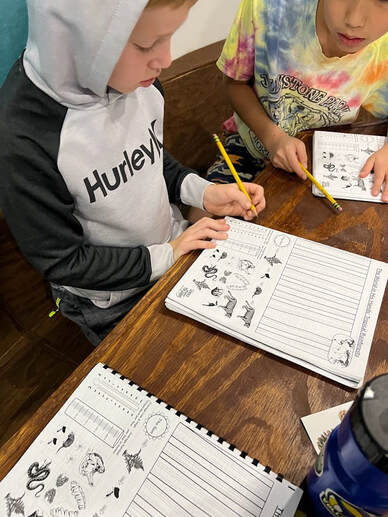 Energy Transfer Game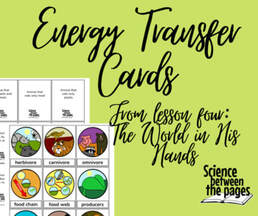 We played this game during class when we were learning about food chains and webs. Because we have a focus on conservation for this lesson, I decided to have less producers for this game to see how it faired. See for yourself.
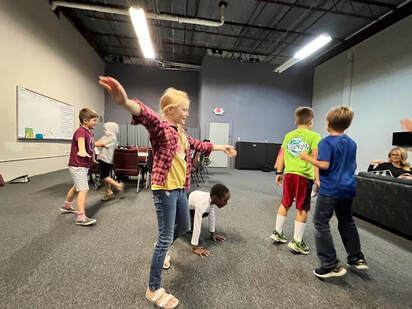
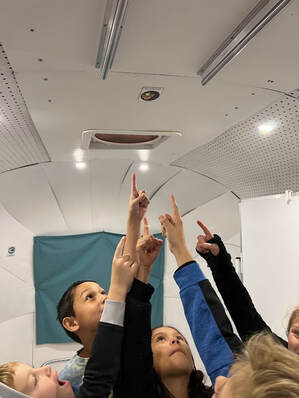
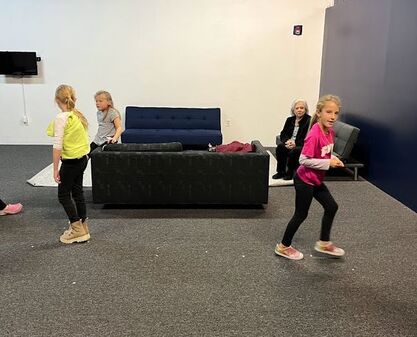
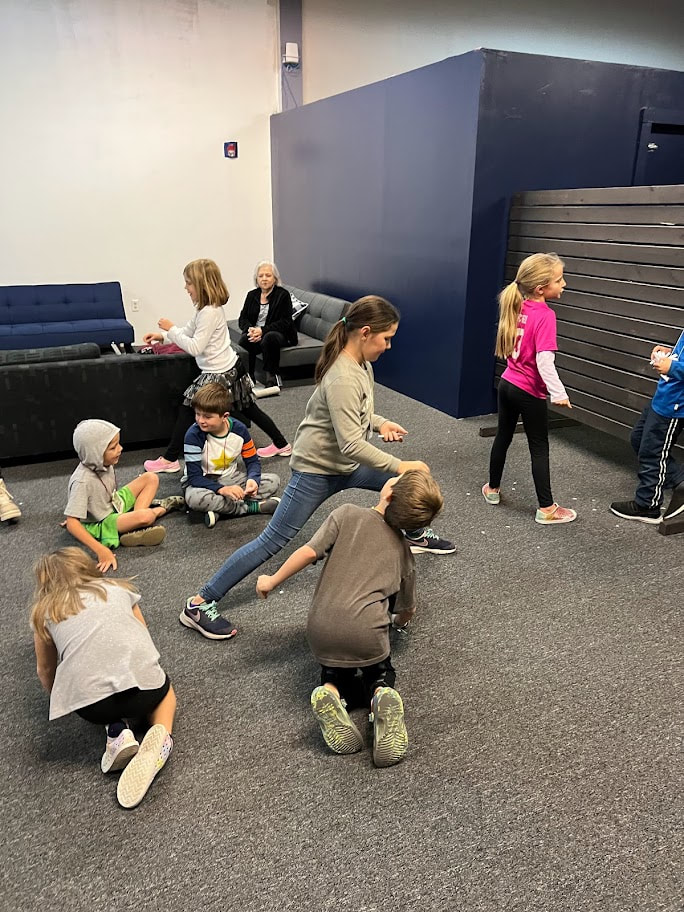
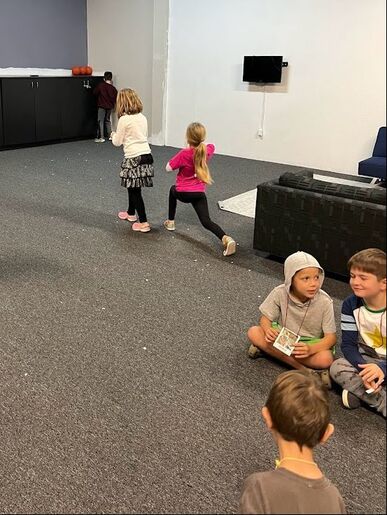
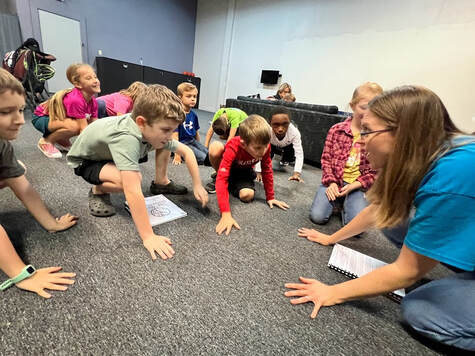
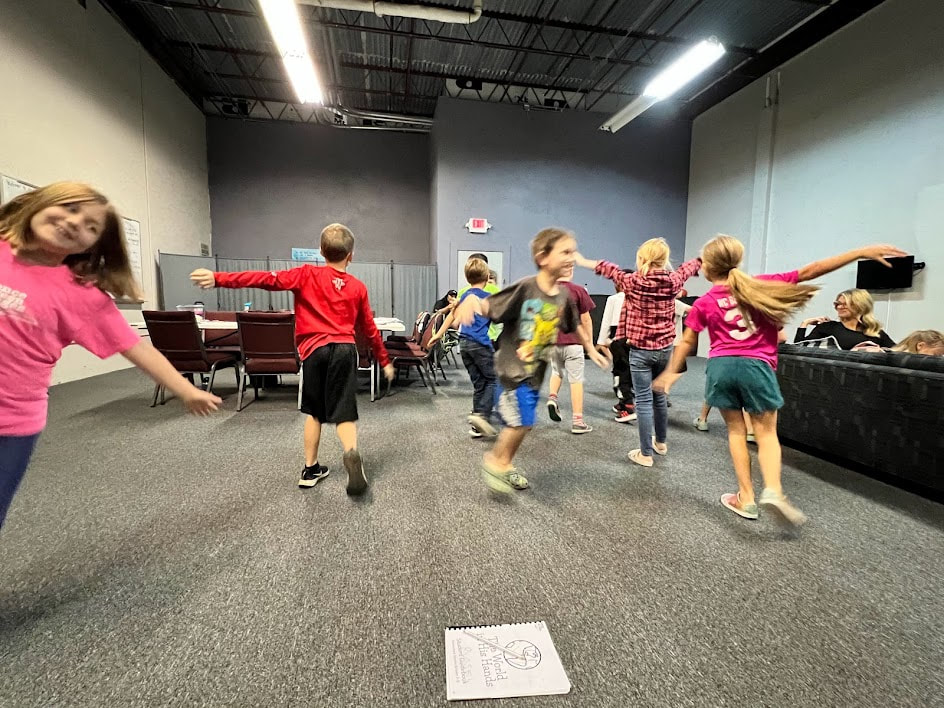
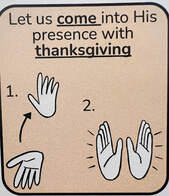
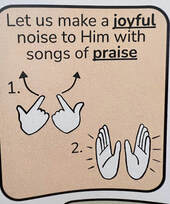
jumping through the layers of the forestI brought my agility ladder and had the students all jump through the layers of the forest naming each one as they went. In this way, it is best to be last because you would have heard the layers of the forest ten times before you had to know the layers yourself. 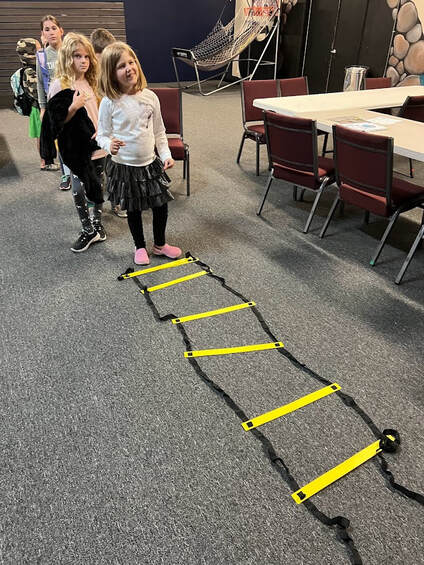 manna moment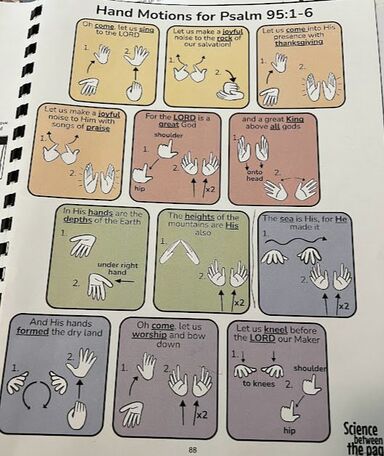 These hand motions are found on page 88 of the student guide book for the World in His Hands Part 1. Today we will recite all five verses and learn our sixth and final verse for this unit. Psalm 95:1-6 "Oh come, let us sing to the LORD, let us make a joyful noise to the rock of our salvation. Let us come, into His presence with thanksgiving Let us make a joyful noice to Him with songs of praise. For the LORD is a great God and great King above all gods. In His hands are the depths of the Earth, the heights of the mountains are His also. The sea is His, for He made it. And His hands formed the dry land. Oh come, let us worship and bow down, let us kneel before the LORD, our Maker." Layers of the forest reviewThere were blocks left out from a previous class in the Route 104 Science Airstream and so I asked the students coming in to make different layer tower representing each of the layers of the forest. 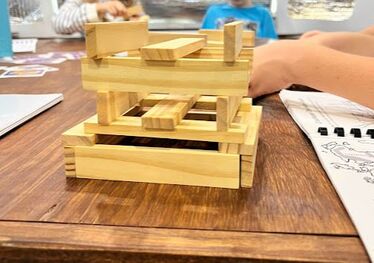 Regions of the World- boreal and Temperate Forests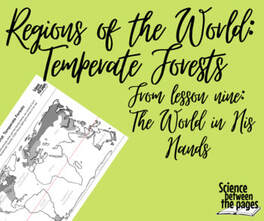 Using the Regions of the World: Temperate Forest sheet, I talked about the difference between coniferous and deciduous trees. Leaves on a coniferous tree are needle like and they do not loose their leaves in the fall. These trees are often called evergreens and predominant in the Boreal forest, however, they can be found in temperate climates as well. Leaves of a deciduous tree have all types of shapes. Typically the shape of the leaf lets us know what kind of tree it is. These leaves are full of chlorophyll which is what makes them green. When the temperatures get cooler, this signals to the trees to stop making chlorophyll and this is when the leaves turn beautiful reds, oranges and yellows. These colors were always in the tree, however, the green chlorophyll was the predominant color. After the leaves change color, they fall from the trees and the trees become dormant during the winter. While the tree appears to be dead, it is dormant and the root system underneath is still growing and storing nutrients for the next season. In the times of rest that the Lord gives us, let us still choose to grow deep into His Word so that in the next season, we will be fruitful for His Kingdom. Read Aloud- Forest Animals by June Randolph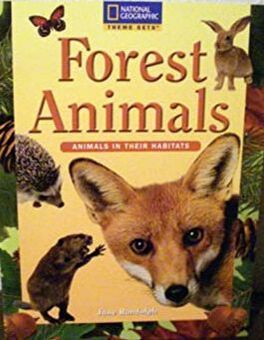 I enjoyed reading this book to the students as it reviewed what an animal habitat is, the layers of the forest, and introduced some of the animals that live in the forests. Since the students had been sitting for a while we had some kinesthetic learning as we reviewed the animals we learned about. The students stood up and when I said: Beaver, they made swimming arms Bears, they walk on arms and legs (bear crawl) Bobcat, they would squat and creep Deer, they would prance around Earthworm, wiggle on the floor backwards Great Horned Owl, arms out to soar Wood Turtle, walk very slowly Python, wiggle on the floor forwards
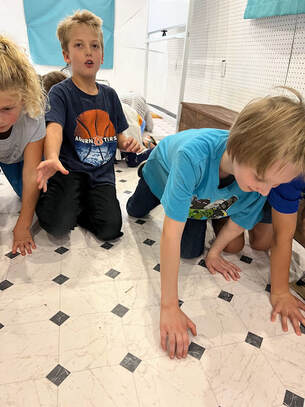
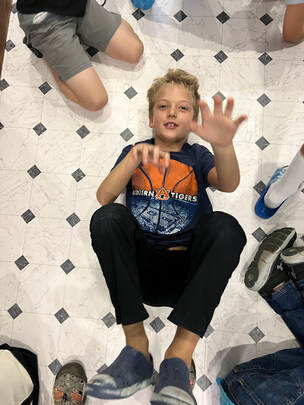
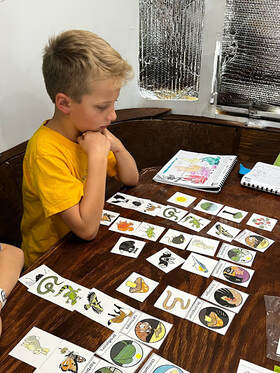
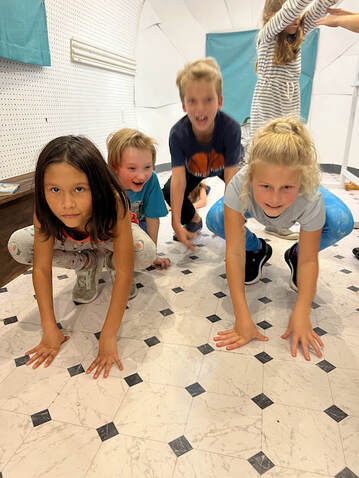 Oh boy! These are bobcats, ready to pounce! Forest Food chain Scramble and Sort I used this Forest Food Chain Scramble to see how many different food chains the students could make using these cards. The challenge was to see how many chains they could make and who could make the longest chain. 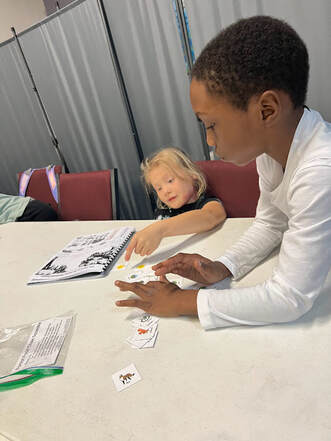 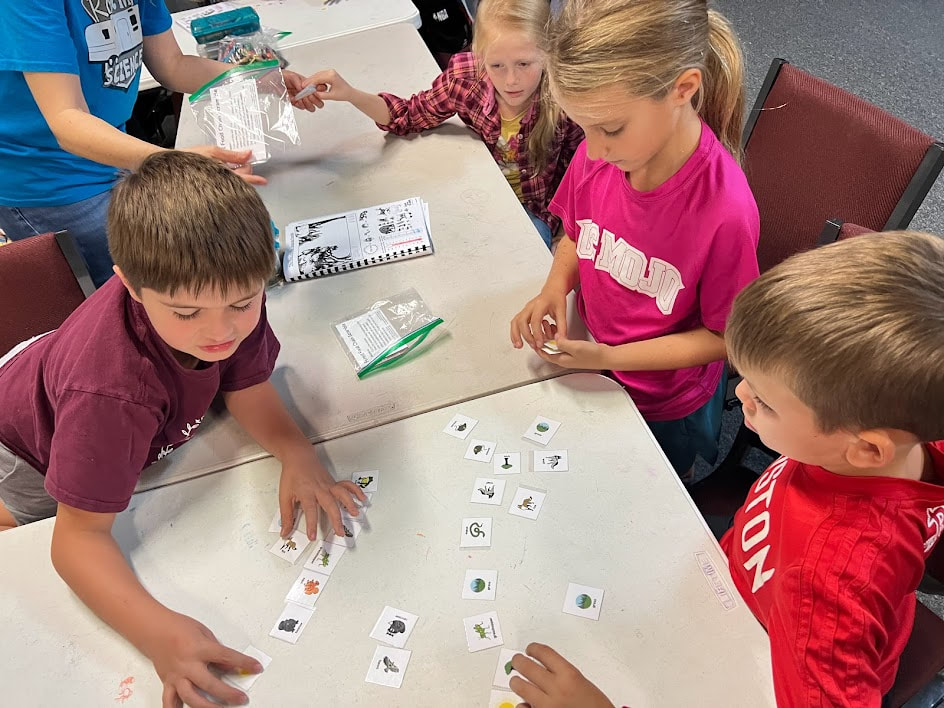 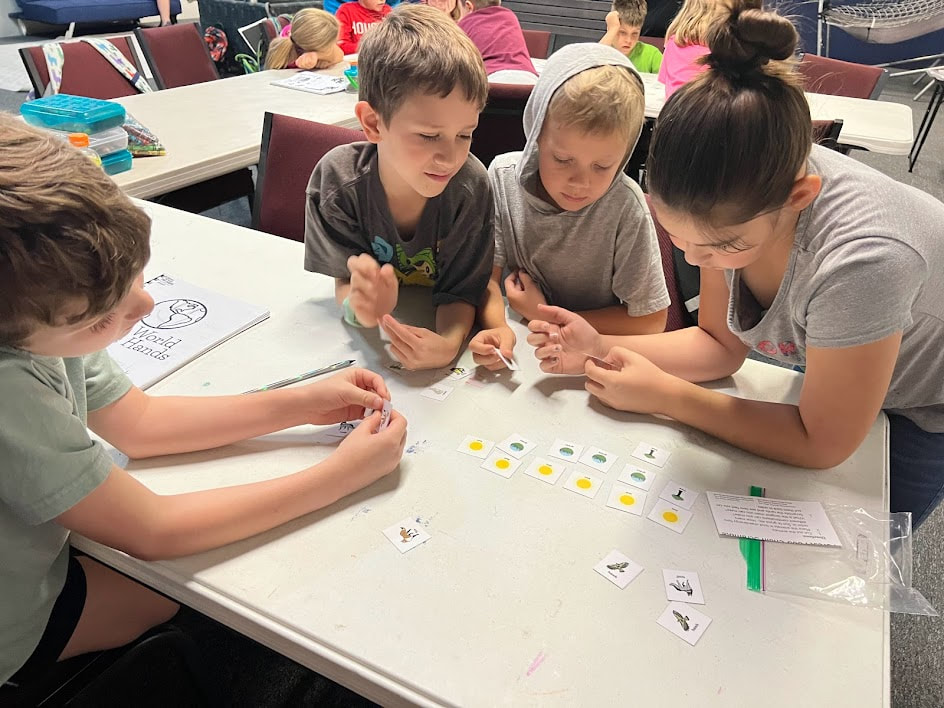
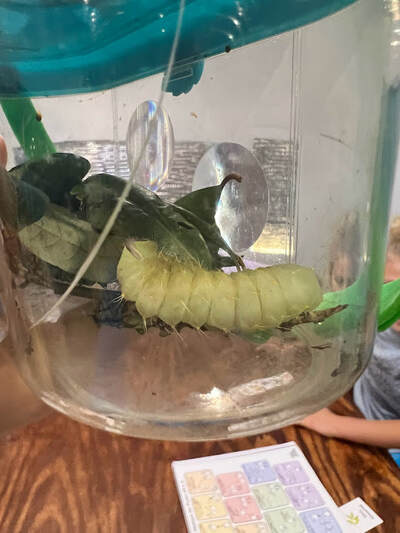
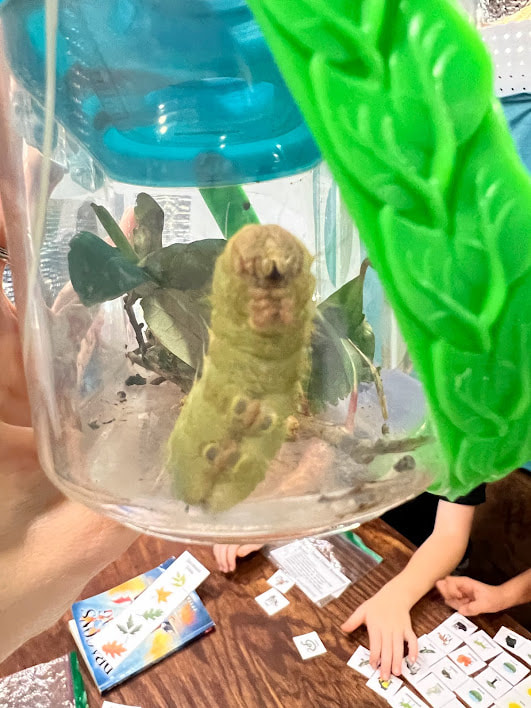
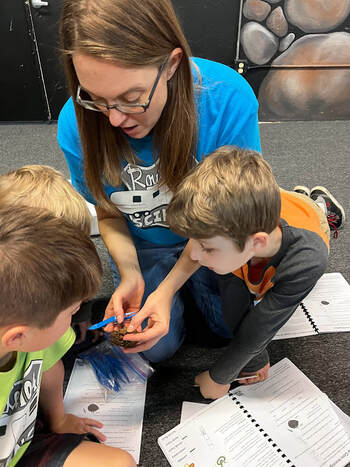
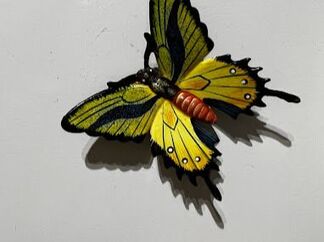
temperate forest biome sheetFinally, we filled in the average temperature of the Temperate Forest as well as its average rainfall. The average temperature is 50 degrees Fahrenheit and the average rainfall is about 30-60 inches a year. Some common flora in this biome are: oak, maple, beech and elm trees. Common fauna are bald eagles, grouse, opossums, black bears, white-tailed deer, squirrels and rabbits. 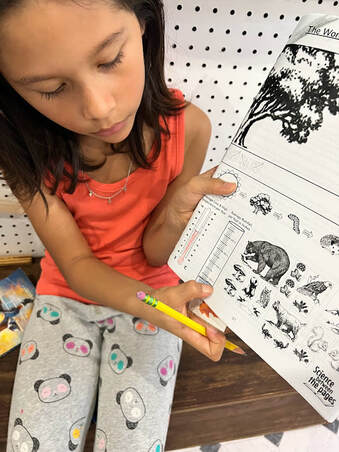 Bonus:A student wanted to share with us what they had found. She brought in eggs, the caterpillar, and the cocoon of a soon-to-be moth. This was so interesting to look at and observe!
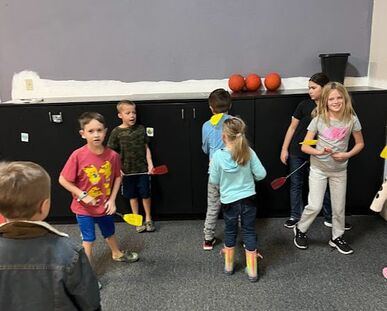
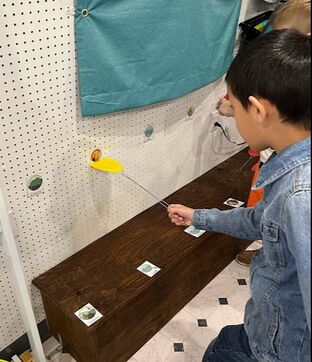
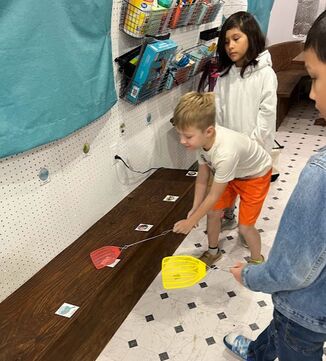
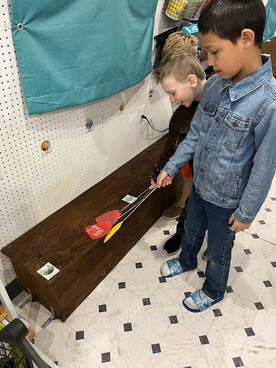
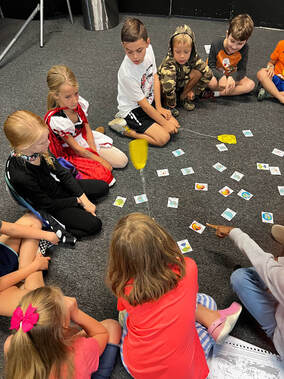
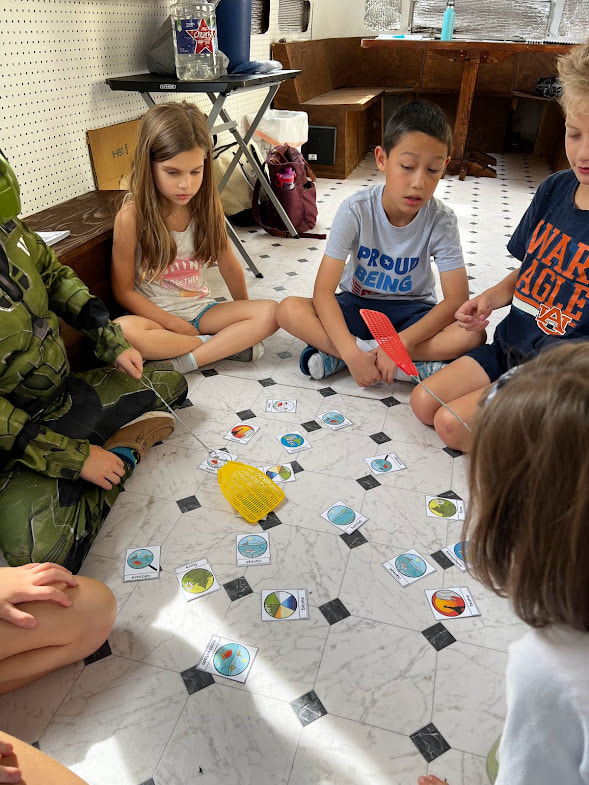
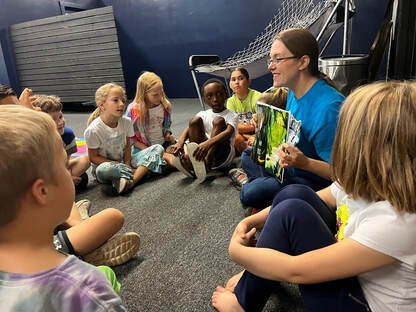
Photo credit goes to Summer Lange. She does some awesome photography!! The World in His Hands Curriculum Manna moment:For our recognition of God's great creation we learned verse 5 of Psalm 95 to add to our first four verses that we have been learning. Psalm 95:1-5 "Oh, come, let us sing to the Lord, let us make a joyful noise to the rock of our salvation. Let us come into His presence with thanksgiving; let us make a joyful noise to Him with songs of praise. For the LORD is a great God and a great King above all gods. In His hand are the depths of the earth, the heights of the mountains are His also. The sea is His, for He made it, and His hands formed the dry land." We are learning these with some hand motions to help us remember. Opening Activity: Review VocabularyWith all the students sitting in a circle, I gave a few students a fly swatter. I would read the definition of a vocabulary word and the students with a fly swatter would swat the correct vocabulary word. After they swatted the card, they were to pass the fly swatter to the next person on their right.
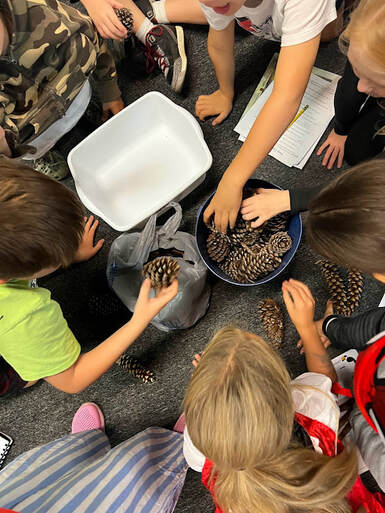
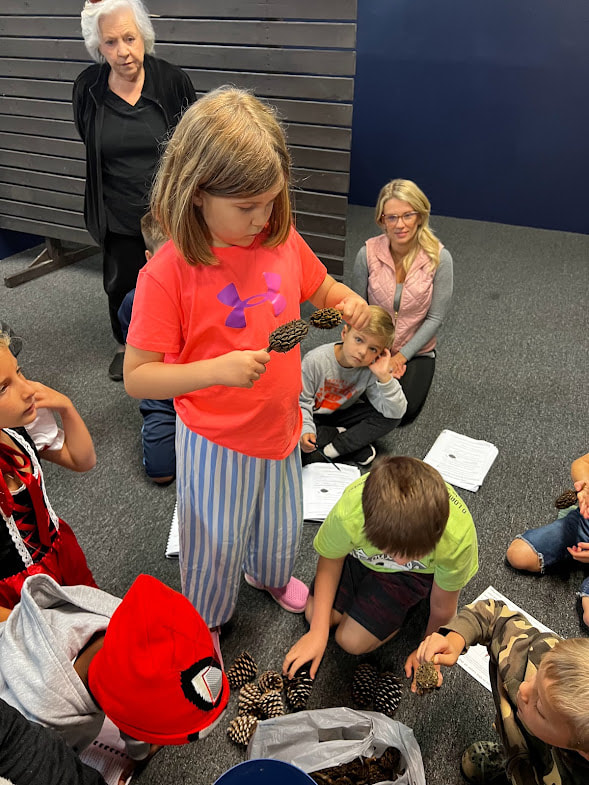
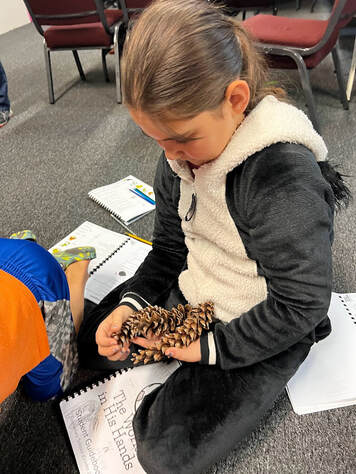
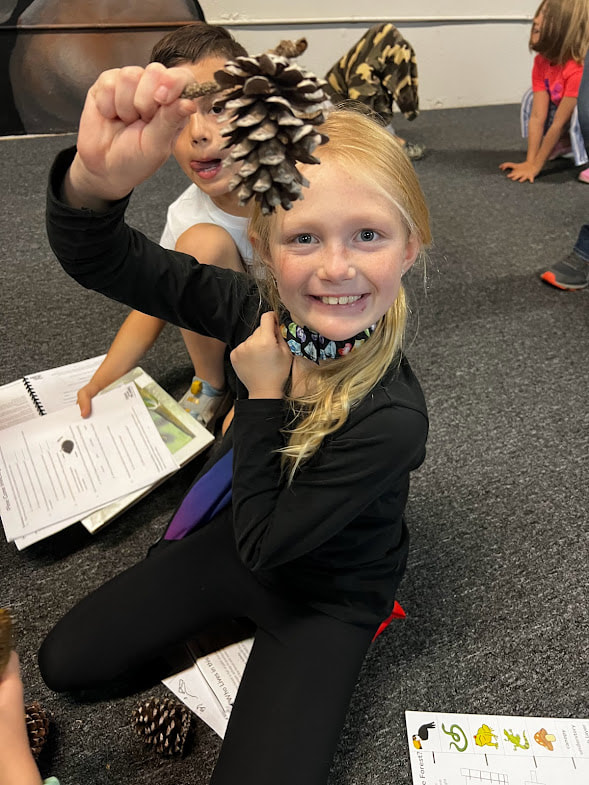
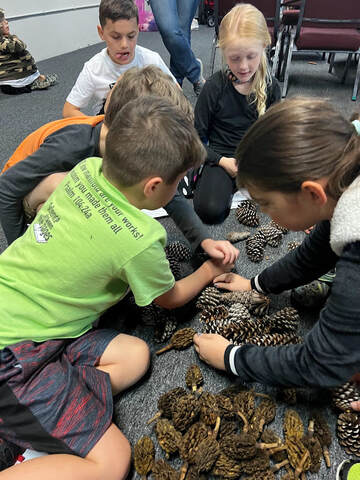
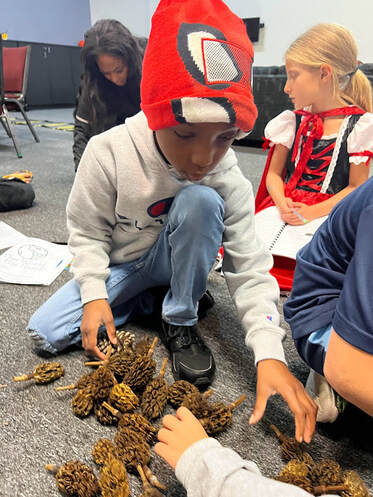
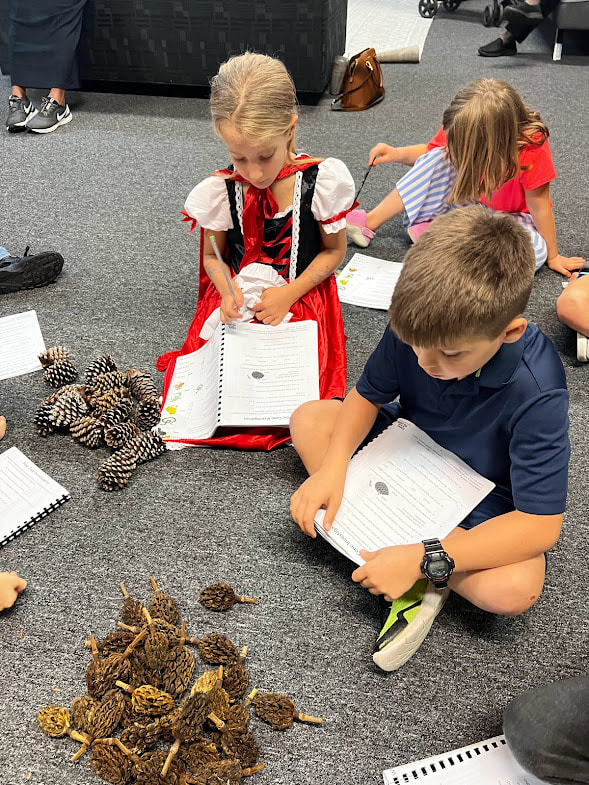
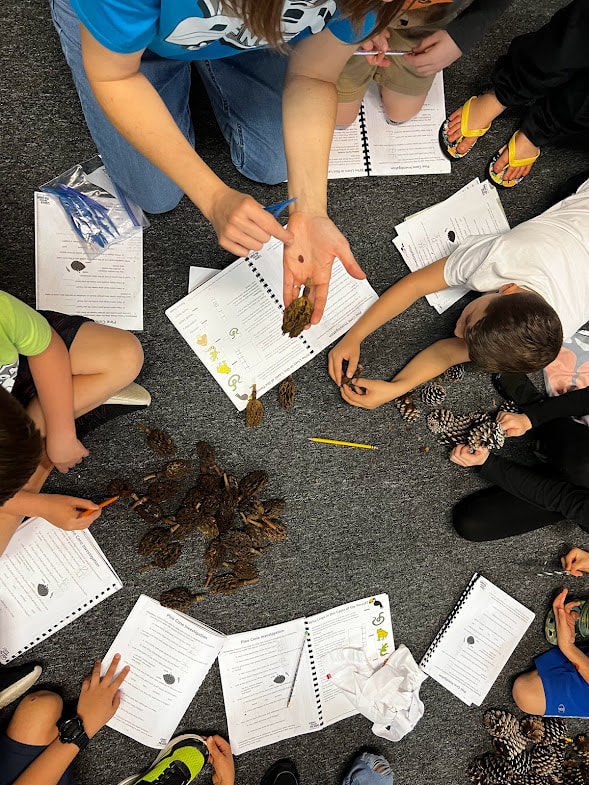
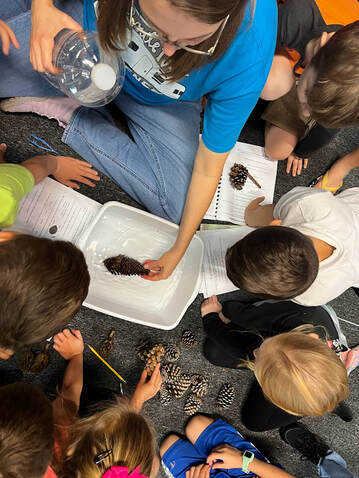
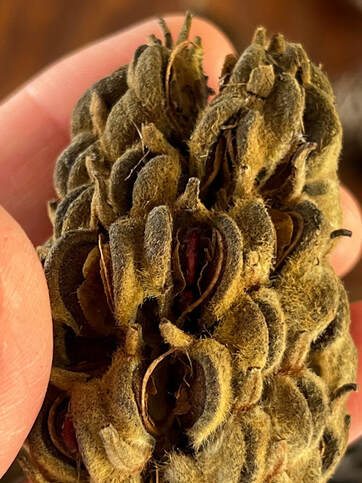
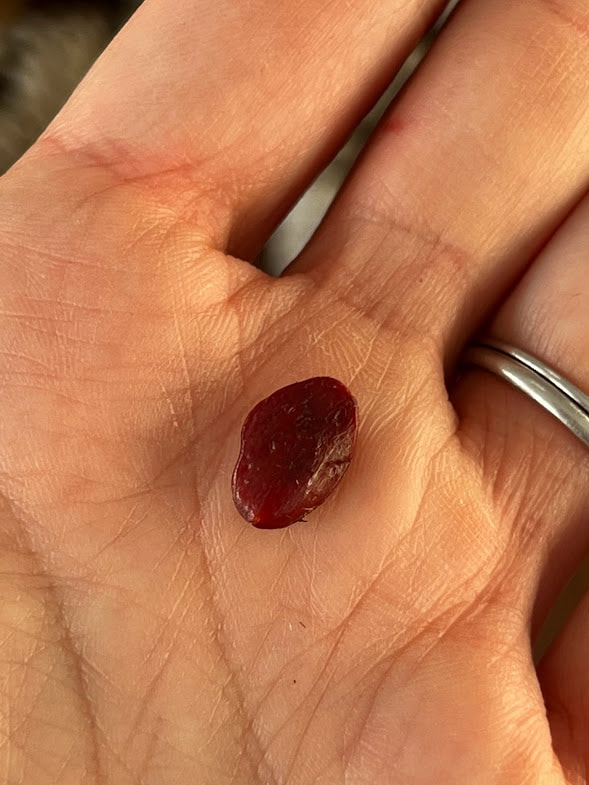
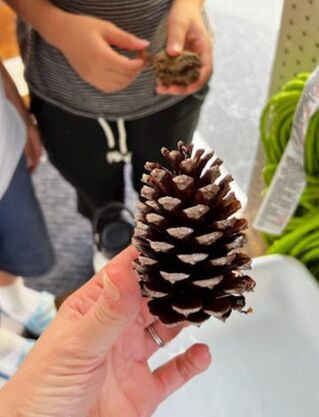
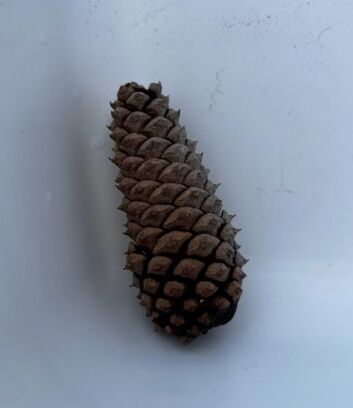
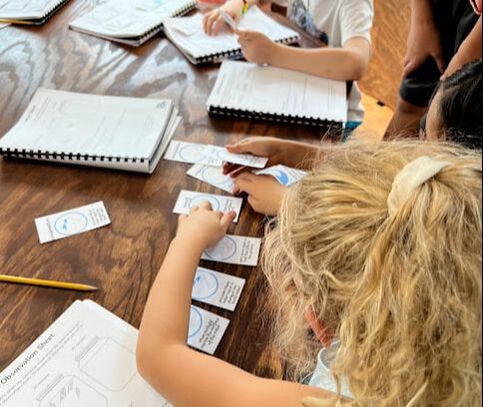
Read Aloud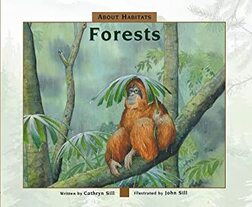 This book touches on all the different kinds of forests, their flora and fauna. It also teaches the differences between the different forests in reference to climate and rainfall. These are great books for elementary students. They have very short, one sentence text for younger learners along with more details of each picture in the back for older learners. Where are the Boreal Forests? Using their map in their guidebook, they could color where the Boreal Forests are located.  Pine Cone/magnolia cone experiment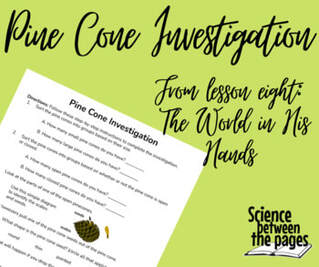 1. We sorted pine cone and magnolia cones into small and large. 2. Then we sorted them based on whether the cone was open or closed 3. We looked at the different parts of a cone (the seeds and scales 4. With our tweezers, we attempted to find any seeds left in the cones. 5. We submerged them in the water to see how they would react.
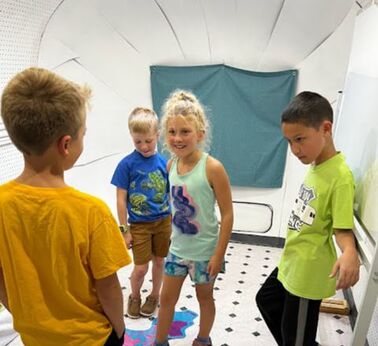
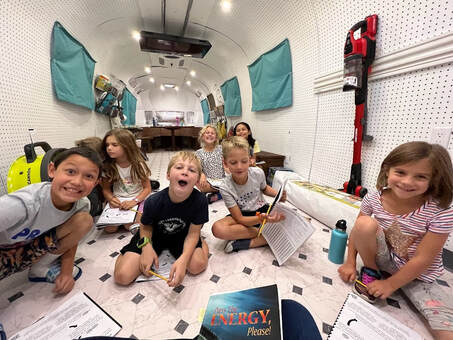
Giving the pine cones a little bath to see how they react.  About an hour and a half later, the pine cones that were in the tub of water, were completely closed up. 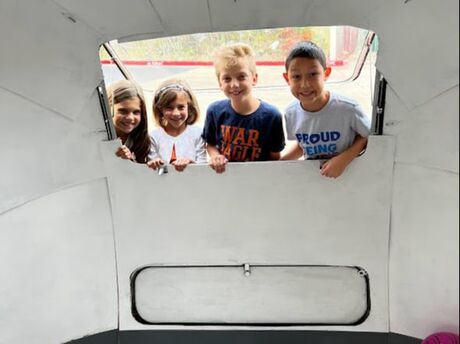 Always ready to begin their science class in the Route 104 Science Airstream. 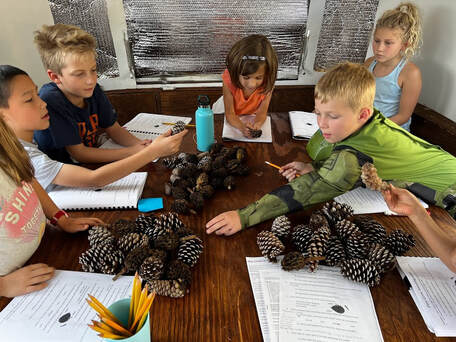 Sorting cones in our Route 104 Science Airstream 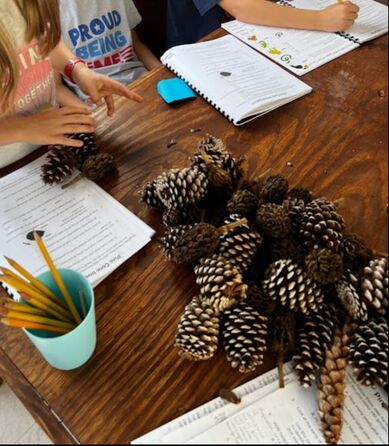 Counting the cones
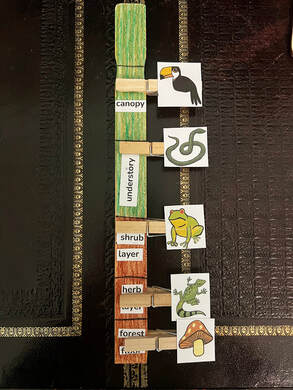
Layers of the forestThe three main layers of the forest are the forest floor, the understory and the canopy. The emergent layer is found only in the rainforests and there are the herb and shrub layer as well within a forest where different plants and animals live. Within the biomes of forests, there are different ecosystems in the layers of the forest. I gave each of my students a paintstick (free at Home Depot) to color like a tree and then used clothespins to mark the different animals that lived in the different layers of the forest. All the instructions for this are on the TPT printable below.
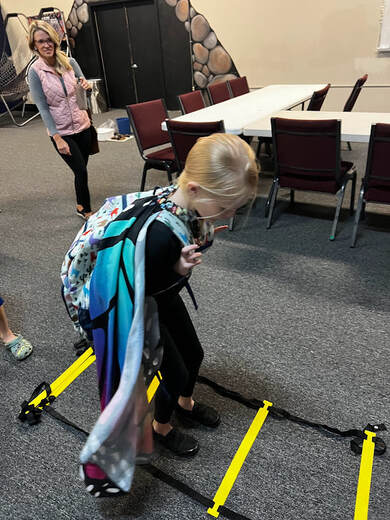
Layers of the Forest HopscotchAs they finished these activities, they could come to the door and 'hop' right on out naming the different layers of the forest on their way out. Typically, I have just taped boxes to the floor to do this, however, I recently invested in an Agility Ladder which saves me some class prep time and the students can still jump to the different layers.
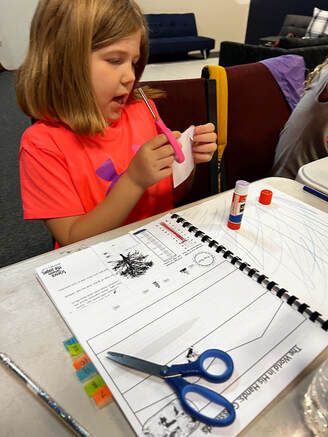
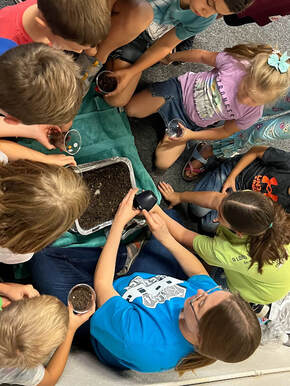
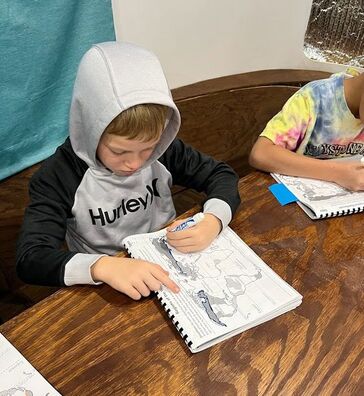
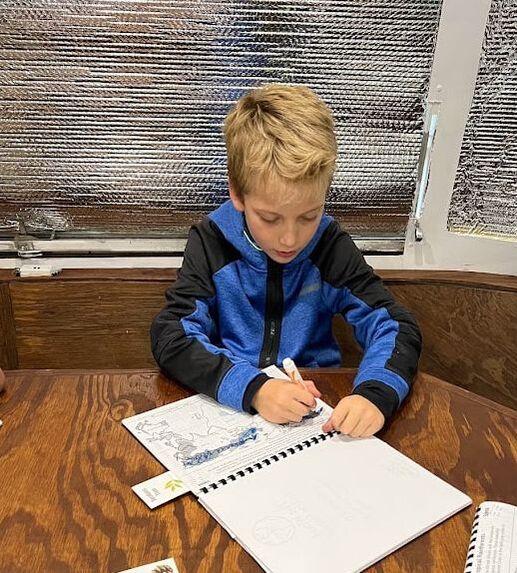
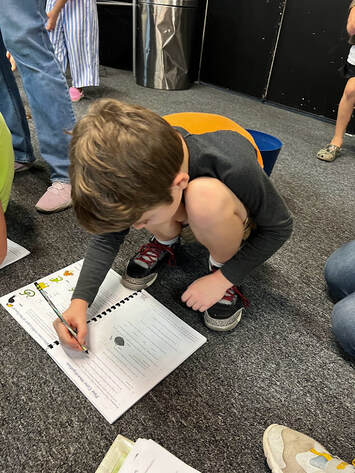
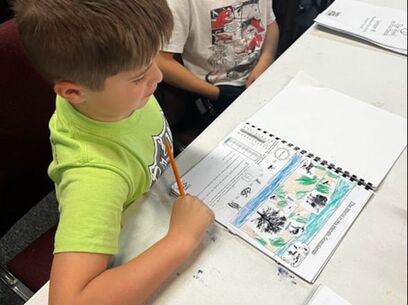
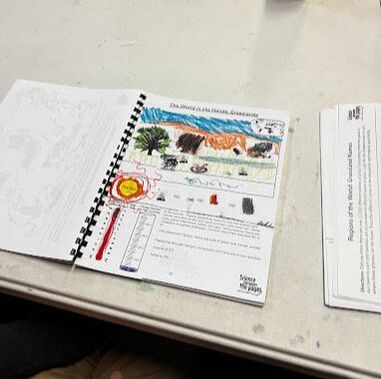
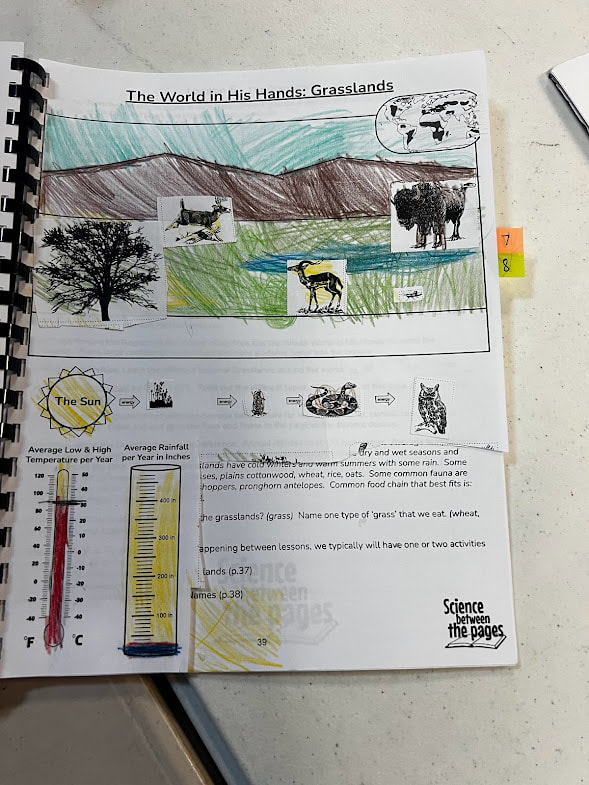
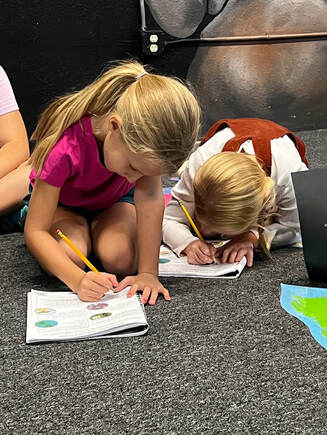
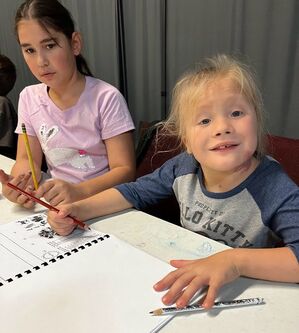
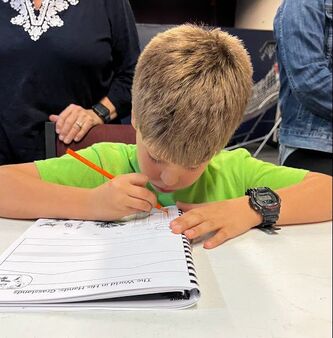
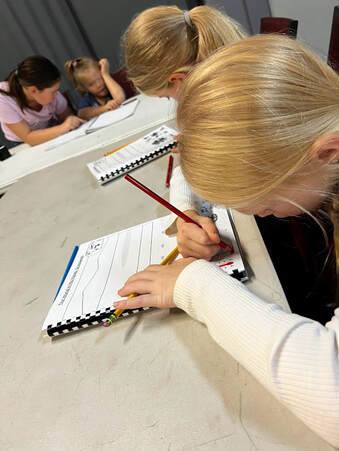
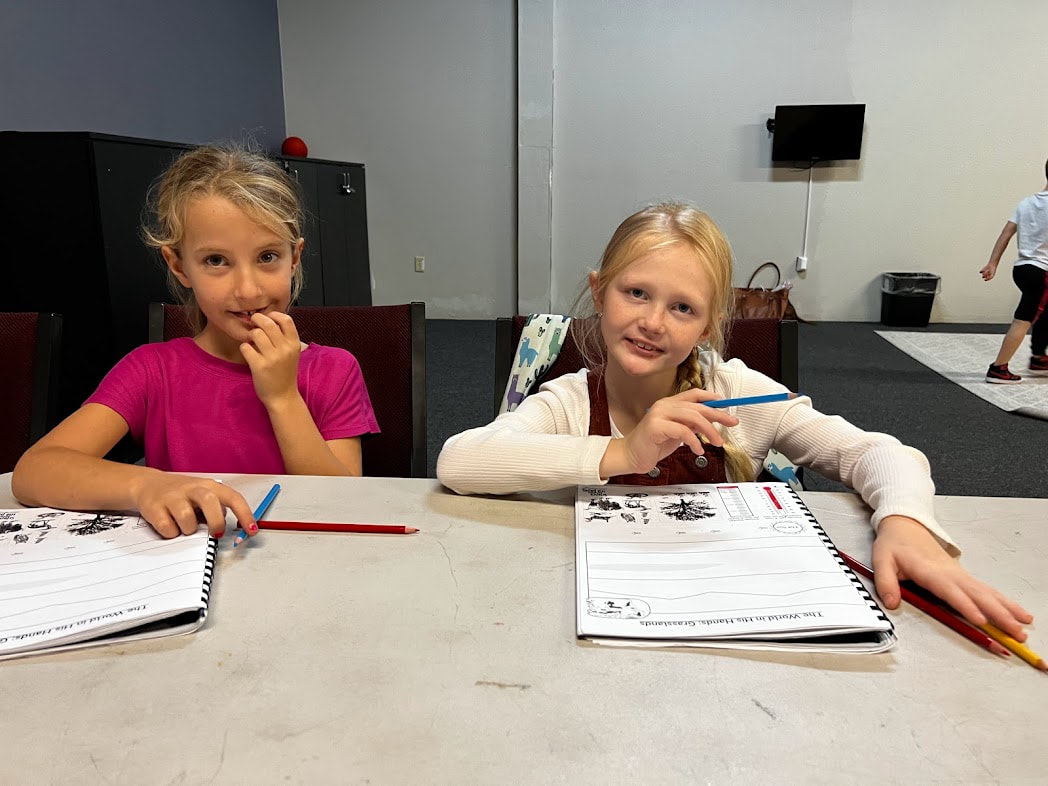
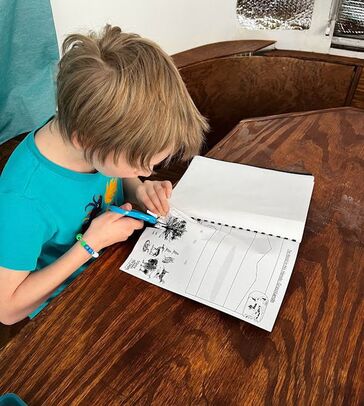
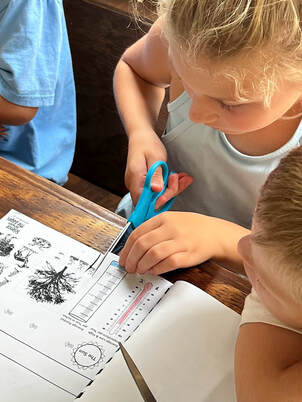
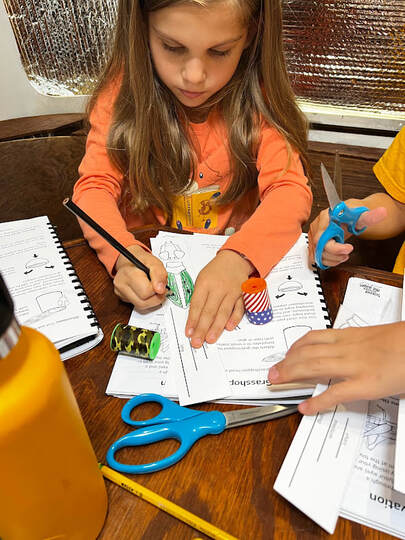
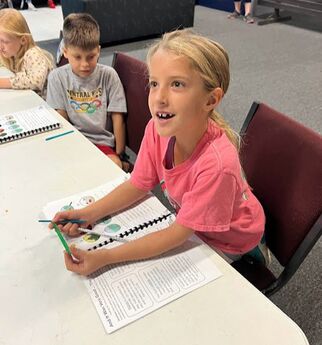
 Student workLast week, I introduced making a Biome sheet to review the different parts that make up the Grasslands Biome. There is cutting, coloring and gluing involved and it doesn't all get done during class. It is such a joy to me to share the student's work. I love seeing them learn, what an honor and joy!
manna momentMatthew 6:30- "But if God so clothes the grass of the field, which today is alive and tomorrow is thrown into the oven, will He not much more clothes you, O you of little faith?" I love how God has designed grass. Grass grows from the base of their leaves which allows the grass to continue to grow even after grazing animals have eaten all the tips. Grass feeds many different animals and it was very intentional that the different animals that eat grass eat different parts of the grass. Some animals eat the grass seeds, others eat the grass one leaf at a time like the grasshopper, while others eat the tips. It is interesting that the scripture depicts something that is a very common occurrence, grass fires. If the Lord provides for the grass in the fire by not allowing the fires to destroy them, He redeems and it is purposeful in allowing it to burn away the old parts of the grass so that new grass can grow. This is part of God's Redemptive Story in that where there is death, there is life. Jesus dying on the cross for our sins gave us new life in Christ, from death comes life. different kinds of grasslands In the student's guidebook on page 34, there is a map of the world with the grasslands grayed out for the students to color. On this particular map, the names of the different grasslands are also written on it for the students. So we will review the different continents as we learn about the different names of the grasslands around the world. Read aloud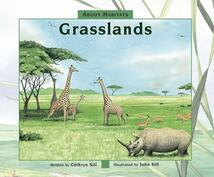 The Grasslands by Cathryn Sill is a beautiful book that gives credit to the Creator for His creation! This is placed in the acknowledgements. The illustrations are wonderful along with the simple text that informs the reader of the different types of flora and fauna found in the grasslands. At the end of the book, there is an appendix that shares more in depth information about each topic. To go along with this book, we made a listening guide for the students to follow along with.
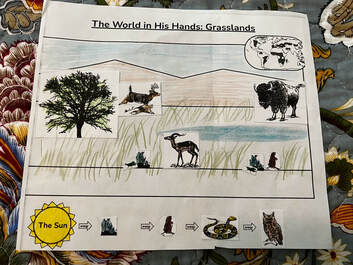
 Grasslands biome sheet For every biome, there will be a sheet where the students can pick some flora and fauna to glue onto their biome sheet along with a food chain, a thermometer and a rain gauge. This offers a great review to what we have learned about grasslands.
This is an example of what the Biome sheets could look like. These are ideally to remain in their student guidebooks so that everything stays together. I went ahead and placed the thermometer and rain gauge on the back to keep the page even but the students do not have to do it this way.
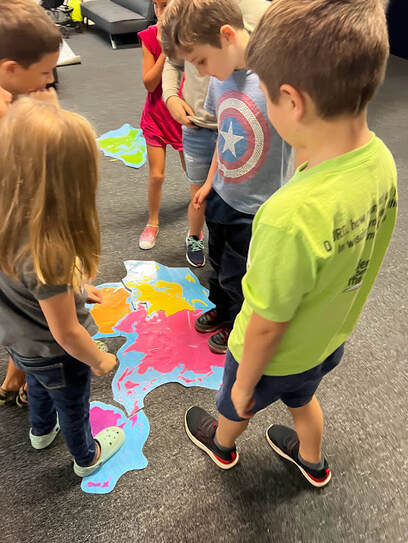
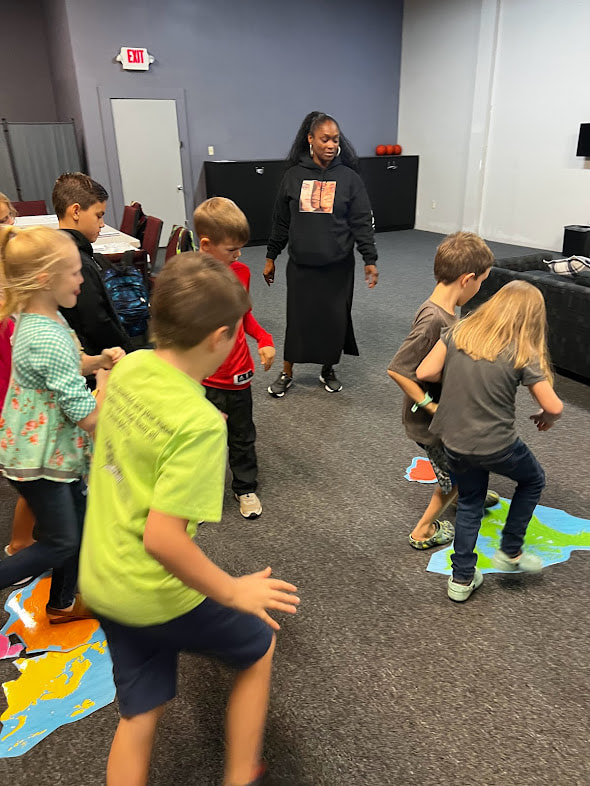
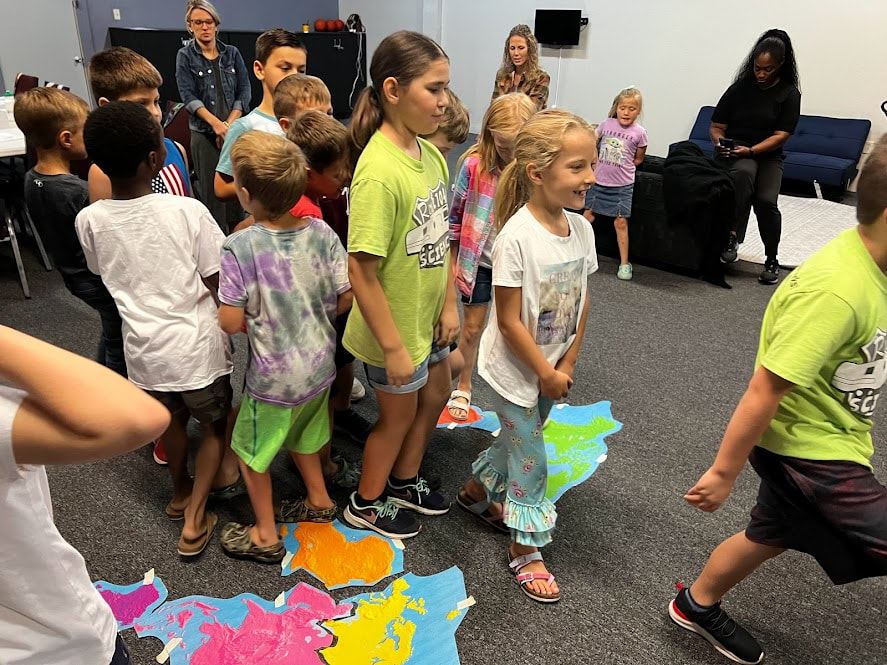
Manna MomentGenesis 1:24-"And God said, "Let the earth bring forth living creatures according to their kinds-livestock and creeping things and beasts of the earth according to their kinds." And it was so." What day of creation do you think that the Lord God made the grasshoppers? It was on the sixth day of creation. he made all the creeping things on this day along with the animals and humans. Some species of grasshoppers change into locusts. The Lord used a plague or swarm of locusts in Egypt to destroy the rest of the crops that weren't destroyed from the previous plague of hail. Do you think that the grasshoppers and locust before Adam and Eve sinned would swarm and eat up entire crops? Or do you think that this phenomena is a result of the sin that entered the world when Adam and Eve disobeyed? Reviewing the Regions of the WorldI placed my large map on the floor and had the students 'swarm' like locusts across the world to the different continents and oceans.
Read Aloud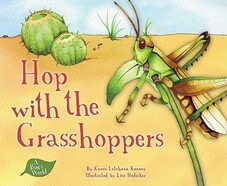 Hop with the Grasshoppers by Karen Latchana Kenney is a perfect book to read aloud. The pictures are very clear and the author is sure to point out all the wonderful aspects of grasshoppers from how they breathe, how they smell, how they stay safe, and how they reproduce. The text is not too lengthy but packed with information.
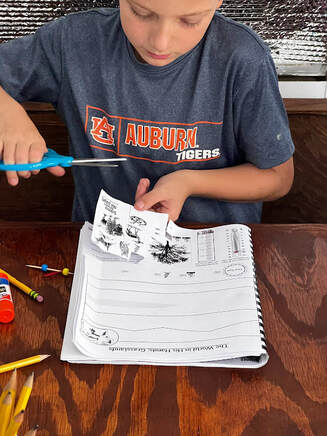
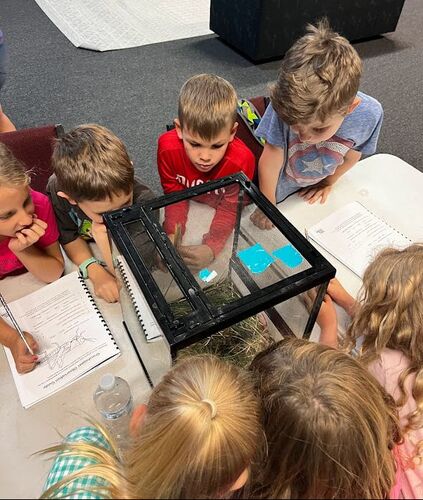
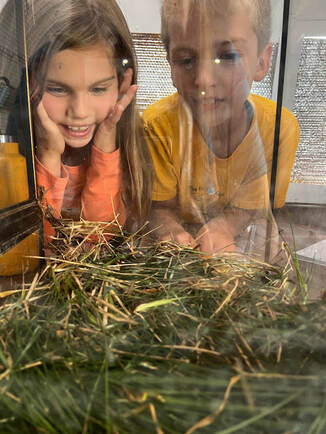
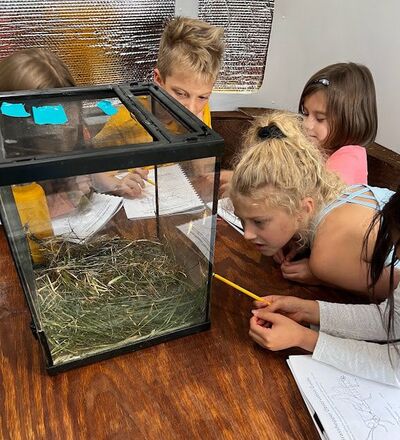
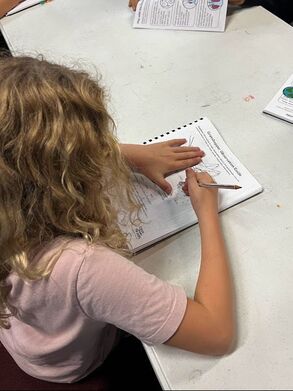
grasshopper observation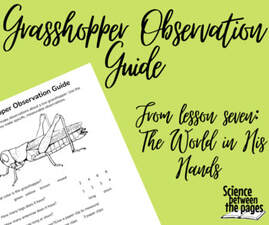 For my students to practice their observational skills, I brought in some grasshoppers in a terrarium. We did some preliminary observations orally. I asked, "Is the grasshopper hard or easy to see? What color is the grasshopper? What is the grasshopper doing? What parts of the grass hopper can you identify? Do you notice anything interesting? Using our observation sheet for grasshoppers, we were able to document what color the grasshoppers were, how many legs it has, what kind of antennae they have and see if we could tell if it was male or female.
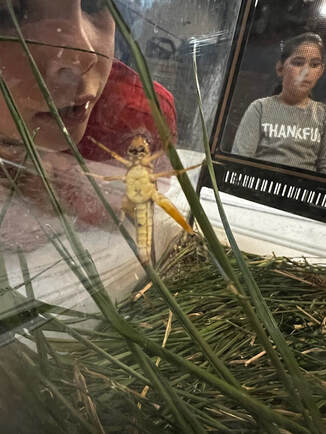
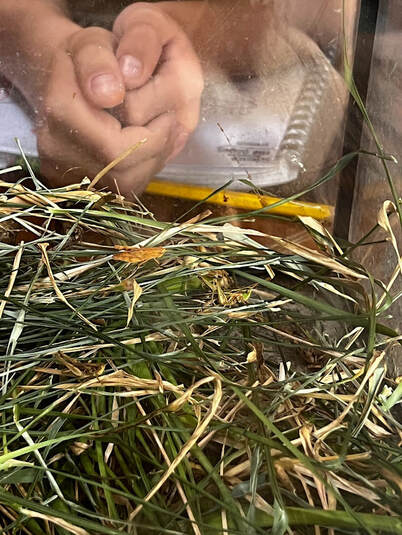 How many grasshoppers can you see in this picture? Their camouflage is amazing!!
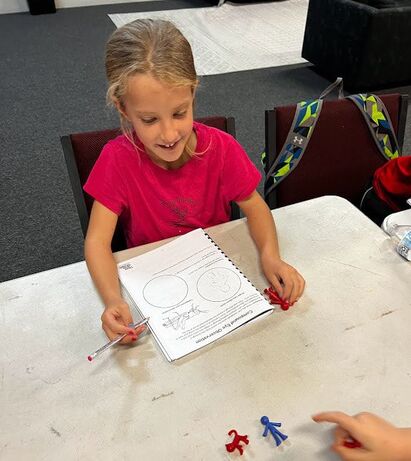
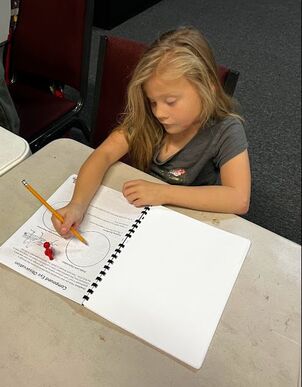
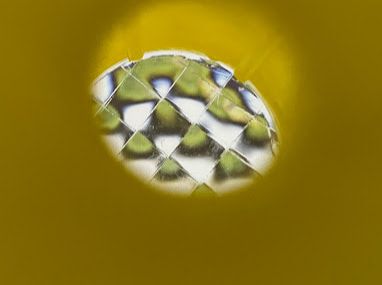
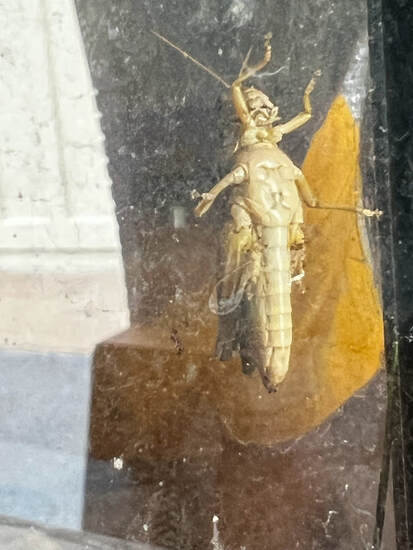 This is a great picture of the head, thorax, and abdomen of the grasshopper. This is also a good picture that shows if it is a male or female grasshopper. Can you tell if it is a male or female? A female's abdomen will be longer, more pointed with an ovipositor at the end (four pointed tip). A male's abdomen is rounder and shorter than a females. So in this picture, this grasshopper is a female. Can you see the ovipositor? 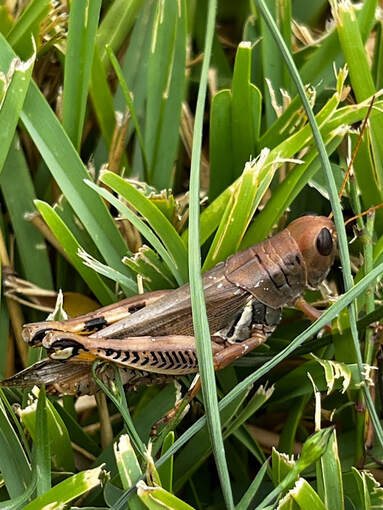 compound eye observation We had learned from the read aloud book that grasshoppers have compound eyes to be able to identify predators that might be coming to eat them from behind or the side. Humans have one lens and takes in an image all at once. A grasshopper compound eye has thousands of lenses and they take in pieces of an image per lens. This allows them to detect fast moving predators quickly. Have you ever wondered what the world looks like through a grasshopper's eye? I gave each student a plastic kaleidoscope for them to look through and observe a toy. They were to make their observations and draw them on their Compound Eye Observation sheet.
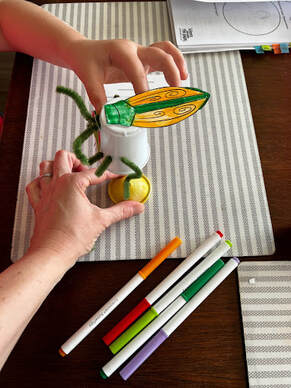
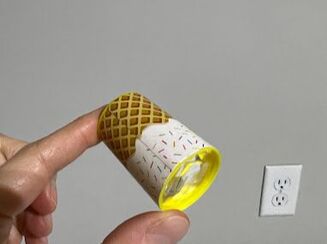
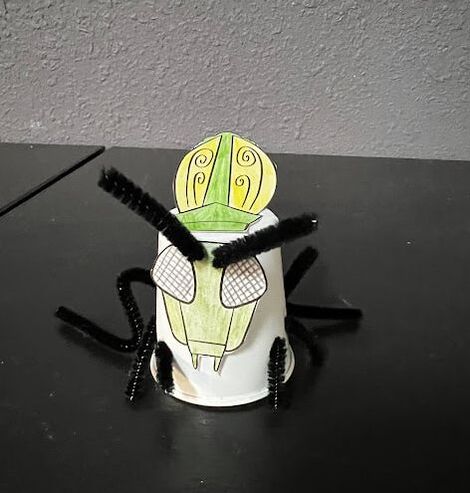
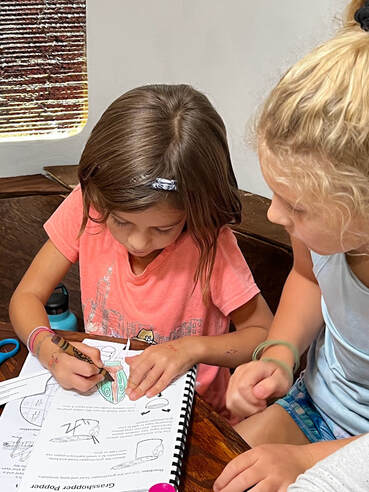
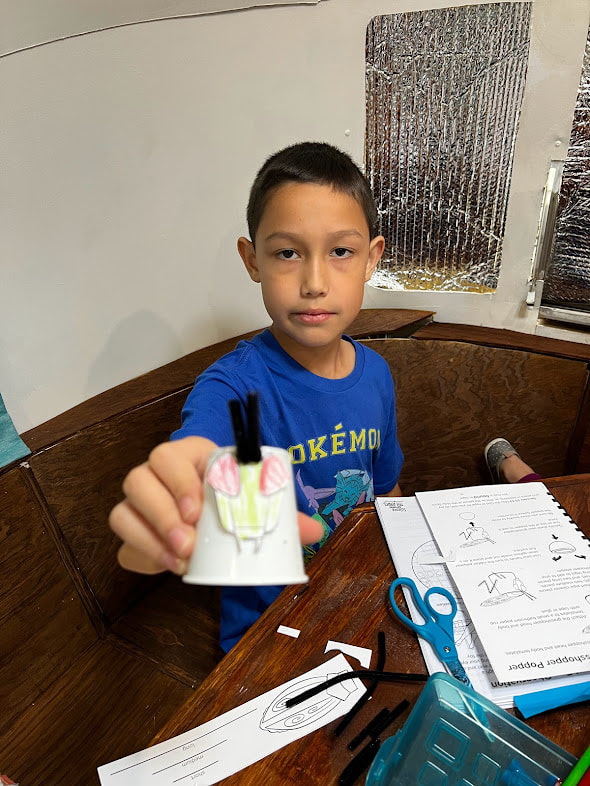
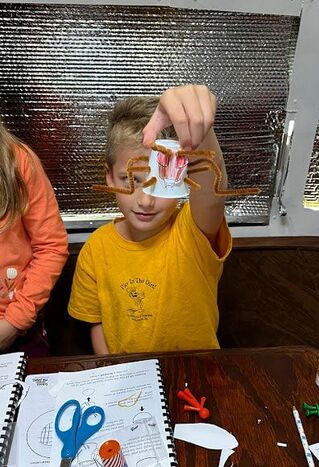
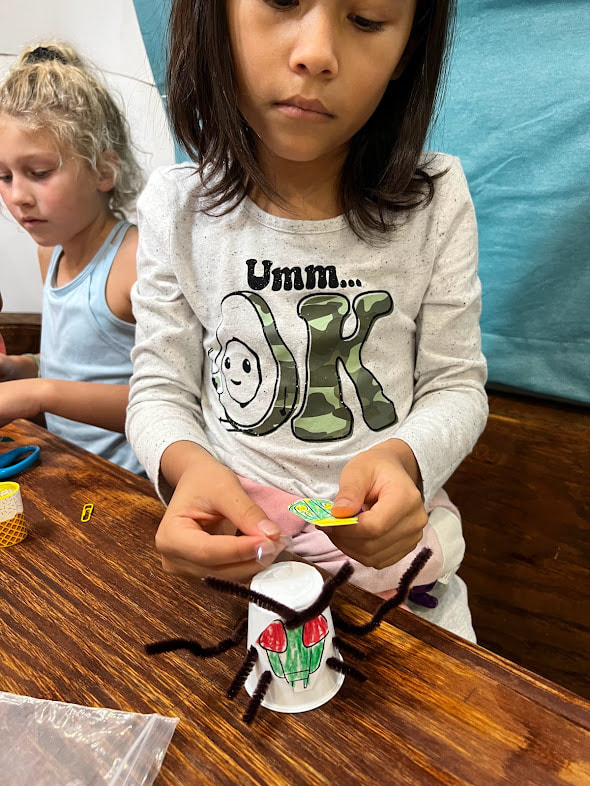
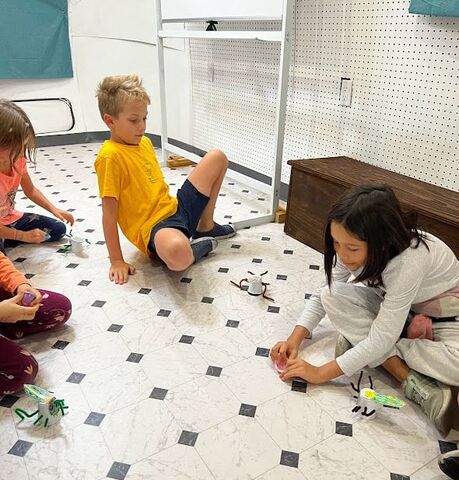
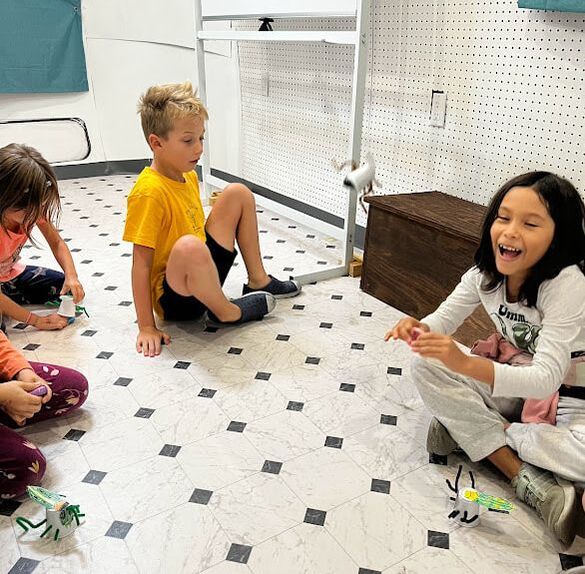
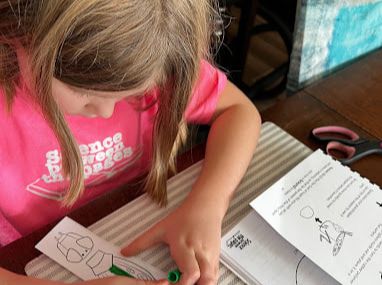
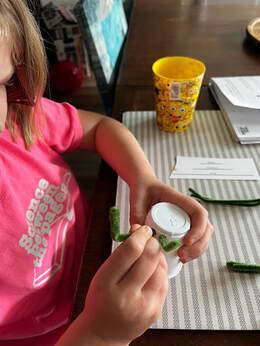
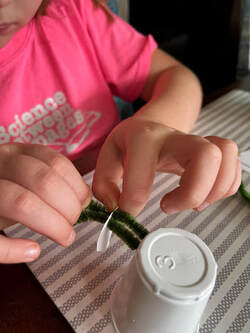
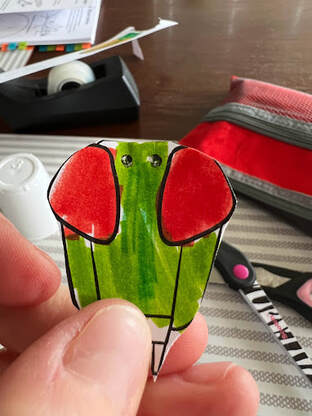
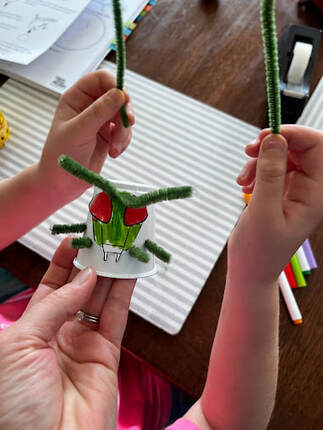
grasshopper popper Next, we made a model of a grasshopper using these little rubber poppers as the base. Here is the template to make all the pieces for the grasshopper popper. You would need the 3oz. bathroom cups to create your grasshopper on. 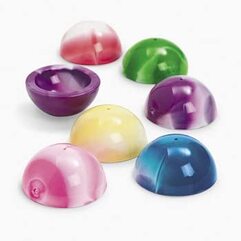
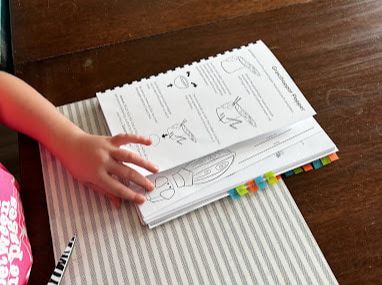
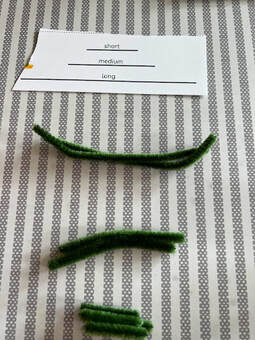
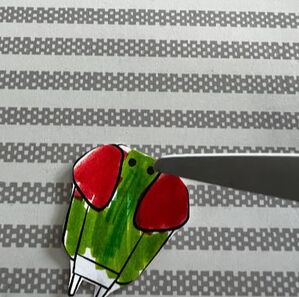
step by step instructions for the grasshopper popperOne of my classes didn't get to make these in class, so I gave them a baggie with the materials to make at home. Here are the step by step instructions on how to make these: 1. Cut out the strip from the Grasshopper Popper page in your student guidebook. 2. Color the grasshopper any color they want. 3. Cut the chenille stems to the appropriate lengths: 4 short, 2 medium, and 2 long using the other half of the cut strip as a template. (Already cut if you received a baggie from me during class) 4. Cut out the grasshopper head and poke little holes where the antennae will be. 5. Poke 8 wholes in a plastic 3 oz bathroom cup; 2 for the antennae, 6 for the legs. 6. Place the 2 medium chenille stems where the antennae would go and thread the grasshopper head onto the chenille stems. Secure the grasshopper head with a piece of tape on the back. 7. Place the 4 short chenille stems in the front for the four front legs of the grasshopper and then use the long chenille stems to make the jumping legs.
 Bonus: Grasshopper anatomy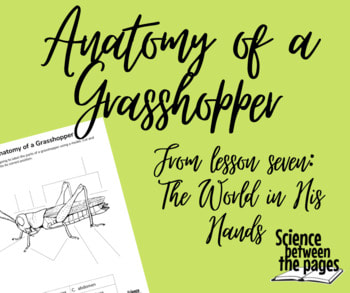 Manna MomentPsalm 95:1-4- "Oh come, let us sing to the LORD, let us make a joyful noise to the rock of our salvation. Let us come into His presence with thanksgiving; let us make a joyful noise to Him with songs of praise. For the LORD is a great God and a great King above all gods. In His hand are the depths of the earth, the heights of the mountains are His also." Before we begin studying the wonderful Biomes in our magnificent world, we must first learn the regions of the world where they are located. There is such peace that I have knowing that I don't have to know everything about each biome to know that God is taking care of all things in our world. Praying that as we discover God's awesome creation, we might draw closer to Him knowing that He has you and me in His loving hands. What Role do I play ReviewAs the students came into class, I had them sort through the vocabulary about food chains and food webs last week and coupled it with which animals are herbivores, carnivores, omnivores, scavengers, decomposers.
Read Aloud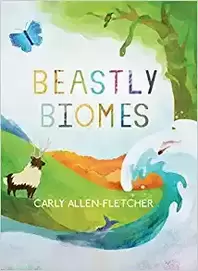 Beastly Biomes by Carly Allen-Fletcher gives a wonderful overview of the Biomes of the Earth that we will be covering for the rest of the school year. The illustrations are vibrant and appealing while giving short texts about the different biomes and the animals that live there. While I was reading, I had the students pick out the animals that they liked the best to read about. 
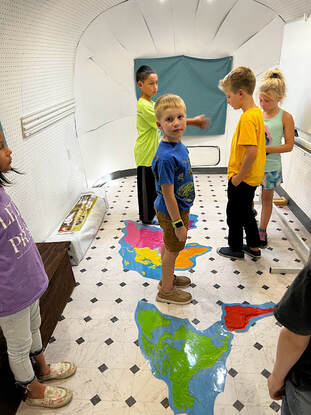
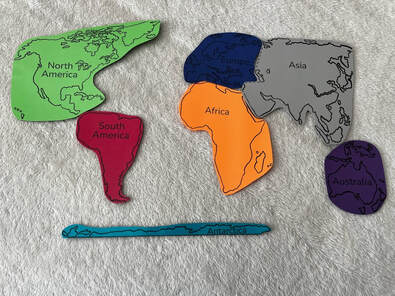
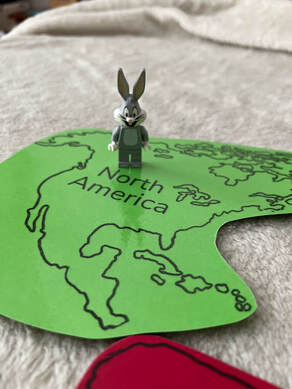
He's Got the WHole World In His HandsUsing my oversized map of the continents, we learned the continents and oceans by singing the song, He's Got the Whole World in His Hands. You would sing the first stanza like normal and then the second stanza you substitute words for continents and/or oceans. "He's got North and South America in His hands He's got Europe, Asia, Africa in His hands He's got Australia and Antarctica in His hands He's got the whole world in His hands" "He's got the Arctic and Atlantic in His Hands He's got the Pacific and Indian Oceans in His Hands He's got the Southern Ocean too, in His hands He's got the whole world in His hands"
 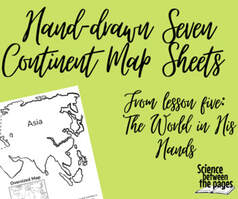 Included in the World in His Hands curriculum is a world map that can be copied on different colored cardstock for different continents. They can laminate these and use them for geography, history and science. Here is an example:
Coloring in the Grasslands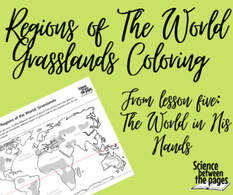 Now that the students are familiar with the Regions of the world, we practiced coloring in all the different grasslands in the world on the different continents.
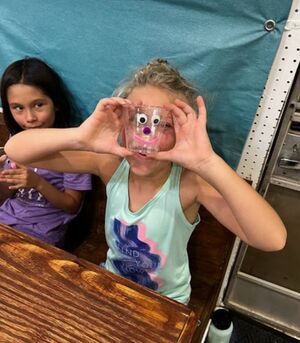
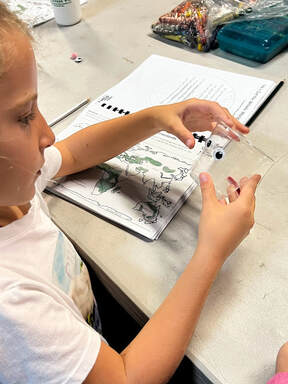
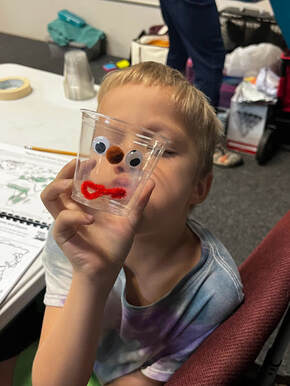
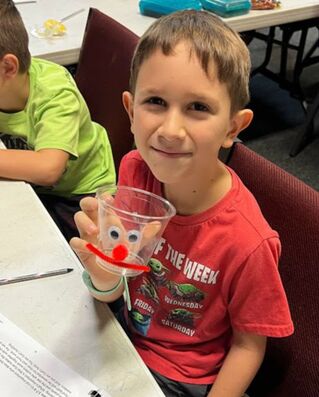
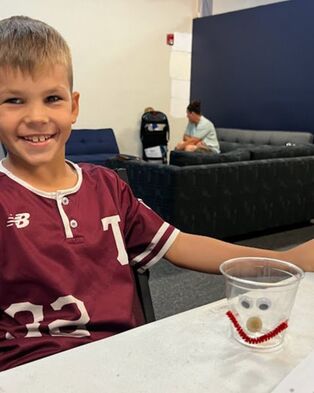
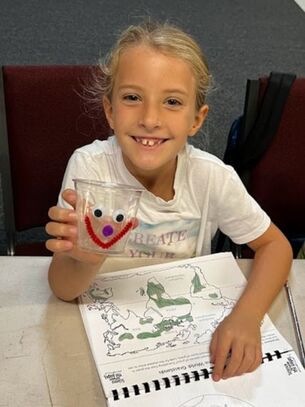
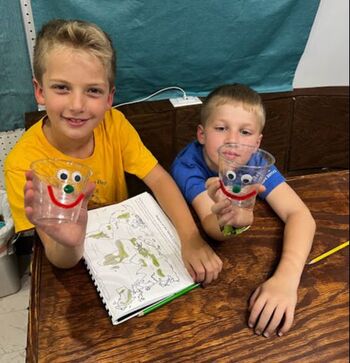
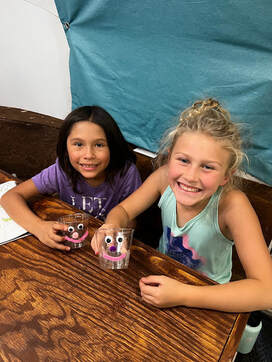
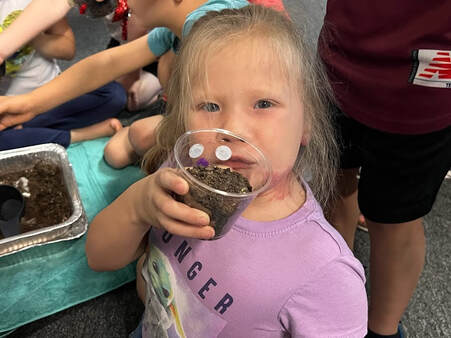
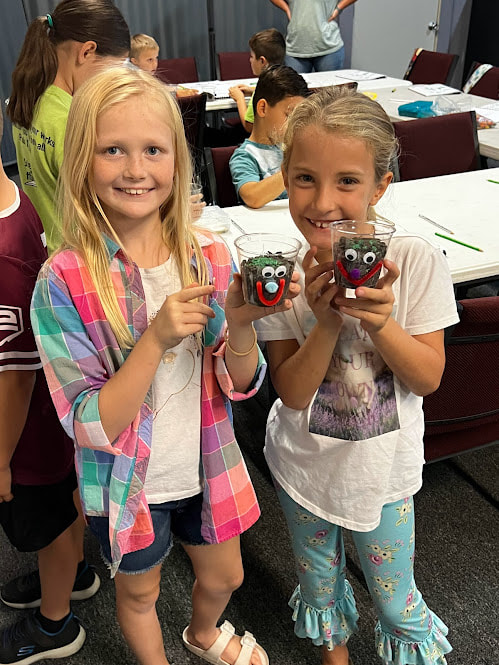
 growing a grass HeadOur final activity was decorating a small cup with a silly face. After we decorated the cup with silly faces, we placed some soil and grass seeds in the cup. Hopefully we will have some amazing grass heads whose hair we will need to clip.
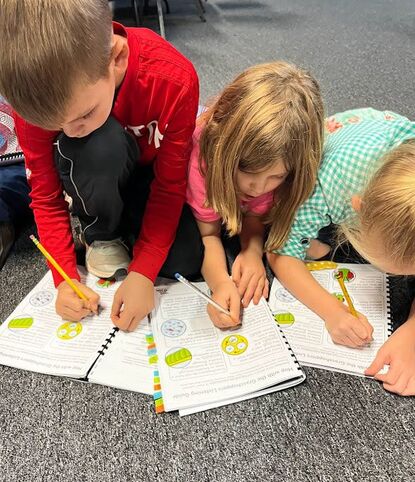
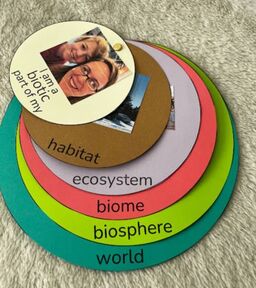
Science Nesting Circles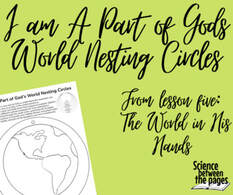 An activity for the students to do at home is to make these Science Nesting Circles to review vocabulary and also make personal connections to what we are learning. The first and smallest circle says "I am a Biotic part of my..." And then the next circle says 'habitat' which would be a picture of your home. Next is the 'ecosystem' which would be a picture of your city. Next is 'biome' which would be a picture of your state. Next is 'biosphere' which would be your continent. And finally, world- a picture already drawn of the world.
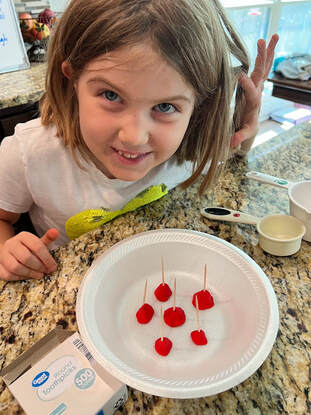
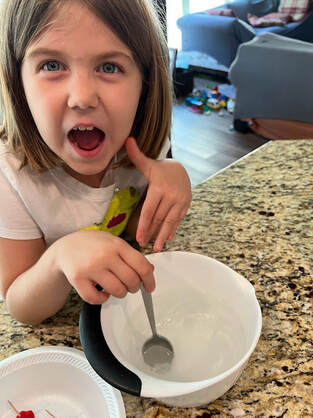
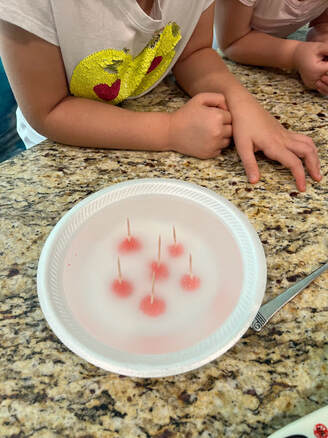
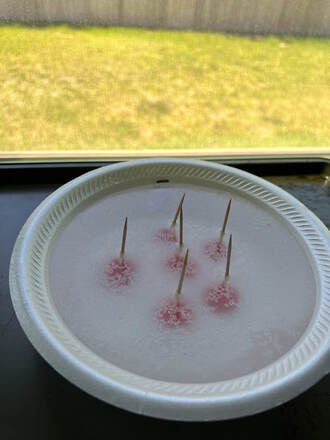
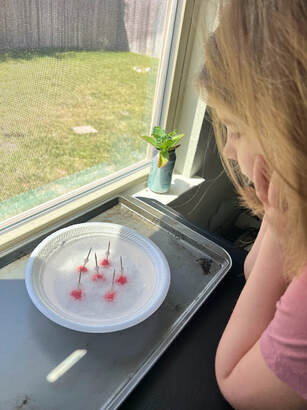
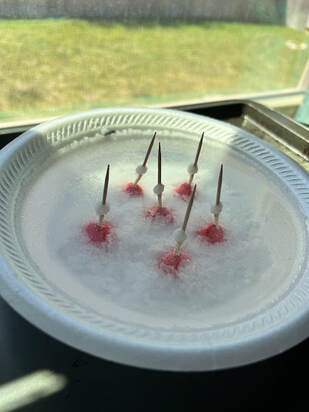
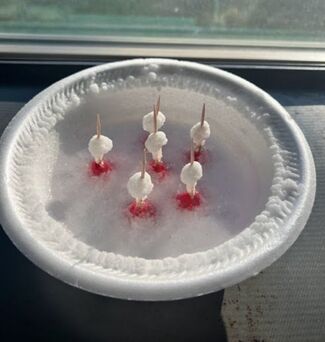
manna momentPsalm 95:1-3- "Oh come, let us sing to the LORD, let us make a joyful noise to the rock of our salvation. Let us come into His presence with thanksgiving; let us make a joyful noise to him with songs of praise. For the LORD is a great God and a great King above all gods." Do you remember in the first ecosystem how there was no death? When Adam and Eve ate the fruit of the Tree of Knowledge, sin entered the world and the wages of sin is death (Romans 6:23) therefore death entered. We will be learning about food chain and food webs today. This is part of the natural world we live in today. Animals eat plants, animals eat animals and humans eat animals and plants. While this may seem gruesome, we have hope in Jesus Christ. Sin entered the world through one man, and one man, Jesus, brought us salvation from sin and death. It won't always be this way. It is prophesied in Isaiah 65:25 that "The wolf and the lamb shall graze together; the lion shall eat straw like the ox, and dust shall be the serpent's food. They shall not hurt or destroy in all my holy mountain says the LORD." "For the LORD is a great God and a great King above all gods." reviewing the water cycle with salt crystalsFor the student's 'At Home' Adventures, I had them choose to either observe the water cycle in a sandwich bag or make Salt Crystals on a stick. See Lesson 3 blog for details on these activities. Hope and I decided to make salt crystals to observe this past week and today she presented them to the class as we reviewed the water cycle. 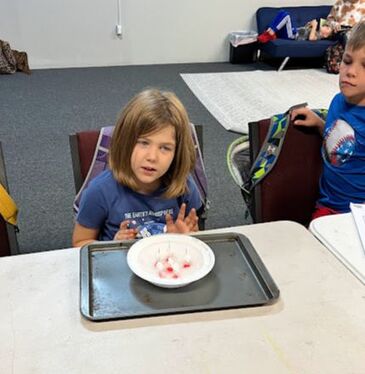 Here is how we made them. 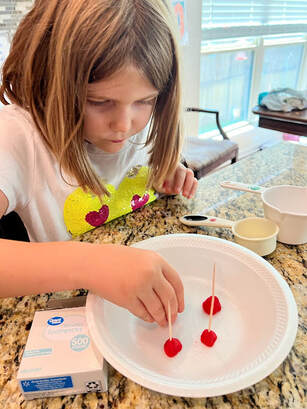 Hope formed some modeling clay pedestals to place her toothpicks in.
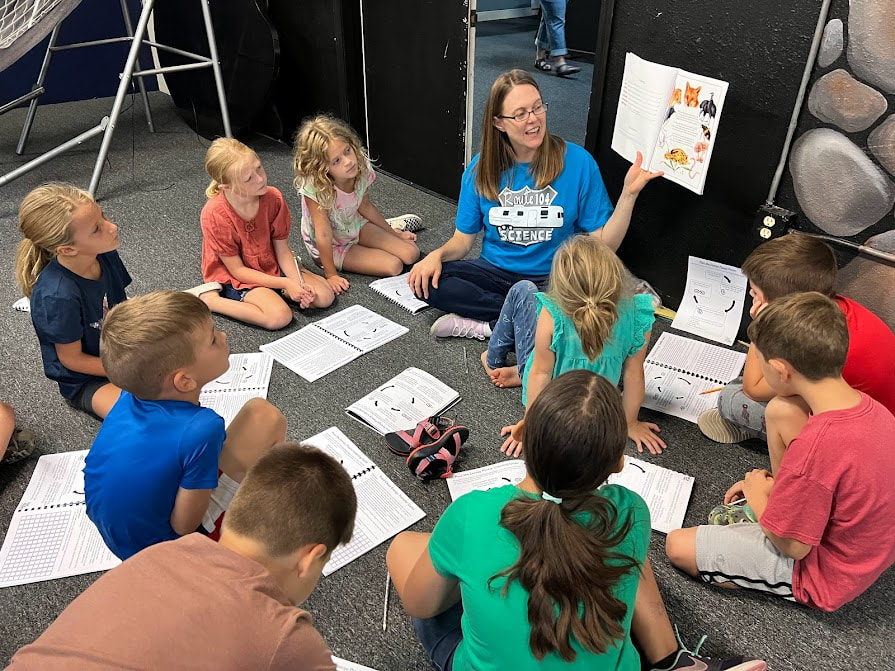
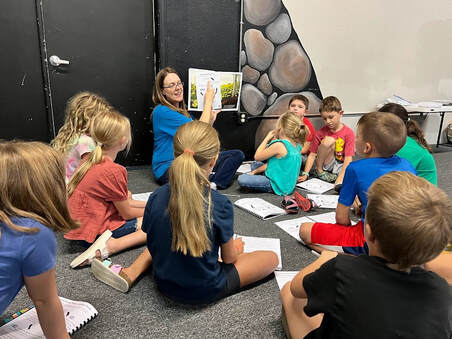
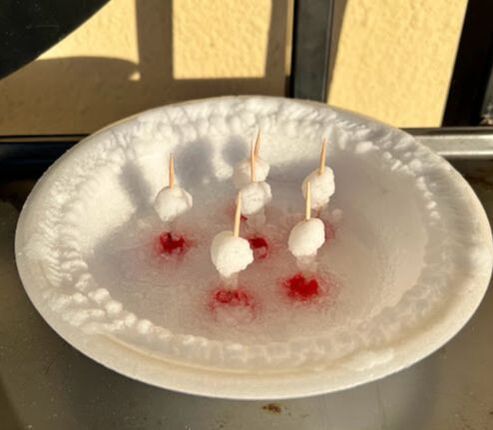
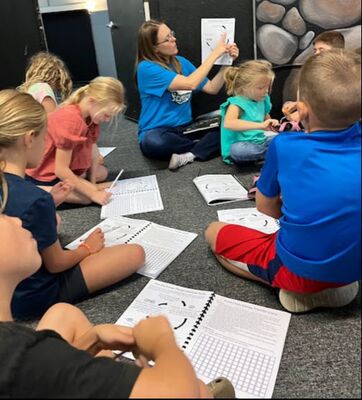
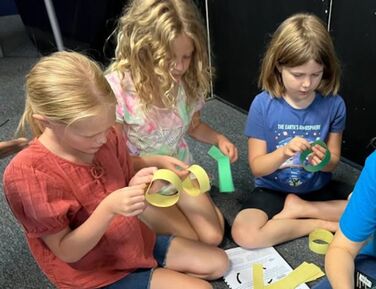
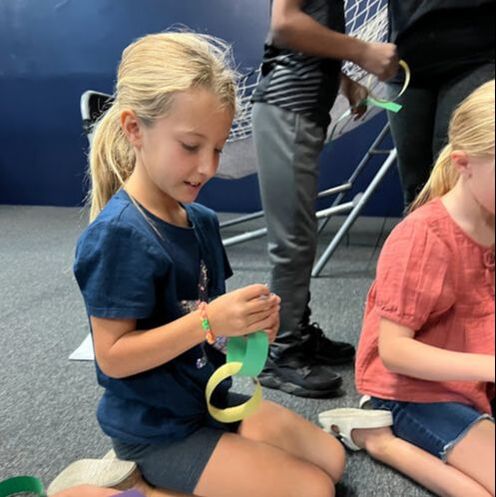
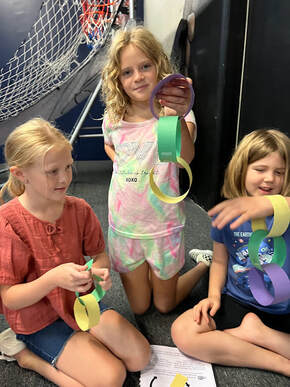
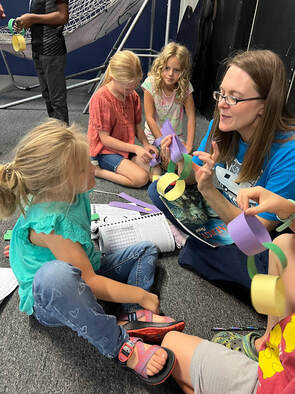
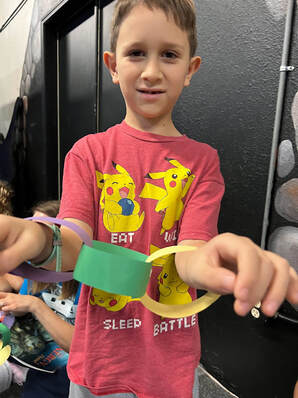
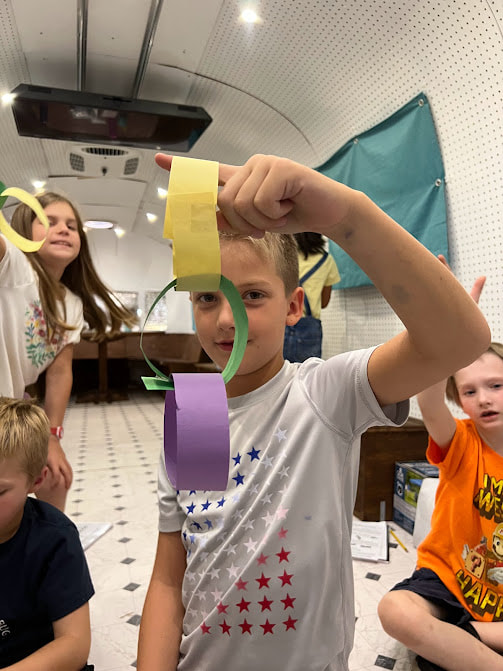
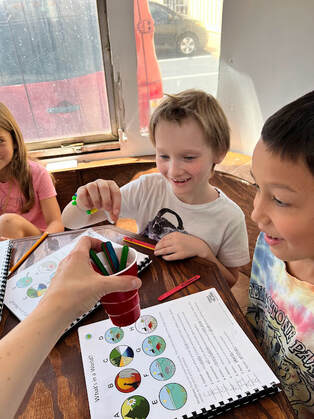
 The students each felt the crystals. They were hard and rough not fluffy and soft like they looked. going out to eat Today, I introduced nine more vocabulary cards called Energy Transfer Cards. Food chain- sequence of transfers of matter and energy in the form of food from organism to organism Food web- all food chains in a single ecosystem. Producers- Organism that makes its own food ie: plants Herbivore- Animal that eats only plants. Carnivore- Animals that eat only meat. Omnivore- Animals that eat plants and animals Consumer- A living thing that must eat other organisms to obtain energy necessary for life. Scavenger- An animal that feeds on dead organisms. Decomposer- Organism that breaks down dead organic material. I introduced these by all using cards from 'What Role Do I Play' cards. These are drawn pictures of different kinds of animals. Once the students understood the meaning of the new vocabulary words, I had them apply that knowledge to identifying which animal was a herbivore, carnivore, etc. 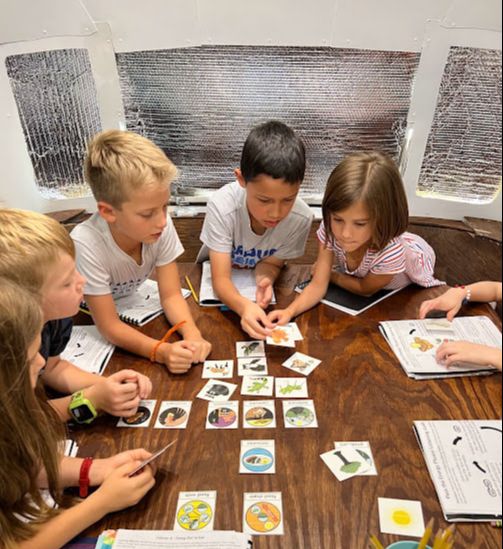 read aloud- Pass the Energy by barbara shaw mckinney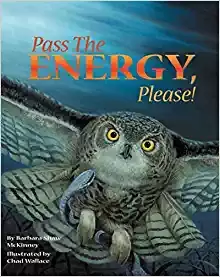 This book uses the imagery of links to guide the students through different food chains in different types of ecosystems. As we read through each different ecosystem, we identified the links that were involved in that food chain. The students also had a listening guide that would help them identify their vocabulary words introduced previously in the class. At the conclusion of the book, I had the students make little foods chains using construction paper. Yellow represented the sun, green represented producers and purple represented consumers.
Food chain energy transfer game For our final activity with our new vocabulary words, we played this Energy Transfer Game. I passed out Producer, Herbivore, Carnivore, Omnivore, Scavenger, and Decomposer cards to the students. These are laminated, hole-punched and have a piece of yarn attached so they can go over a student's head. I represented the Sun and gave out Energy Strips to each Producer. Producers are not allowed to move at all, they are 'planted'. Herbivores and omnivores can move and take the 'Energy' strip from producers. Carnivores can take 'Energy' stripes from other carnivores, omnivores or herbivores but cannot take from producers. If a consumer runs out of 'energy' strips they've collected, they die and a scavenger can take their place. Every step that a consumer takes, they must tear off a square from their energy strip. Scavengers and decomposers receive energy by picking up these torn squares from the floor. They, too, can only move if they are gathering energy.
 The water and Air we shareManna Moment: Psalm 95:1-2 "Oh come, let us sing to the LORD, let us make a joyful noise to the rock of our salvation. Let us come into His presence with thanksgiving; let us make a joyful noise to Him with songs of praise." As we are making a joyful noise, there is a great exchange happening. The LORD has designed us to breathe in oxygen and to breathe out another gas called carbon dioxide. How does the LORD provide for our need of oxygen? He filled the world with thousands of different types of plants that produce oxygen as they grow and thrive. But God didn't stop there. He also provided for plants, in that plants need carbon dioxide to make food and every time we exhale or make a joyful noise, we release more carbon dioxide into the air, giving them a necessary ingredient for photosynthesis. What an awesome Creator, who made this symbiotic relationship, where each part mutually benefits from the other's presence and activity. 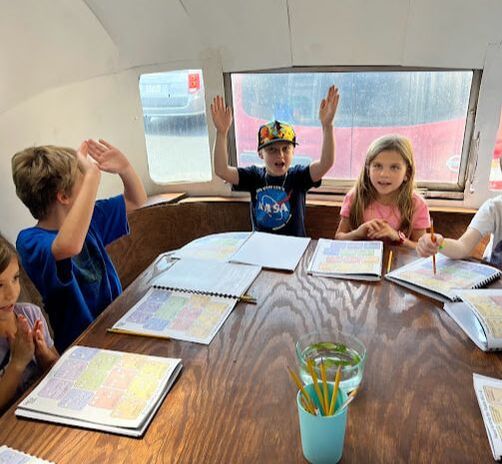
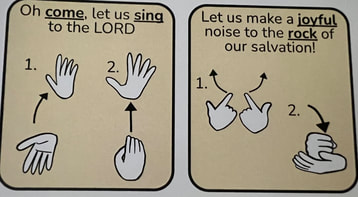 Here are the hand signs we did for verse 1.
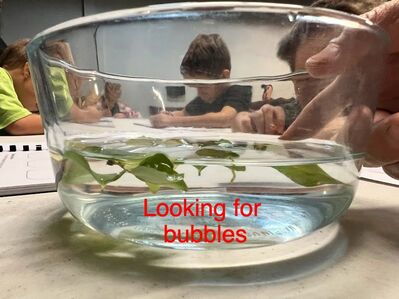
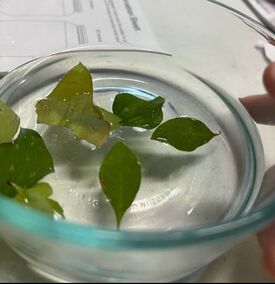
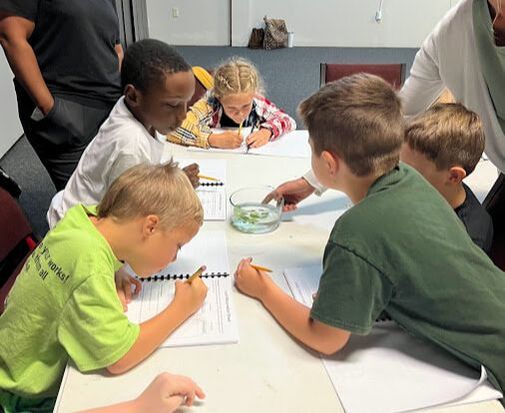
making leaf observations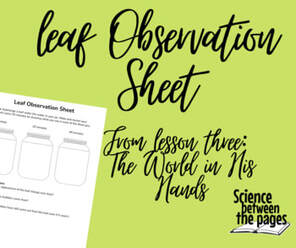 At the beginning of class, we took some leaves (freshly picked this morning) and submerged them in a glass of water. The students used their Leaf Observation Sheet to document and draw what they could see in the first jar. We then set a timer for 20 minutes in order to make another observation and draw what we saw in the second jar. Finally, we set our timer for another 20 minutes and took another observation and drew what we saw. I am interested to see if there is a difference between having the jar in the building versus the Airstream. Our thinking questions that we answered orally at the end of class: A. How did the appearance of the leaf change over time? - The leaf had more and more bubbles on it the longer it was under the water. B. Where did the bubbles come from? The bubbles come from the oxygen that leaves produce. C. Would the bubbles have still come out of the leaf even if it wasn't under water? The oxygen still comes out of the leaves even if it isn't in water.
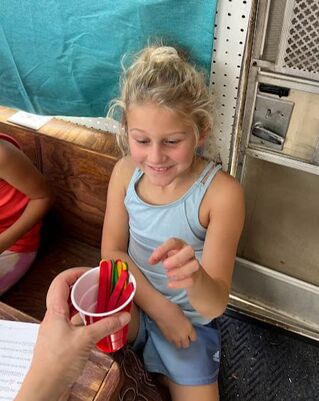
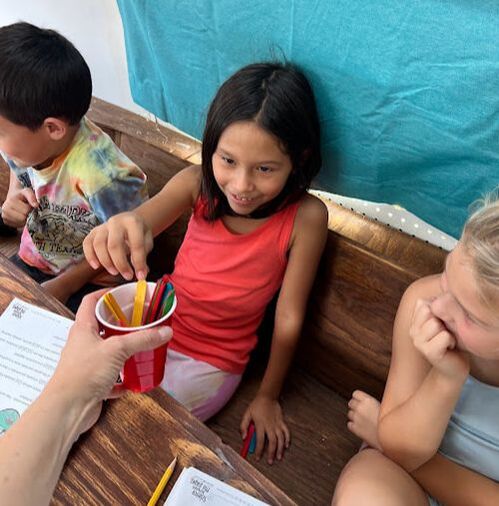
  Vocabulary KaboomUsing the vocabulary words from Lesson 1 (Ecosystem cards), I wrote the words on different colored craft sticks. I placed craft sticks that said KABOOM in the jar also. The students would pull a stick and either tell us the definition of the word or use it in a sentence. If they got the definition correct, they could keep the stick. If they pulled the KABOOM stick, they had to give up all their sticks. The person with the most sticks wins.
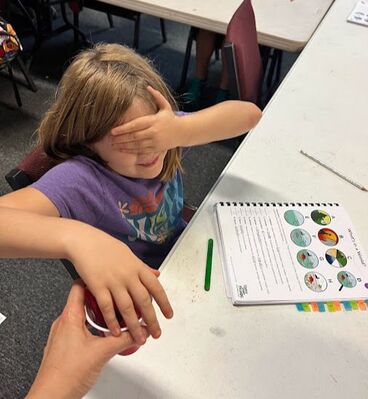 Is she going to get a KABOOM?
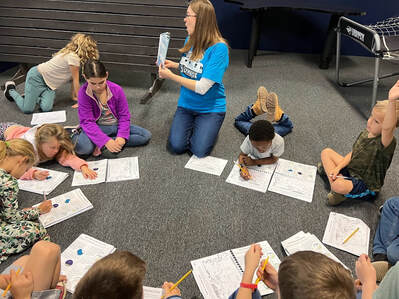
 Continue to play games and learn these vocabulary words. This pdf comes with a page of game suggestions to play with your students. water cycle review During class, I had the students gather into groups of two. I gave each group a set of Water Cycle cards. They were to place the cards in the order of the cycle beginning with Evaporation. The order of the cards was Evaporation, Condensation, Precipitation, Run Off and Collection. While they were putting these together, I can't help but sing the water cycle song to the tune of 'She'll Be Comin' Around the Mountain' It goes like this: Water travels in a cycle, yes it does (clap, clap, clap) Water travels in a cycle, yes it does (clap, clap, clap) It goes up as Evaporation Forms clouds as Condensation Then falls down as Precipitation, yes it does (clap, clap, clap)
 Oxygen and carbon dioxide exchangeDuring this exchange we are using models of oxygen and carbon dioxide to demonstrate how the oxygen/carbon dioxide exchange happens between plants and animals/humans. First, I wrote O2 and CO2 on the boards and showed the students how each block represents an atom. Each atom is represented by an abbreviation or letter. The O atoms are represented by blue duplo blocks while the C atoms are represented by the green duplo blocks. Animals need 2 Os in their molecule and plants need 2 Os and 1 C in their molecule. Placing built duplo molecules in front of them, I could call out which living organism they were, a plant or animal and they would point to the correct molecule that they needed. Pairing up the students, one student would be the 'plant' and the other student would be the 'animal'. They would have the molecule that they each needed in preparation for a great exchange of gases. Each person would take apart their molecule representing them 'using' the gas. They would then mix up the duplos and rebuild the molecule that they needed to share with their partner. So if they were the animal, they took apart the O2 and would rebuild a CO2 molecule for their plant partner. If the student's were getting good at this exchange, have them team up as a class. All the plants would go to one side of a table or floor and all the animals would get to the opposite side. Molecules would be built in the middle of the two groups and they would proceed to grab what they needed, take it apart and rebuild what the other team needed. For an added challenge, you could have only one student be a plant while the rest are animals and demonstrate what might happen if there weren't enough plants on the planet. Observe the water cycle There are two options for students to observe the water cycle at home. You could do this Water Cycle in a bag. This handout is useful as you can trace the components of the water cycle on a sandwich bag with a permanent marker and then add water and tape to your window to observe throughout the week. The second option is to grow salt crystals. You would observe the water level going down and the salt accumulating on the toothpicks growing salt crystals. Only water evaporates, not salt nor anything else. This makes the water cycle a great cleaning cycle for our fresh water. Here are the instructions that come from this website:
The World in His Hands CurriculumCome join us as we travel through the world God has made for us.  |
LEAD LEARNERWelcome! My name is Nicole Fleming and I have been leading science learning in the Bryan/College Station homeschool community for over 10 years. Archives
November 2022
Categories |


 RSS Feed